Pages
▼
Thursday, July 20, 2017
Hey June Patterns Sandbridge Skirt
The Sandbridge Skirt is here! It's a casual skirt designed for woven bottom weight fabrics such as denim, corduroy, sateen, and velvet. It features traditional five pocket styling, a functioning zip fly, and a contoured waist band. The hem can be left raw or turned up for more formal look. I have been living in this skirt since I finished my tester versions! Check out more info (and swoon worthy pics) in her post and in the listing. It comes in women's sizes 2-22. There's a discount code in the Hey June Patterns Facebook group. ;)
I was a little tentative to join the testing group because I had never sewn a zip fly or shortened a metal zipper or installed a jeans button or belt loops or sewn bartacks. I also hadn't (and still haven't) installed rivets. I managed to buy the parts (at two separate stores that involved an entire store hearing how my three year old wanted to stay in the (hot!) car- it's 95F here and I couldn't leave the car idling) only to discover we don't own a rubber mallet. I have since learned there are other options to the rubber mallet but haven't tried them yet. Anyway, I digress. I was a little intimidated but Adrianna's instructions helped me to successfully sew the zipped fly right the first time!! Sewing level unlocked!!
As is typical for Hey June patterns there is excellent drafting, notches to align pattern pieces, detailed instructions to customize fit, clear and helpful text and illustrations, the option to print in layers, and beautiful finishes and details.
I love the style of this skirt! I have been wearing it nonstop. (Half-hearted apologies to people who see me multiple days in a row). The pieces came together well and the instructions are professional and thorough. I love a good clean finish!! There's also a sew along starting on Monday, July 24.
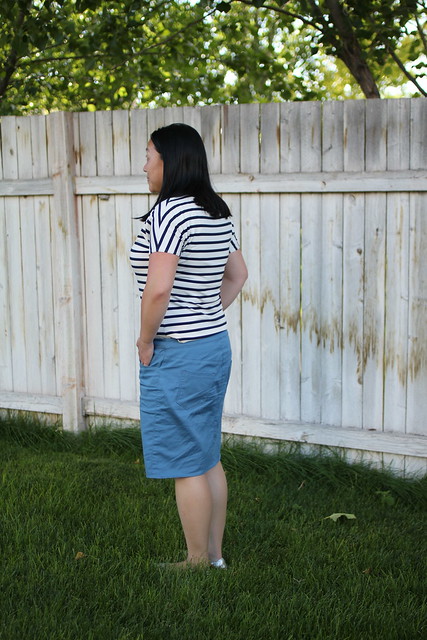
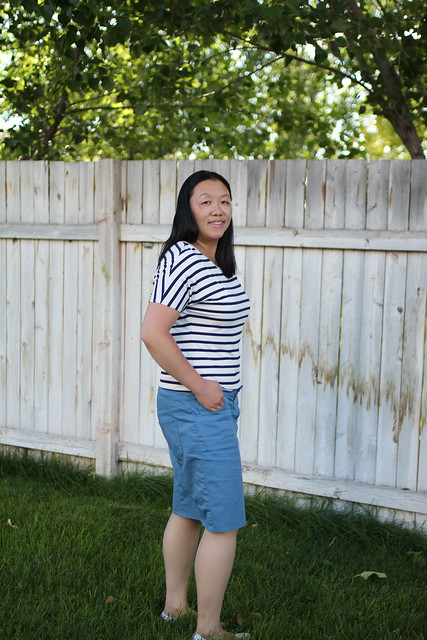
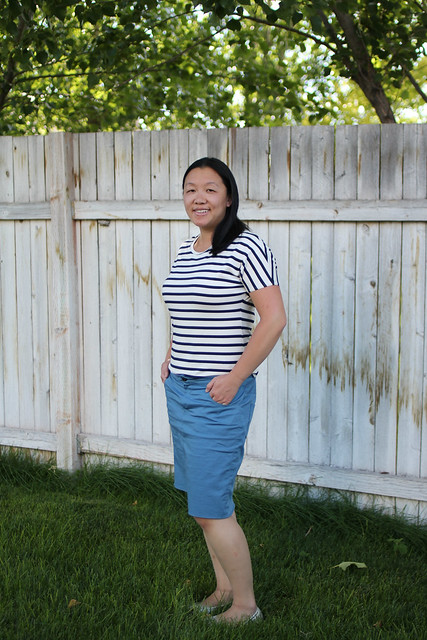
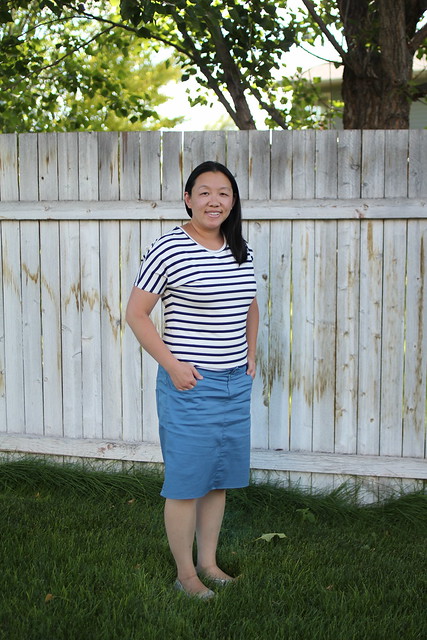
Let's talk about the blue one first. This was my final version and I used a J Crew overstock twill that I scored in the remnants section of Imagine Gnats's shop. I may have joked that this is my J Crew skirt (since I don't have any). The twill has a little bit of stretch. I sewed a size 12 since my hips are between a 10 and 12. My waist is closer to the size 12. It is a little roomy but extremely comfortable (and doesn't cut in) when I sit. I used a non metal 4 inch zipper just to see what happened and it went in easily. I probably could've shortened the zipper by 1/4 inch at the bottom but was following the instruction's directions for sewing the zipper (not for the zipper type) and it works well. I omitted the belt loops for this one because I don't own any belts. I serged the bottom and turned it up once. I used denim thread for all the top stitching and used leftover blueberry fabric (leftover from Ansley's first day of second grade geranium dress and Lisbon's matching geranium dress because I like to match them while they still like to match; more dresses that never got blogged) for the pockets and inner waistband. You can see a picture on instagram (@replicatethendeviate). I couldn't get the jeans button shank (is that what it's called) to pierce the waistband so I foolishly used the tip of my scissors. The scissors went in too easily and cut a slash in the waistband. I zigzagged it and hand stitched it as best as I could. Luckily it's on the underneath section of the waistband and behind the button so it's not super visible but lesson learned!! Don't make my mistake! In these pics I'm wearing a Hey June Aurora Tee without the long sleeve portion. I sewed it up entirely on my serger so it's not perfect since I'm still figuring out the serger but it was good practice. It's in a heavier knit from Imagine Gnats' remnant section.
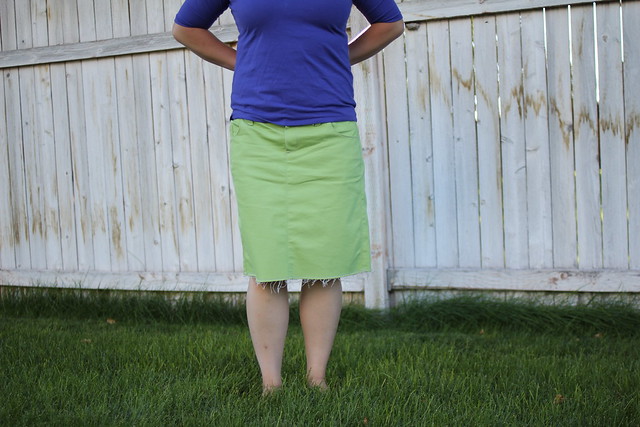
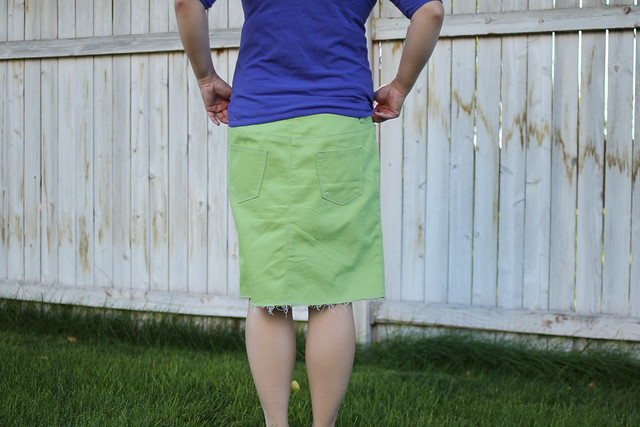
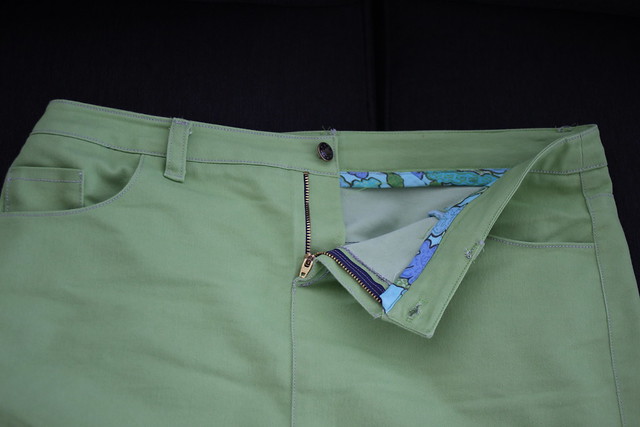
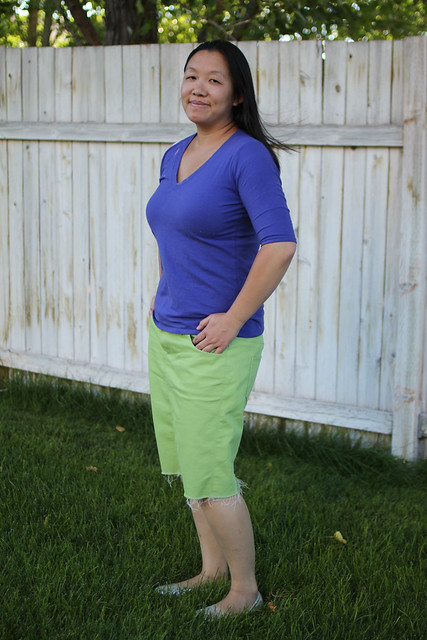
This green one was my first tester version. It came out a little big (the fit was adjusted during testing, which is normal/appreciated) so I need to get a belt to wear it if I put my phone in my pocket or if Lisbon tugs on it (which she does. She's very affectionate). I think it'll be perfect with a belt though or layered over leggings in the winter. The green is a denim with a tiny bit of stretch that has been in The Stash for a few years. I think I bought it at Hancock Fabrics. I had intended to make a coat with it but after reading some negative (but helpful) reviews about the coat pattern I changed my mind. I used some scraps from Ansley's city gym shorts (also on instagram) that were from the lisette line Joann carried a few years ago. Since I was using scraps I had to piece together several short bias strips for the waist but it was just a little extra work and totally worth it. I used the recommended metal zipper and removed the teeth and reinstalled the stops with some help from Tyrone. I topstitched two lines of stitching with the grey topstitch thread and left the hem raw (as instructed). I will probably practice installing rivets when we get a rubber mallet. I paired this skirt with my Hey June Union St Tee in laguna cotton also from Imagine Gnats. (not sponsored. I just like her and her fabrics and her service and thought it funny that a theme appeared).
I am contemplating sewing another in canvas or a dressier sateen or a true blue jeans denim. Which one do you think I should do next? What's your first version going to be? If you'd like to use my affliate link you'd be the first. :) There is no additional cost to you and the small compensation will help me maintain The Stash. Thanks for stopping by!!
Friday, July 7, 2017
The Forsythe Dress by French Navy Patterns
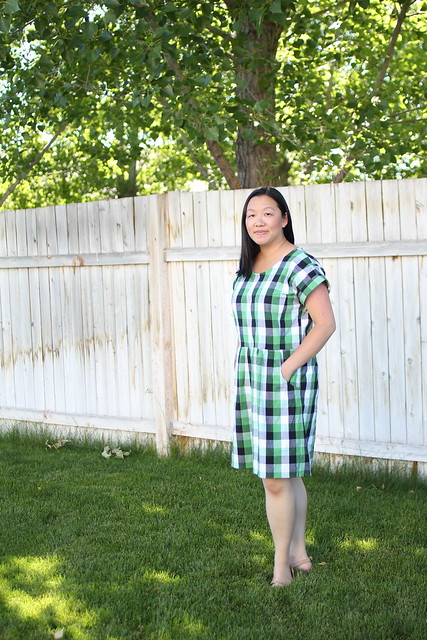
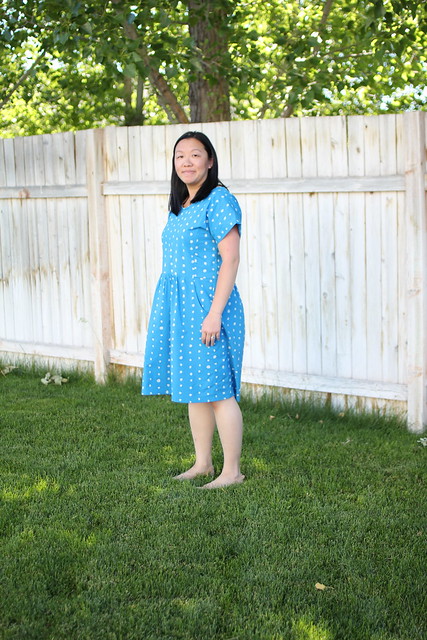
I have a new favorite dress this summer, pattern by the lovely Sarah-May of French Navy patterns. I must've been under a rock because I didn't know her until quite recently but she still let me test her newest pattern, the Forsythe Dress.
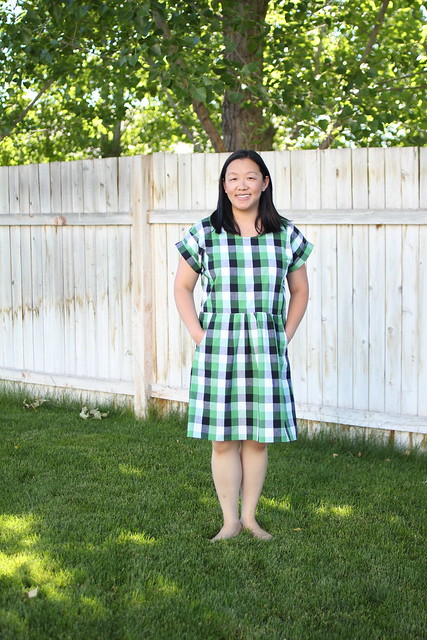
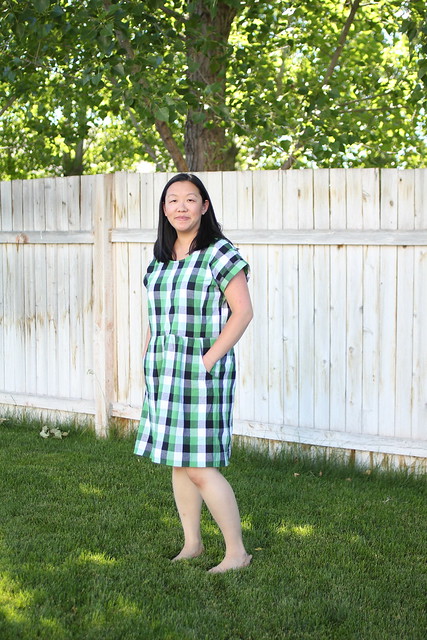
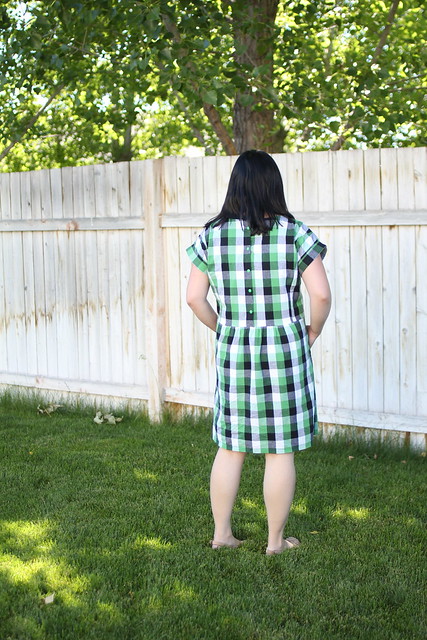
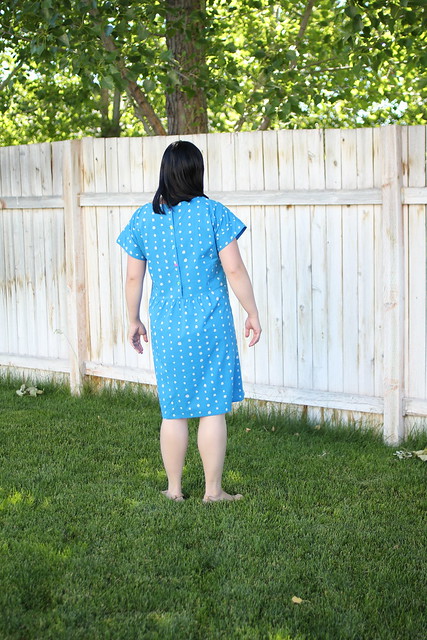
My favorite parts of the dress are the pockets(!!!) and the relaxed but not sloppy fit. The pattern pieces fit together well and the instructions include professional finishing techniques like french seaming the pockets and the way the neck is bound into the back placket and the way the cuffs are finished. The pattern ranges in size from xxs-xxl (UK 6-18, US 2/4-16, EUR 34-46). Although it is not in layers it is easy to see which size to cut (and makes it easier to blend sizes if necessary). The instructions include photos with helpful labels and descriptions. The cuffs can be folded up (like my plaid) or down (like the blue one).
I sewed a size L based on my bust measurement. My first version is made from a plaid from The Stash. I think it came from Hancock Fabrics. It feels like a medium weight shirting fabric.
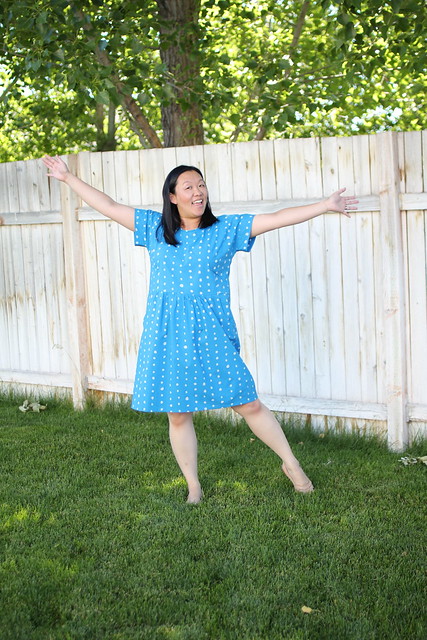
My second version is from a nani iro lawn that has been salt shrunk and feels a little bit like seersucker (Sazanami Pocho Sara). I won it from Miss Matatabi several years ago and it has been in The Stash, waiting for the perfect pattern. I did add a little bit of length to the blue one (and did half the hem amount on the plaid) just because that's my personal preference. Both are finished with Kam Snaps because my machine hates making button holes.
I'm plotting another one with drapier fabric and a color blocked one (to highlight the princess seams). You can also check out more loveliness on Sarah-May's post or in her shop or #theforsythedress on instagram.
Thanks for stopping by!
Sunday, July 2, 2017
The Grace Tankini by Savvy Patterns
I sewed a swimsuit! And I love it! It is classy and comfortable!
This is the Grace Tankini by Audrey of Savvy Patterns and the Skirt Fixation blog. It comes with two top views- view A with a solid front and circle cut out in the back and view B with a ruched center panel. There are multiple skirt options- no skirt (with perfect fitting panties!), circle skirt, sport skirt with plain front, and sport skirt with ruched center. There is an optional card pocket or more traditional pockets in the sport skirt. There are excellent directions for sewing a shelf bra, optional boning, and optional lining, and optional power mesh. Audrey went a step further and has included several video tutorials on her blog about sewing in cups and boning and elastic.
The pattern has excellent instructions and illustrations and the option to print just the size(s) you need (option to print in layers) and a printing guide to print just the pieces you need.
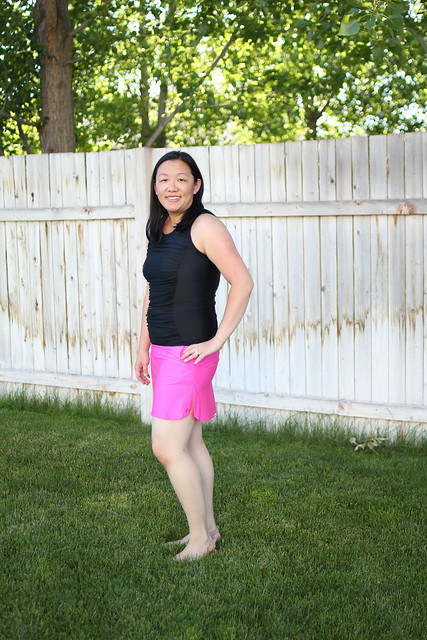
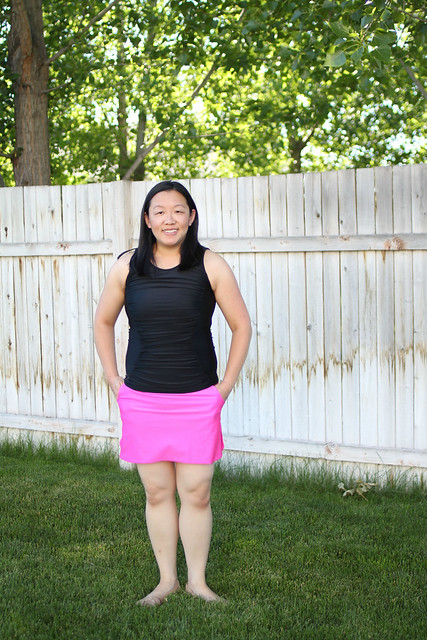
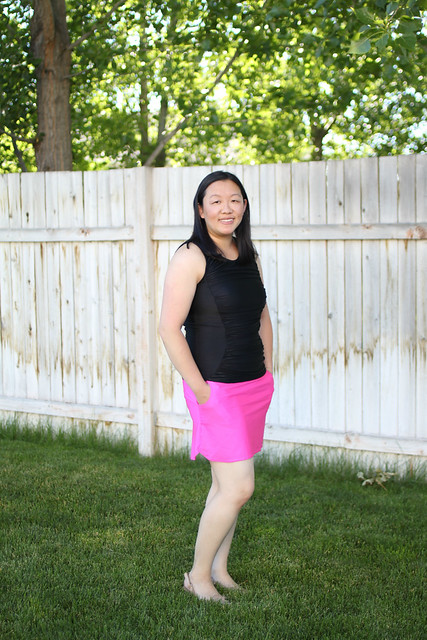
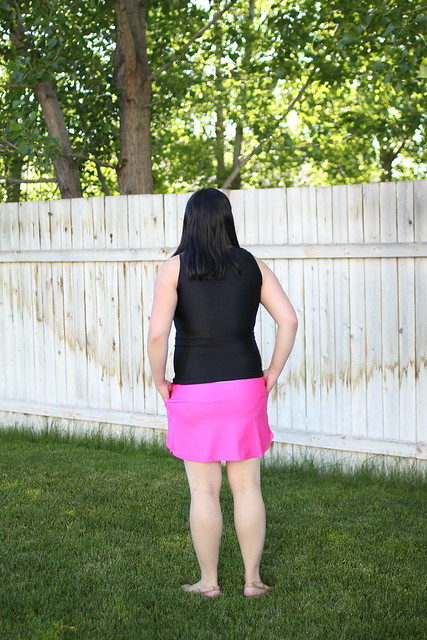
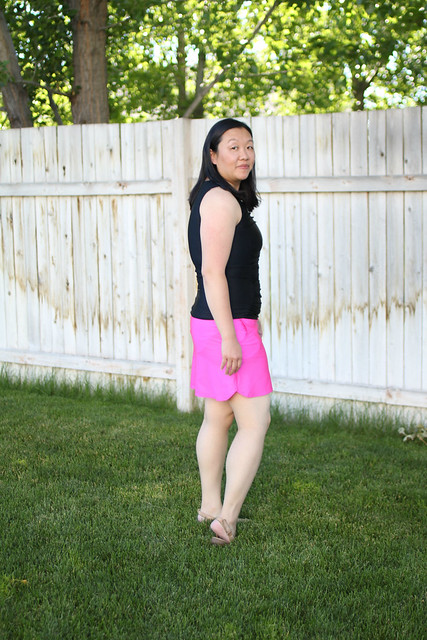
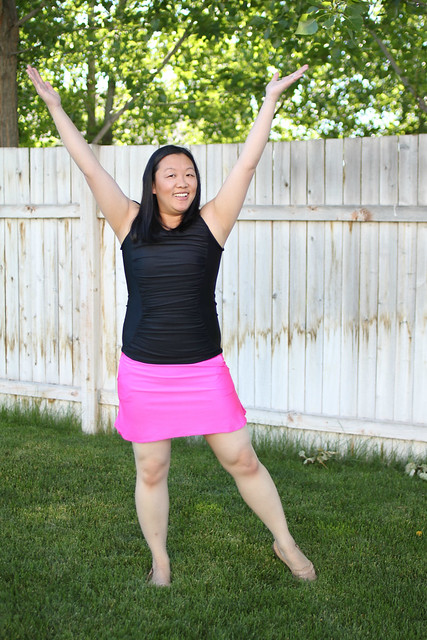
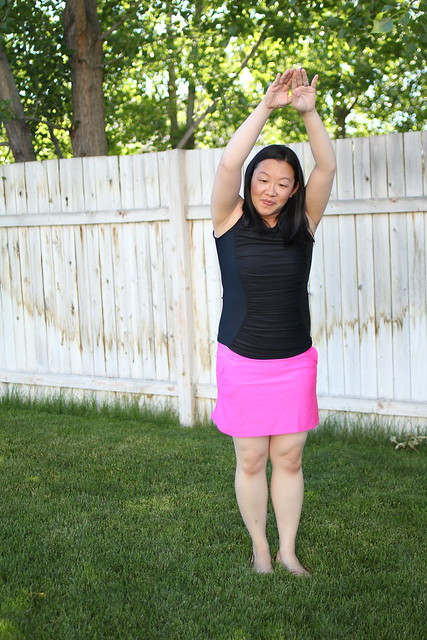
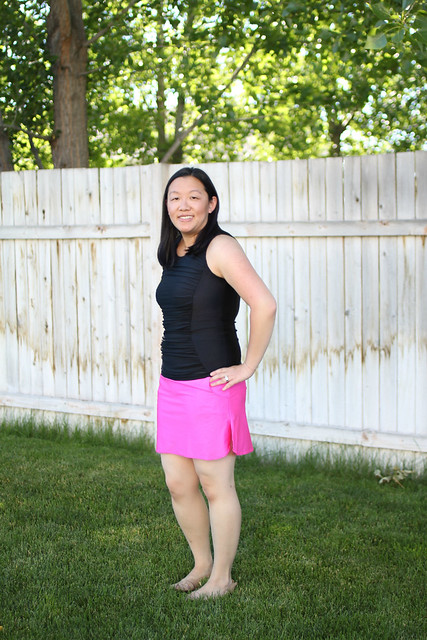
I chose to make the ruched center top (view b) and the plain sport skirt with pockets.
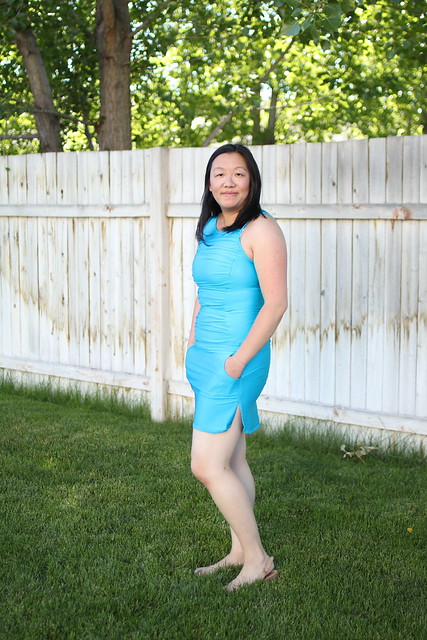
I used swim fabrics and lining that was labeled as "power mesh/swim lining" from Joann. I also bought the swim elastic (albeit 3/8 inch instead of 1/4 inch as the pattern specifies because that's all my store had) from Joann. For my tester version (the blue one) I used cups from a sports bra I bought for a quarter from JC Penney. I used swim cups from Sew Sassy Fabrics for my final (black and pink). I am not affiliated with them. I couldn't find much info about their products so that's why I mention them. My order came quickly and they are as advertised. They are smaller than I prefer and I ordered based on my size. I had previously ordered some cups from Amazon for sports bras but didn't realize they are also labelled as swim cups until I reordered them. Oops. Anyway you could also use cups from an old swimsuit. The ones I used from a sports bra were really thin so I knew they would be fine. However I have some sports bras that have sturdier padding and would probably take longer to dry than thinner ones and I don't want that. HA.
The tankini came together really easily. The longest part was cutting the swim fabric. If your fabric is slippery it helps to cut a single layer rather than on the fold. I also found that using a stretch needle instead of a ballpoint needle made a difference in my stitching. (less skipped stitches). Also the elastic on the legs of my panties looks uneven when it's not on because it is uneven. I stretched it more in the back for a snugger fit in the back, which is what I want. It is not noticeable when it's on and I've read that this is normal with home sewn swimwear.
Ansley has been doing an excellent job at taking pictures for me lately. She made me pose in a pretend dive.
And a picture of the tester version. The neckline and armscye were adjusted, as was the final width in the pattern. Audrey worked tirelessly to assure the fit was just right and it looks AMAZING on all of the testers!!!!
Thanks for stopping by! Now go forth and sew all the swimwear and free yourself from the agony of swimwear shopping with fluorescent lights and dressing rooms since the Grace Tankini fits just right in all the right places!