Hi!
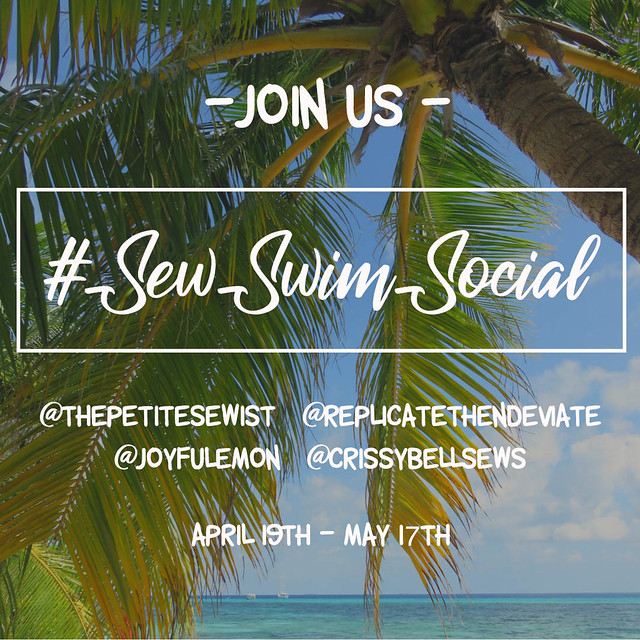
So excited to be teamed up with Stephanie, Meghan, and Crystal for the #sewswimsocial that kicked off yesterday (and is mainly taking place) on instagram!
We are so thankful for the generosity of our sponsors! We would love to see you sewalong and we have some discount codes for you!
(in no particular order)
Save 15% off at Sly Fox Fabrics using the code "petitesew15" until midnight EDT April 22, 2018. Sly Fox has some pretty floral fabrics and bohemian look swim.
Save 15% off the swimwear category at Imagine Gnats with the code "swim15". I had been saving some swim from Imagine Gnats in The Stash and finally cut into it after seeing Ansley enjoy her swimsuit. She frequently wears it to acro instead of a leotard.
Save 20% off the entire shop at Simply by Ti with code "SWIM20". Ti notes that you might want to sew a cover up or something else with your swimsuits, which is an excellent idea. A swim capsule sounds like the perfect way to enjoy the summer!
Friday, April 20, 2018
Friday, April 6, 2018
Amalfi Dress by Hey June Patterns
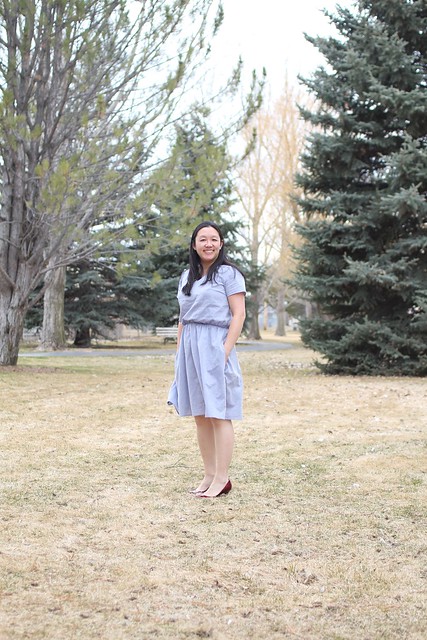
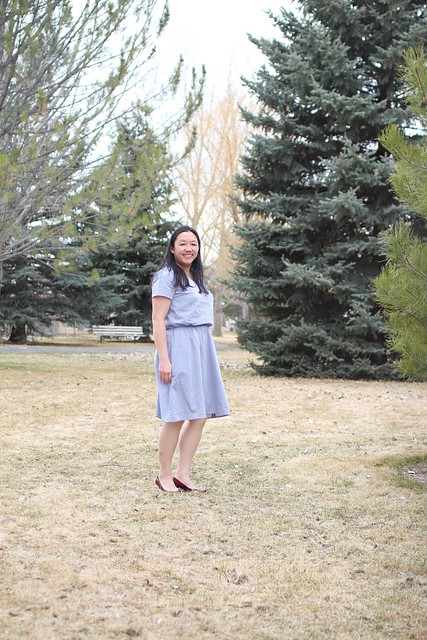
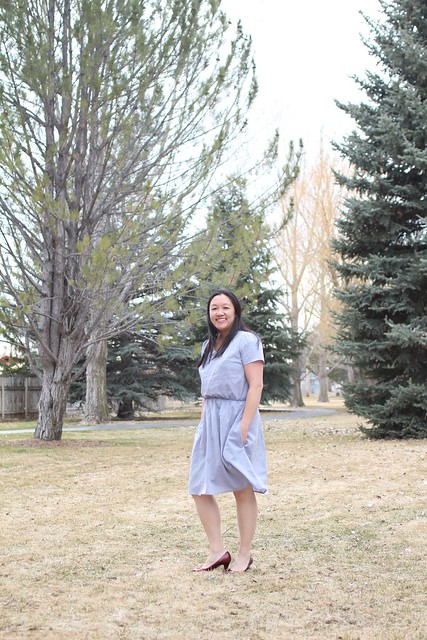
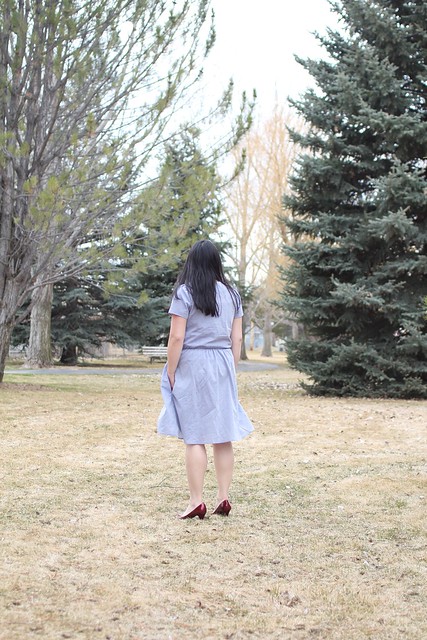
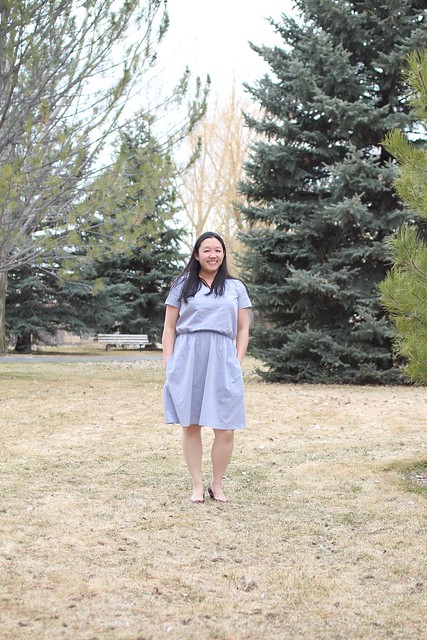
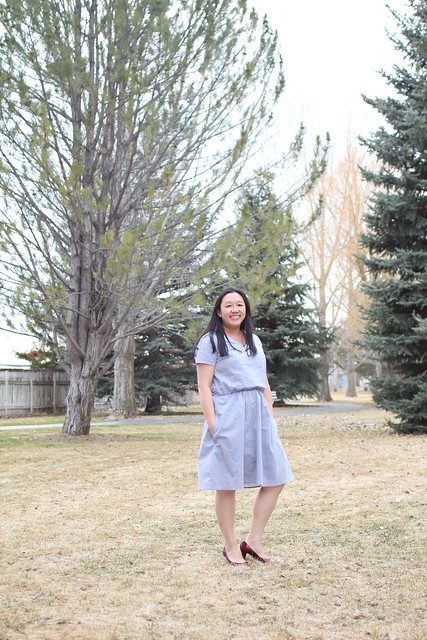
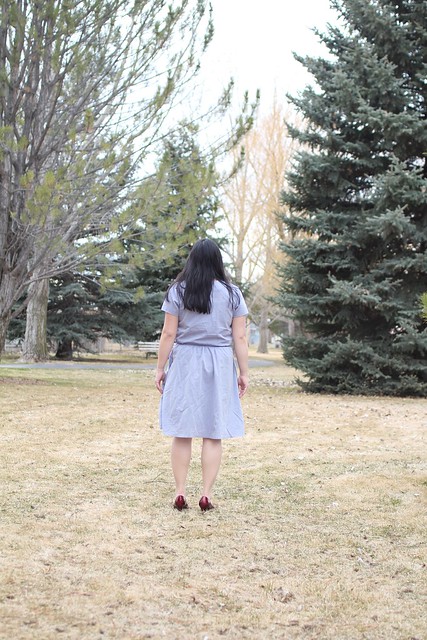
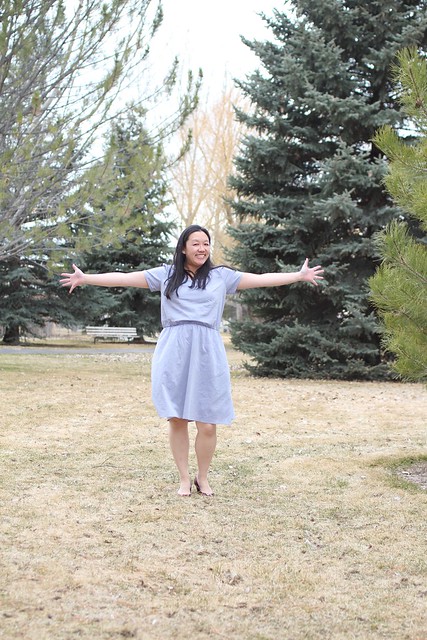
Hi! I am excited to share my Amalfi Dress today by Adrianna of Hey June Patterns.
As the longest winter is hopefully wrapping up, I have been seeing patterns pop up with a blousey top and straight bottom. I have unsuccessfully tried to achieve this tucked in blousey look but the last time I think I was moderately successful was like thirty years ago. I'm still rectangular in shape but also softer. Anyone else crave comfort foods and being cozy/lazy when winter is freezing and dark and forever?
So what makes the Amalfi Dress different and how did I find myself pleasantly surprised that I can wear this silhouette? The first thing I noticed is the v neckline, which is my favorite neckline because I don't feel choked and it is flattering on my shape. The Amalfi dress is designed for lightweight drapey woven fabrics like rayon, poly, or silk. A drapier fabric leads to a sleeker vertical shape. I also love that even though the top is blousey there are darts for shaping through the bust. The dress has a magic french seamed elastic casing and a measurement table for the elastic. I measured the elastic around my waist and picked a comfortable measurement (larger than the guidelines) so that it would give shaping to my waist but not be so tight that it is unflattering to my belly. (important side note- this is the coolest casing I have ever sewn. I will definitely be using it as much as possible. I didn't know it was missing in my sewing repertoire and I am thrilled with how it looks!). The Amalfi Dress also has two lengths and the above the knee length is my favorite on me. I love how the tea length looks on the fabulous testers though! And the Amalfi Dress has POCKETS! (or pocketses, since we are currently listening to "The Hobbit").
This pattern has excellent instructions and illustrations to accompany each step. It can be printed in layers and there is a guideline to print only the pages you need. I love that it includes an alterations section for a full bust adjustment, lengthening and shortening, and raising or lowering the v neckline. It also includes instructions for staystitching and understitching, which are especially important with slippery fabrics. There are also plenty of notches to make sure everything lines up properly.
I sewed a size 12 based on my high bust measurement. I followed the instructions to do a one inch full bust adjustment (don't forget to adjust the skirt piece too, which is covered in the instructions) and to raise the neckline one inch. On my practice dress I felt like the v neckline as is was nice looking but when I bent over it opened a little more than I was comfortable with so I decided to raise the v a little and it's perfect for me. I used a very lightweight likely chambray from The Stash. I think it originated from Hancock Fabrics but I'm not sure. I did not shorten the skirt on my dress but I believe the final test version has the skirt shortened by an inch. I am 5'4" on a good day.
My new usual spot was taken by some guy in his truck talking on his phone so we had to come up with a plan b. This park worked well for Ansley to be able to take pictures from the heated car and I only spotted one or two awkward looks from park goers. Haha.
The Amalfi Dress is on sale (no code needed) to celebrate its release. (cue jazz hands) (aff link if you'd like- no additional cost to you). Thanks for stopping by!
Thursday, April 5, 2018
The Calyer Pants by French Navy
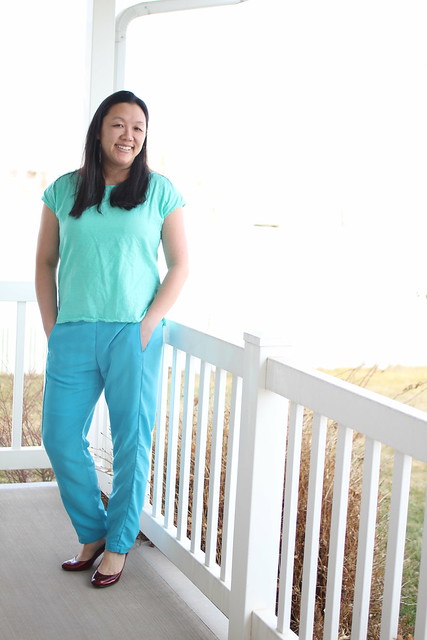
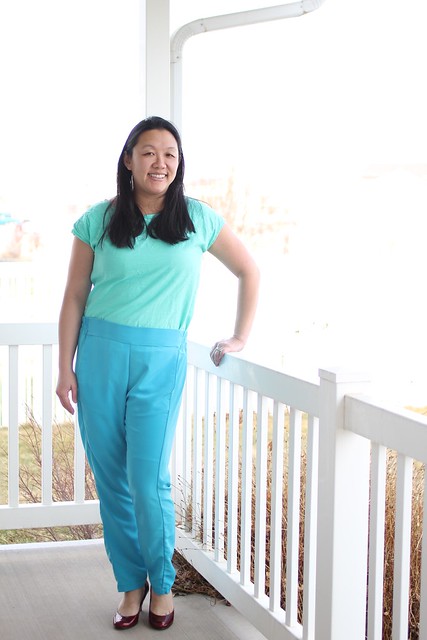
Since January I have somehow sewn seven pairs of pants! I am a little shocked reading that sentence! Most of these were pattern tests, including this lovely pair of pants by Sarah-May of French Navy.
I enjoyed testing The Forsythe Dress over the summer and knew Sarah-May was pleasant to work with and takes tester feedback seriously. She teased a few pants pictures on instagram and they looked like the perfect casual or dressy pants. Luckily I got picked to test with some other wonderful testers! Check out their beautiful work!
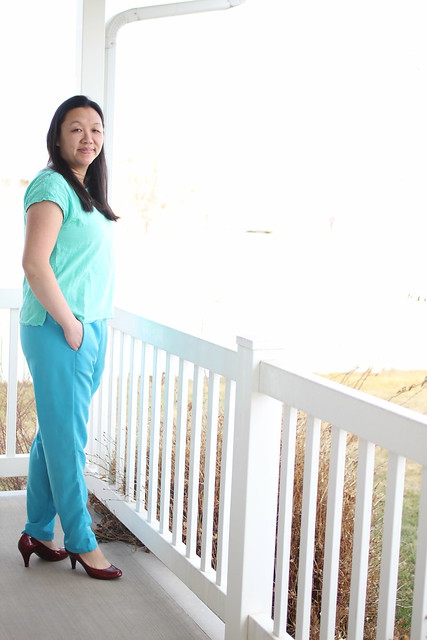
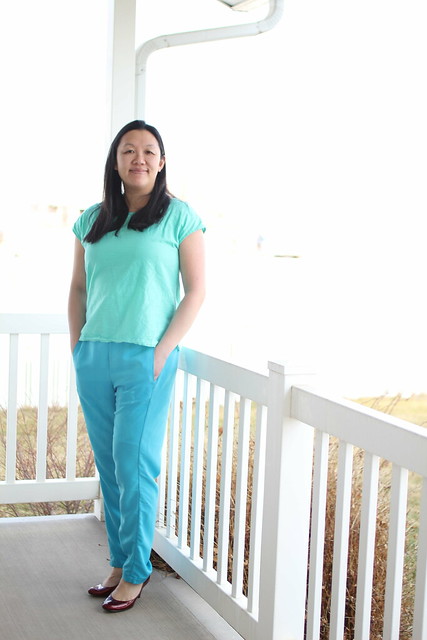
The Calyer Pants feature a slim silhouette with a beautifully finished flat front/elastic back waistband. I have never sewn a waistband with this method before and it is so neat and tidy I will use it on other patterns with a similar design! They have a flat or pleated front and the back seam is twisted towards the front. Due to the twisted seam, it is much simpler to shorten or lengthen the pattern pieces before sewing rather than simply trimming at the bottom before hemming. All of the instructions for lengthening/shortening and measurements are included, as well as notches to line everything up as designed. I also really love the pocket placement because they don't gape or pop out! A pleasant surprise was the lovely technical drawings throughout the pattern instructions! The pattern comes in seven sizes and while it doesn't have layered capabilities it is very convenient for grading between sizes and it is also easy to cut out in one size (not a lot of overlapping parts where it's difficult to determine which size is which).
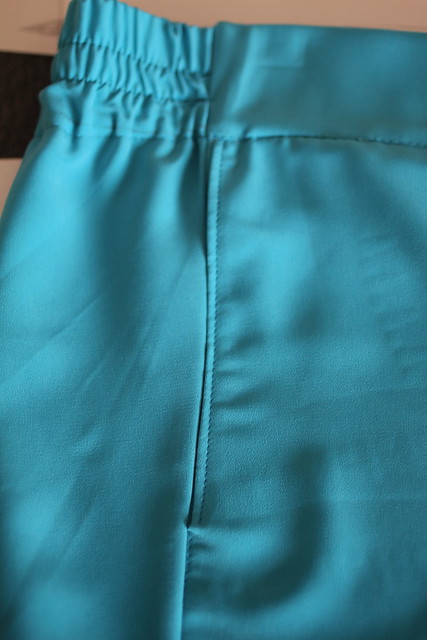
I sewed a bedsheet muslin in size M for my hips. I shortened about an inch or so based on my inseam and the pattern's inseam. While the medium fit I knew I'd be more comfortable with ease for chasing my busy three year old so I sized up to a large for my final version. I also discovered that I needed more room in the calves (this seems to be common for me and I'm not really surprised because I've always had relatively larger calves) so I graded to the next size from the knee down.
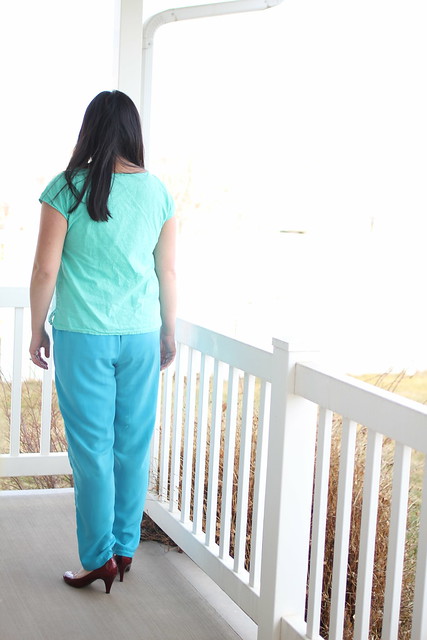
The Calyer Pants are designed for light to medium weight fabrics with excellent drape. I found some peachskin at Walmart and loved the color and it had good drape so I decided it was worth trying. I've never sewn with peachskin before and while it is barely fuzzy like peach skin it does shift around and is kind of a pain to sew with. I used a new needle and my walking foot and used extra weights when cutting. I can't remember if I cut it in a single layer so I probably didn't but that's certainly an option.
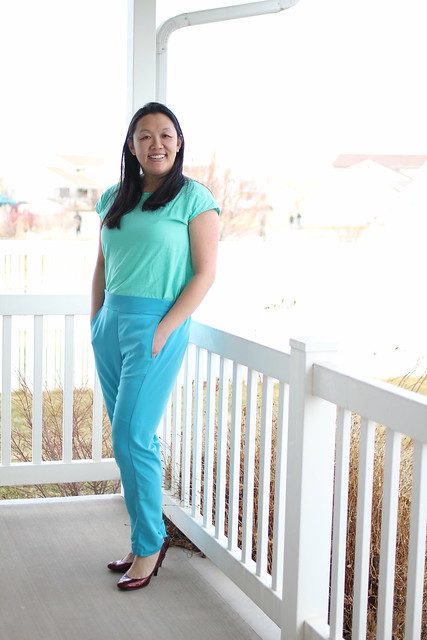
You may notice there is more drapiness at the twisted seams on my pair versus the other tester pairs. I am guessing this is due to fabric choice and the parts of the pattern that are cut more on the bias. I would like to try these secret pajamas with a slightly less drapey fabric.
By far the biggest challenge was STATIC. Oh my goodness it was ridiculous. I think it also may have affected how it was sewn on my machine even though I used extra wonder clips. It doesn't help that I live in a high desert and it was winter when I sewed these. I sprayed with static guard so many times and they still like to stick. I think I need a trip to somewhere humid so I can look like a fancy tourist with non staticky pants! Do you have any static beating tips?
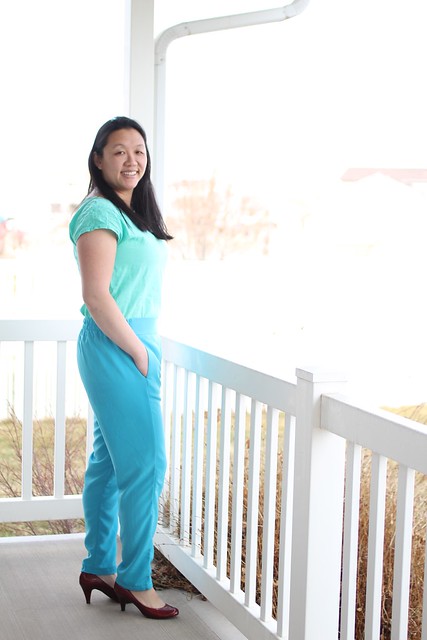
Ansley (my almost nine year old daughter photographer) said I looked weird with my top tucked in but I wanted to show the sleek waistband. All of these pictures are paired with a sized down Simplicity 1690 blouse.
Thanks for stopping by!
I enjoyed testing The Forsythe Dress over the summer and knew Sarah-May was pleasant to work with and takes tester feedback seriously. She teased a few pants pictures on instagram and they looked like the perfect casual or dressy pants. Luckily I got picked to test with some other wonderful testers! Check out their beautiful work!
The Calyer Pants feature a slim silhouette with a beautifully finished flat front/elastic back waistband. I have never sewn a waistband with this method before and it is so neat and tidy I will use it on other patterns with a similar design! They have a flat or pleated front and the back seam is twisted towards the front. Due to the twisted seam, it is much simpler to shorten or lengthen the pattern pieces before sewing rather than simply trimming at the bottom before hemming. All of the instructions for lengthening/shortening and measurements are included, as well as notches to line everything up as designed. I also really love the pocket placement because they don't gape or pop out! A pleasant surprise was the lovely technical drawings throughout the pattern instructions! The pattern comes in seven sizes and while it doesn't have layered capabilities it is very convenient for grading between sizes and it is also easy to cut out in one size (not a lot of overlapping parts where it's difficult to determine which size is which).
I sewed a bedsheet muslin in size M for my hips. I shortened about an inch or so based on my inseam and the pattern's inseam. While the medium fit I knew I'd be more comfortable with ease for chasing my busy three year old so I sized up to a large for my final version. I also discovered that I needed more room in the calves (this seems to be common for me and I'm not really surprised because I've always had relatively larger calves) so I graded to the next size from the knee down.
The Calyer Pants are designed for light to medium weight fabrics with excellent drape. I found some peachskin at Walmart and loved the color and it had good drape so I decided it was worth trying. I've never sewn with peachskin before and while it is barely fuzzy like peach skin it does shift around and is kind of a pain to sew with. I used a new needle and my walking foot and used extra weights when cutting. I can't remember if I cut it in a single layer so I probably didn't but that's certainly an option.
You may notice there is more drapiness at the twisted seams on my pair versus the other tester pairs. I am guessing this is due to fabric choice and the parts of the pattern that are cut more on the bias. I would like to try these secret pajamas with a slightly less drapey fabric.
By far the biggest challenge was STATIC. Oh my goodness it was ridiculous. I think it also may have affected how it was sewn on my machine even though I used extra wonder clips. It doesn't help that I live in a high desert and it was winter when I sewed these. I sprayed with static guard so many times and they still like to stick. I think I need a trip to somewhere humid so I can look like a fancy tourist with non staticky pants! Do you have any static beating tips?
Ansley (my almost nine year old daughter photographer) said I looked weird with my top tucked in but I wanted to show the sleek waistband. All of these pictures are paired with a sized down Simplicity 1690 blouse.
Thanks for stopping by!
Wednesday, April 4, 2018
Phat Quarters Camellia Dress
Hey!
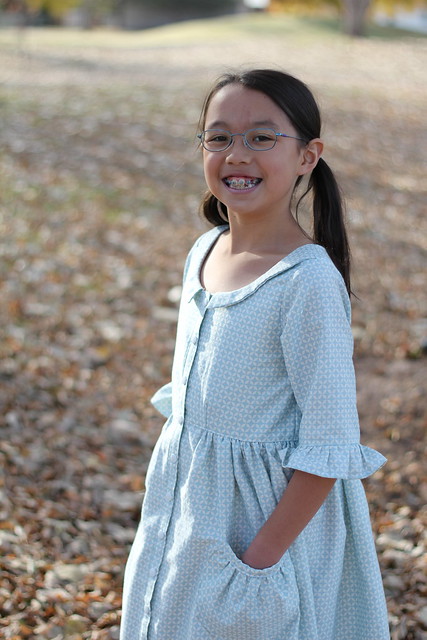
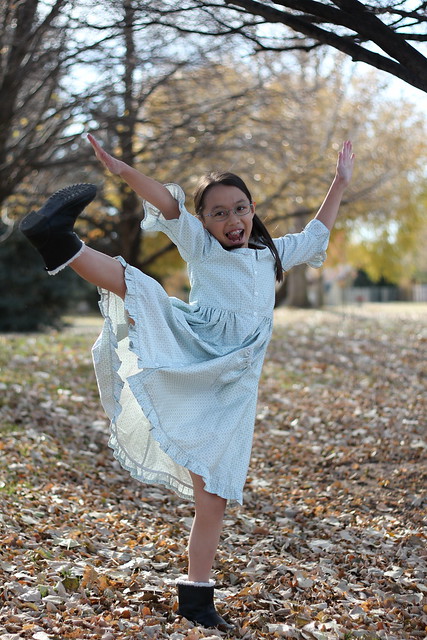
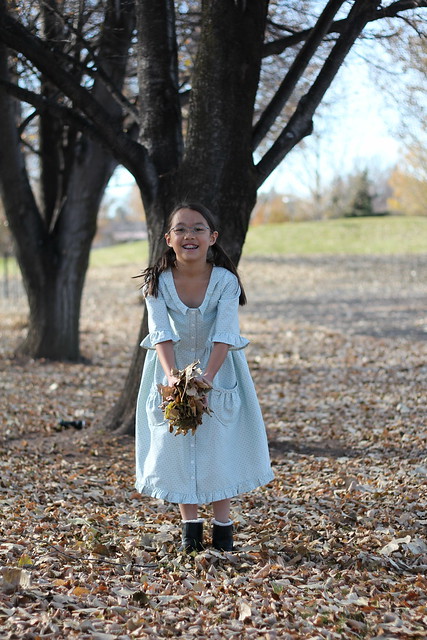
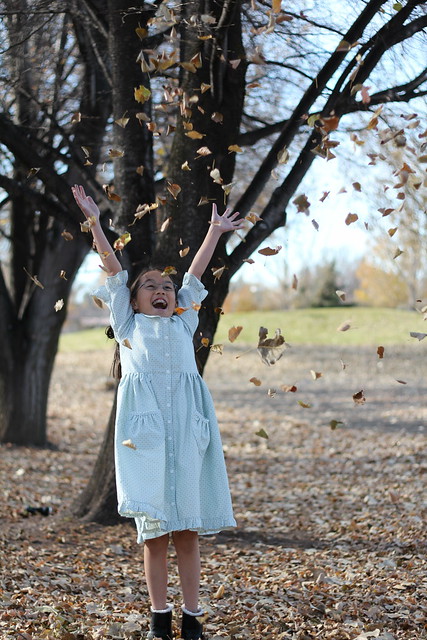
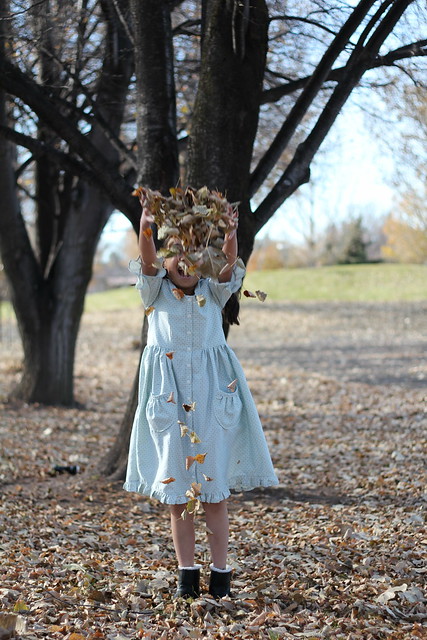
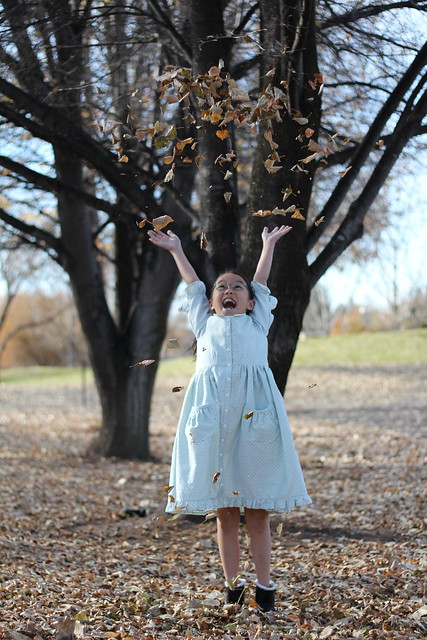
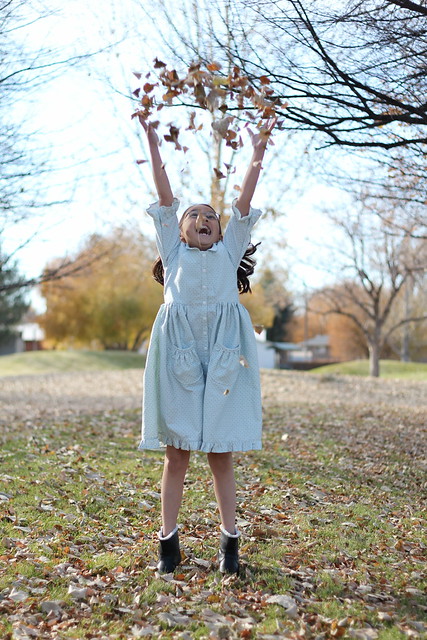
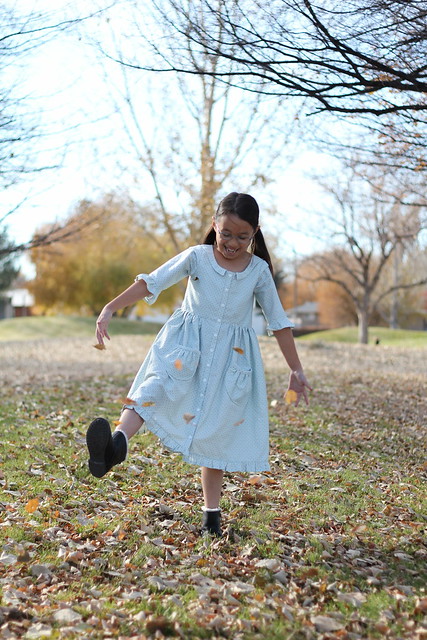
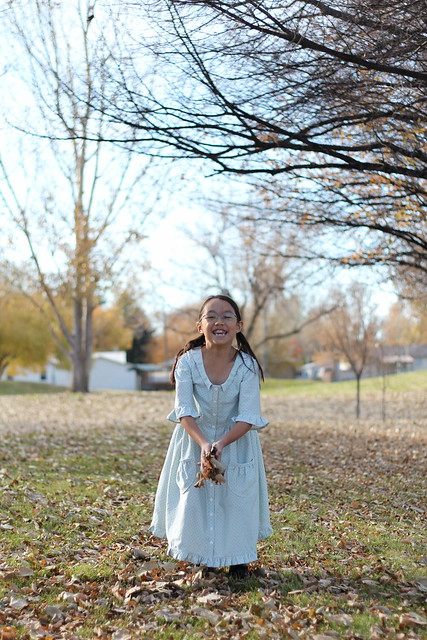
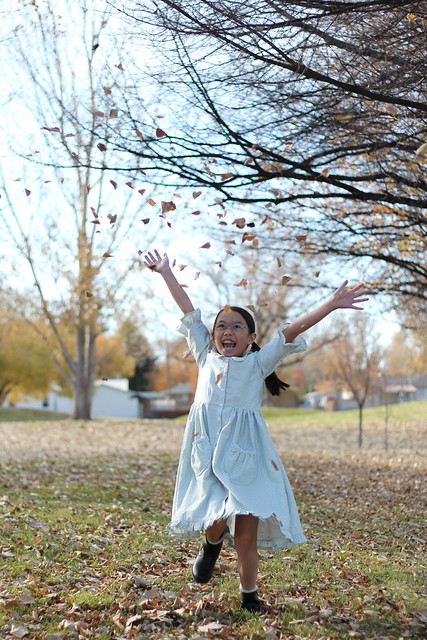
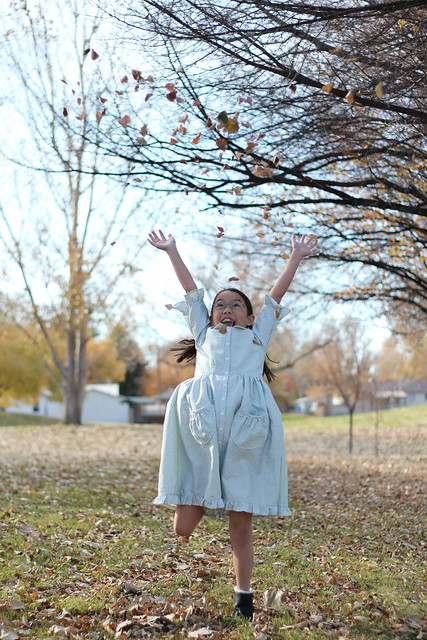
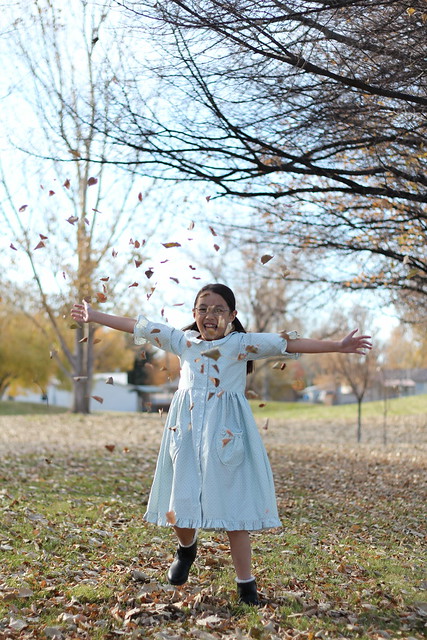
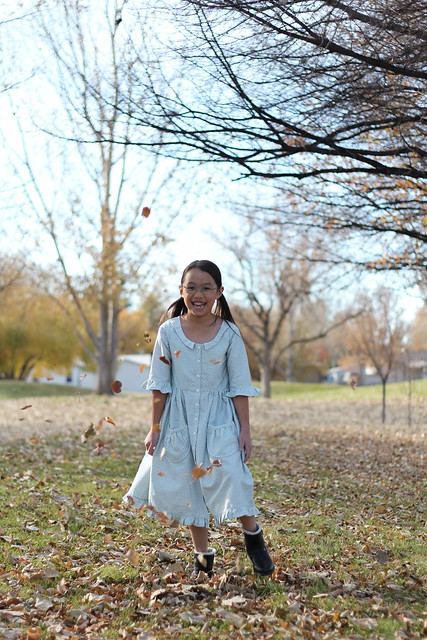
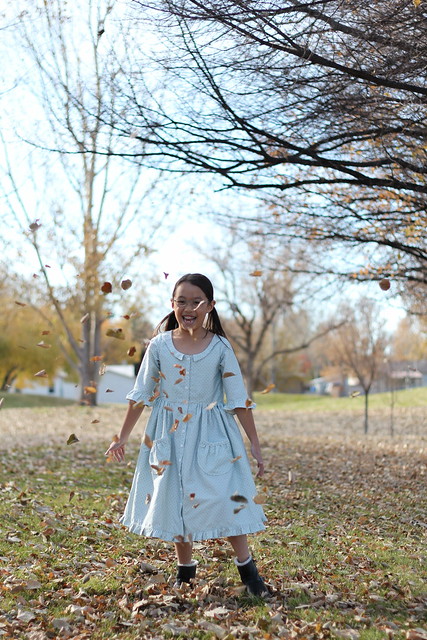
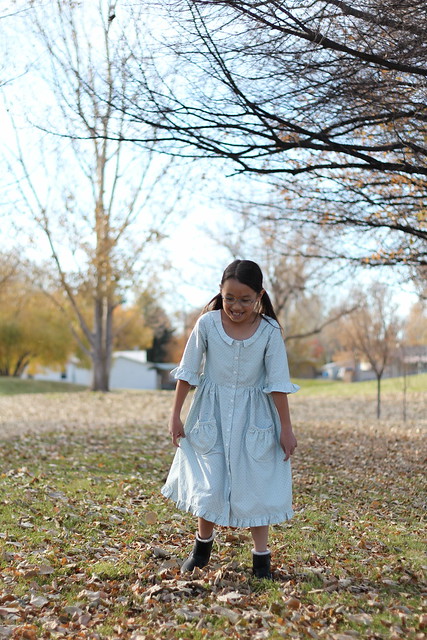
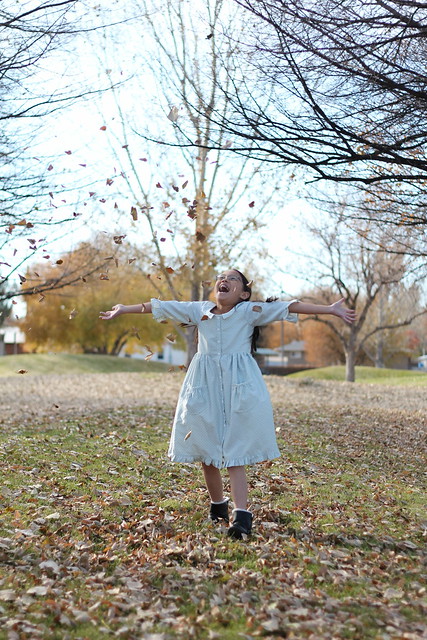
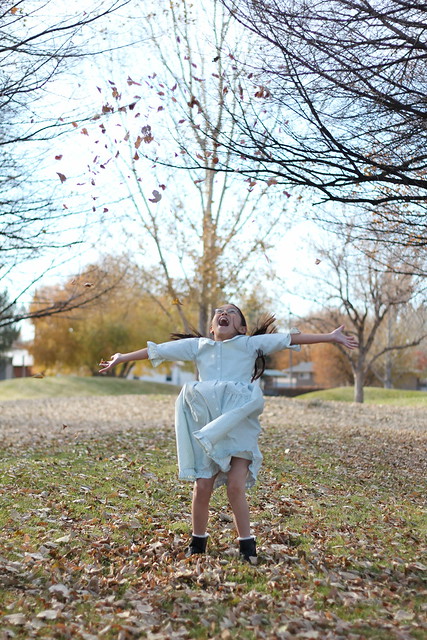
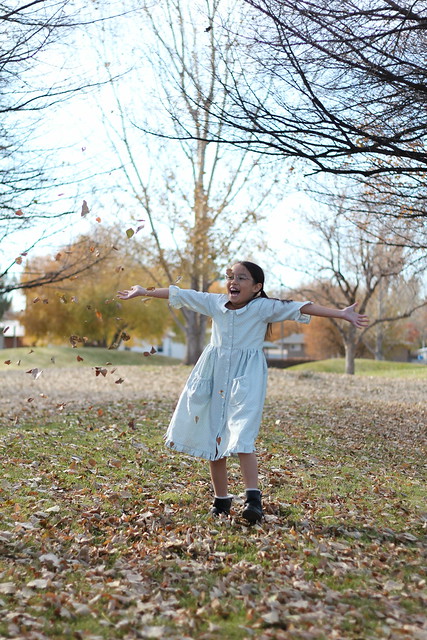
We had the opportunity to test the add on pack for the Camellia Dress by Phat Quarters. Ansley was thrilled to have a shirtdress and loves the sweet style. The add on pack features three quarter sleeves with banded or ruffles to finish, darling pockets, and a ruffle on the skirt. I sewed the size 8 based on her chest measurement. I love the darts to shape the waist and the collar. When I make another I will add lightweight interfacing in the collar so it keeps its shape a little better. Fabric is a sateen cotton bedsheet. I used the hemmed side edge for the bottom ruffle of the dress and saved myself a lot of pressing and hemming time. :)
The pattern has clear instructions with helpful text and photos. The pattern can be printed in layers and assembled by trimming the pages or overlapping them. It also has a cut chart for some of the rectangular pieces.
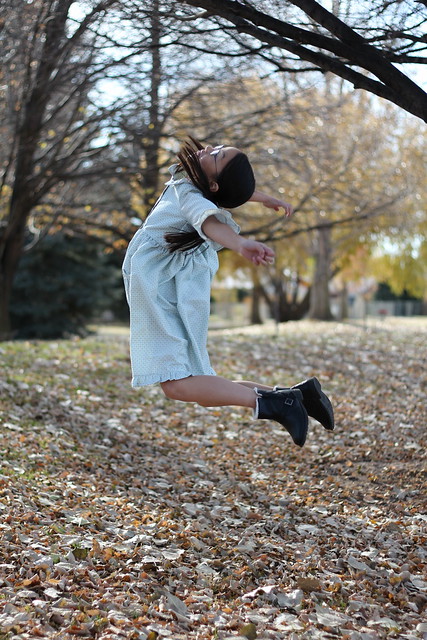
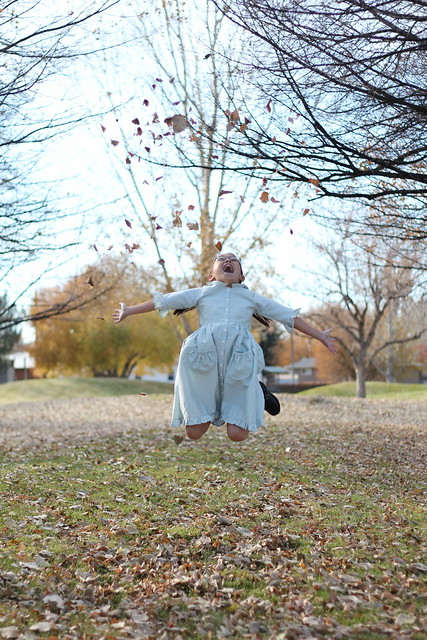
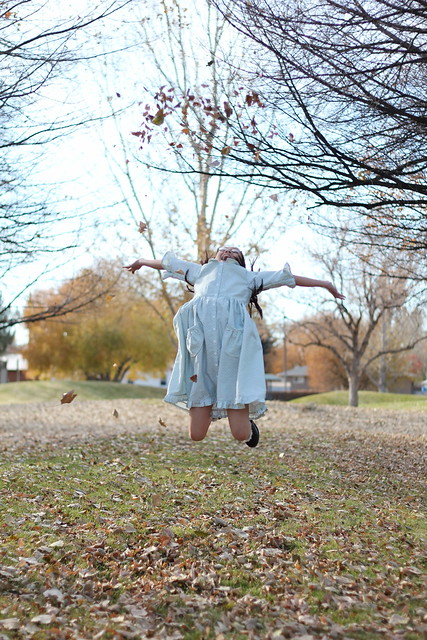
The dress came together well and has been worn often since I finished it in the fall. I meant to blog this months ago before the worst cold/flu season I can remember. Last week was the first week we have all been healthy at the same time since Thanksgiving (with the exception of the week between Christmas and New Years!). Some of my piano students have been sick the last two weeks and I really hope we don't get sick again! Anyway, I'll leave you with a bunch of pictures from our fun photo shoot in the fall leaves. Thanks for stopping by!
Subscribe to:
Posts (Atom)