Thursday, October 25, 2018
Halloween 2018 (rad patterns cosplay 2.0)
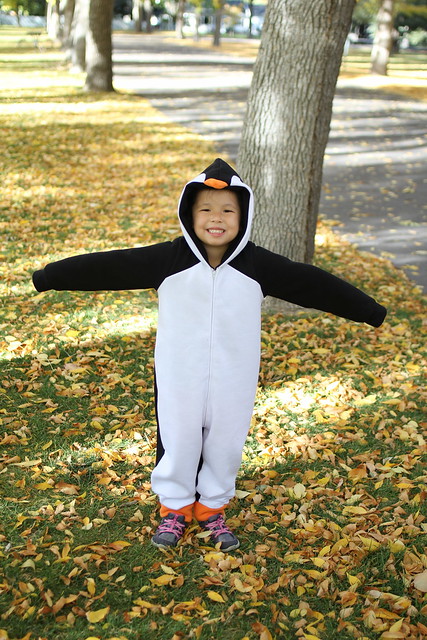
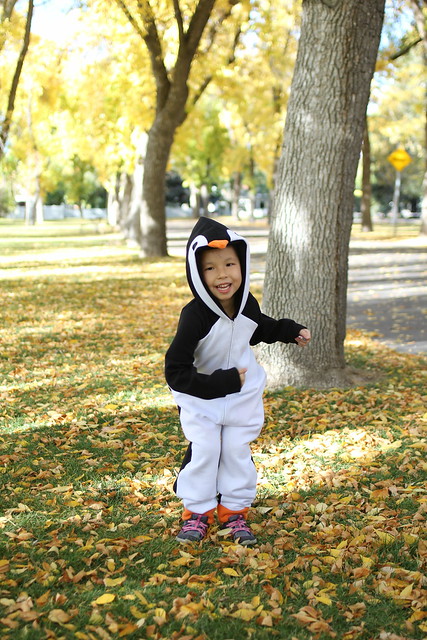
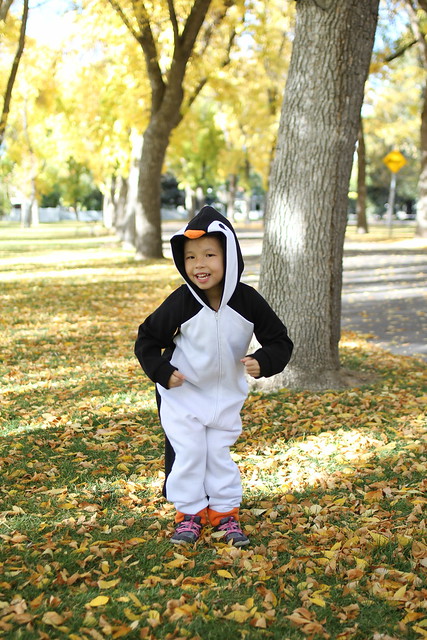
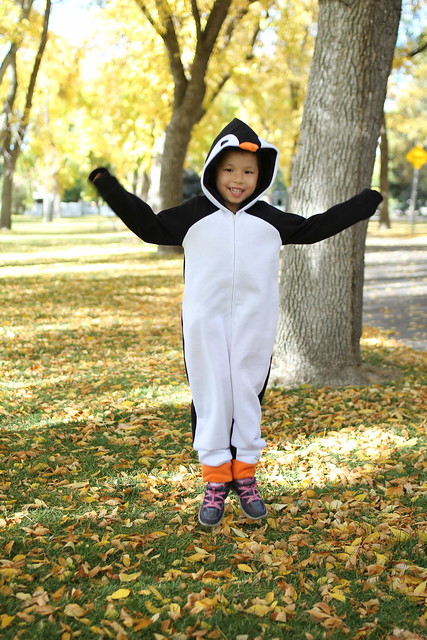
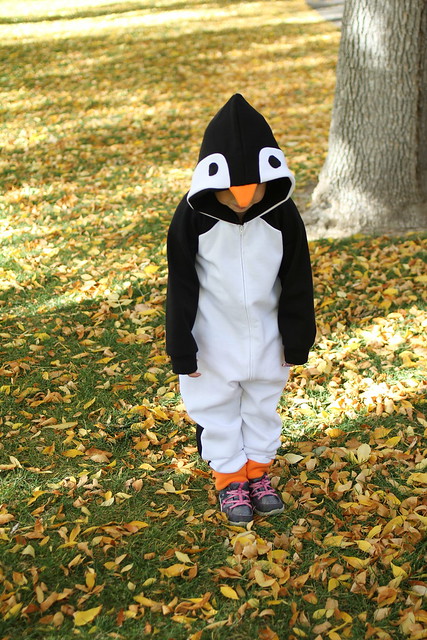
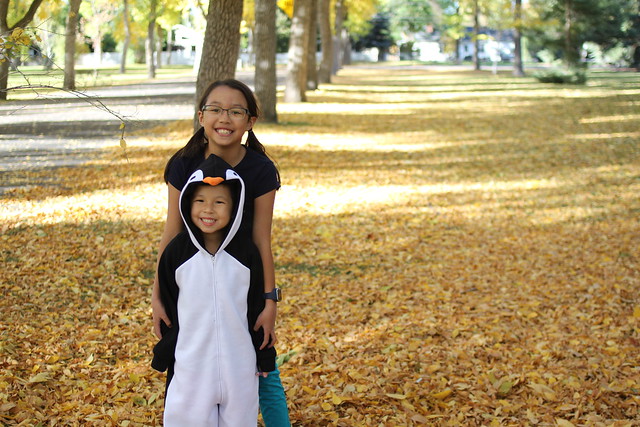
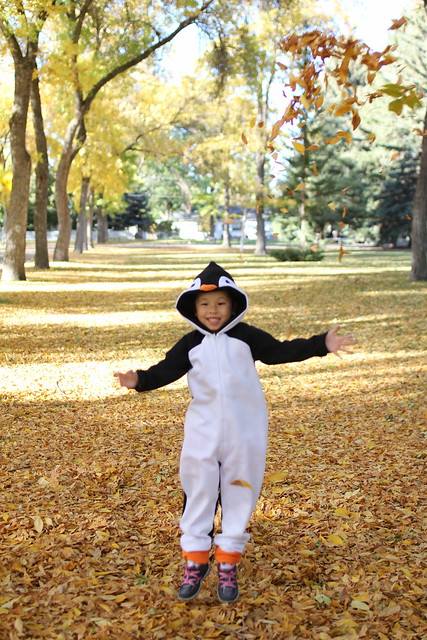
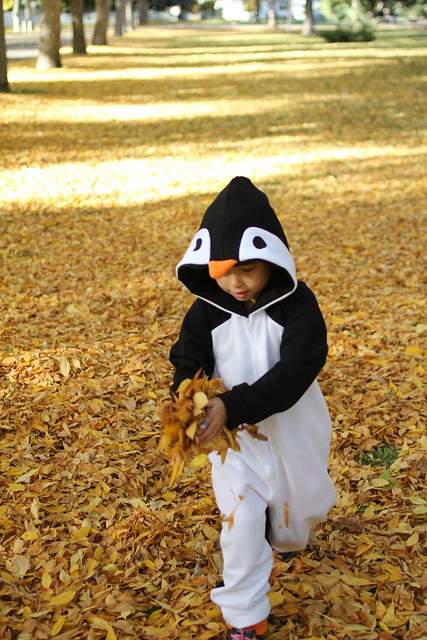
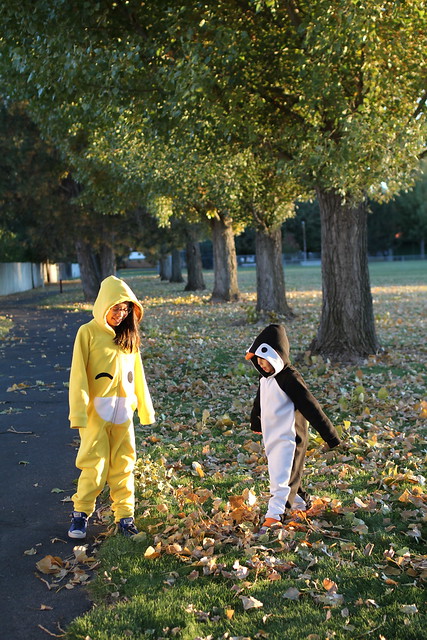
Lisbon has loved penguins for the vast majority of her life. She was a penguin for two Halloweens in a row and finally outgrew the penguin costume we found at TJ Maxx. She wanted to be a penguin for Halloween again this year and Rad Patterns released their Cosplay 2.0 pattern around the time that we were talking about Halloween.
The Cosplay 2.0 is slouchy jumpsuit with a center front zipper, designed for knit fabrics with about 10% stretch like fleece. (I think the original cosplay suit was designed for stretchier fabrics) It is drafted to fit over a layer of clothes. The unisex pattern comes in sizes 2-12 years. There are also versions for men and women. The pattern can be printed in layers so you only need to print the size(s) you need. The pages are no trim but they do require overlap, if that makes sense. I still trimmed two edges so I could overlap them more easily. The Cosplay 2.0 has a band option or hood option and included pattern pieces for several different animals.
I don't recall installing a zipper with the method suggested in the Cosplay 2.0 and I quite enjoyed it. Neither turned out perfect but I am much more lenient on perfection when it comes to Halloween costumes. Also unpicking in fleece fabric is not very fun. ;) This was my first Rad Pattern and I was a little surprised by the layout of the instructions and that there wasn't a picture with each step. However the text was easy enough to follow.
Lisbon's is a size 7 because I'm hoping it'll still fit next year and that she will still love penguins! Her measurements put her in a size 5. I did not alter the height or length of anything in hers. Ansley's is a size 12, which she requested. Her measurements put her in a size 10. I shortened hers by an inch because I really wanted to use a nylon zipper and they didn't have longer ones in my store.
The penguin is not one of the included animals so I did some sketching and studying of online pictures and penguins from Lisbon's stuffed penguin colony. I was pleasantly surprised that my first attempt worked well! I used black and white sweatshirting fabric and the newer plush anti pill orange for the beak. All fabrics (and zippers) came from Joann Fabrics. The sweatshirting is starting to pill a little on the outside since this little costume gets worn pretty much daily. I was expecting more pilling on the reverse of the fabric but that has remained soft. I wash in cold water and line dry. The plush anti pill fleece is pretty nice. I thought I might need to interface the beak but it's so plush it just stands out on its own.
I color blocked the front piece and the hood. Lisbon really wanted me to make the undersleeve white like real penguins but after doing the hood and the front and getting them to pretty much line up I was ready to be done. I used some Joann's loungeletics compression fabric for the black eyes. I did briefly consider sending it to the embroidery shop but remembered the price for set up and then stitching was pretty much what I'd spent on the entire costume.
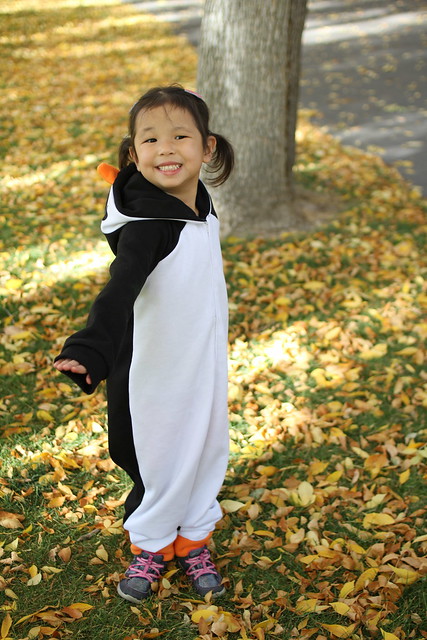
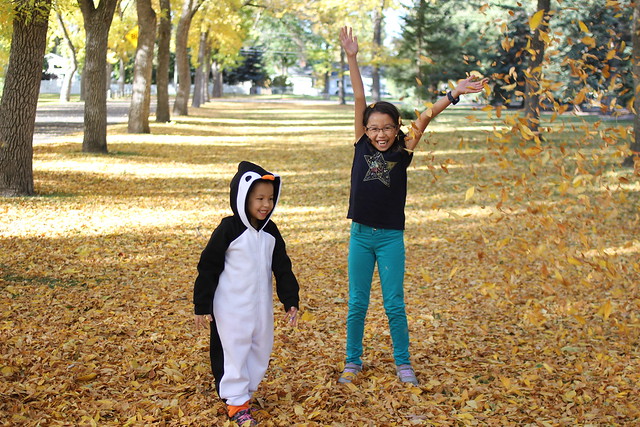
(She learned the Chicken Dance in preschool which is the best!)
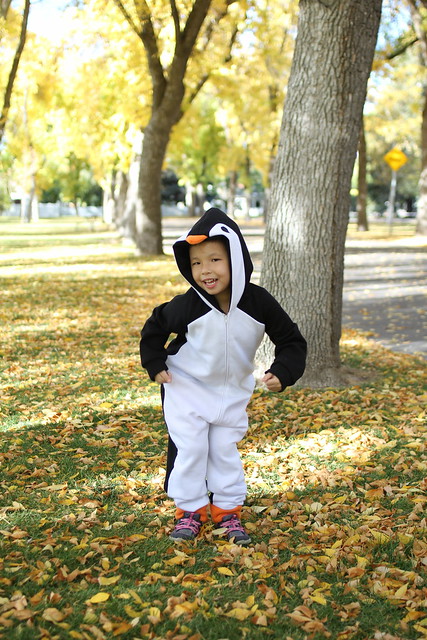
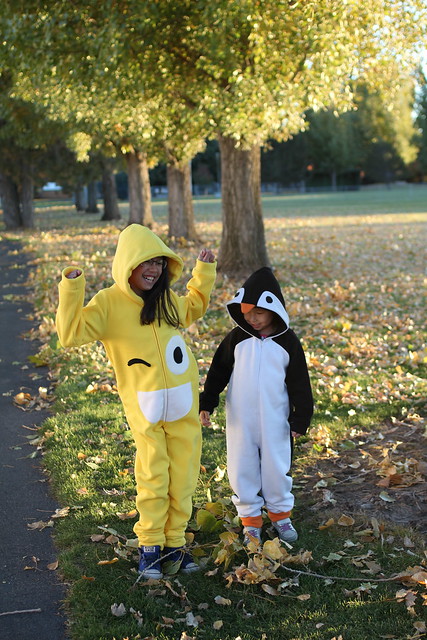
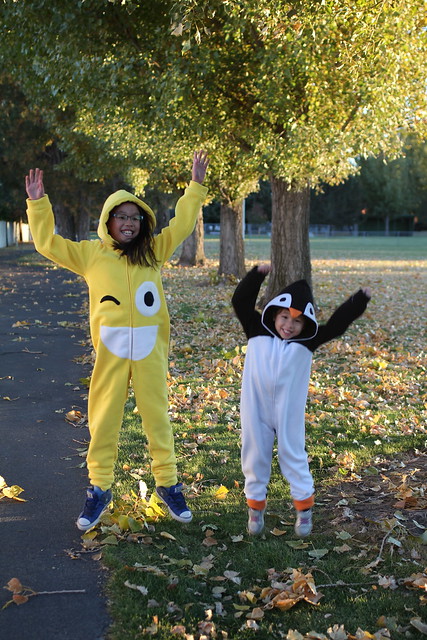
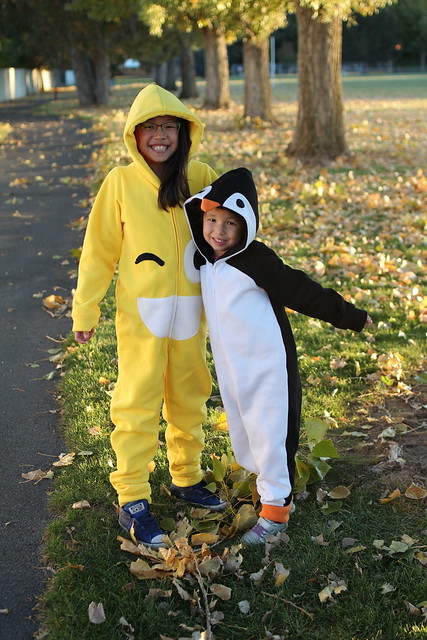
I finished Lisbon's costume in the first couple of days of October, right before a week of cold weather. She wore it all week around the house because I hadn't turned the heat on yet. Ansley insisted that she wanted to "be herself" for Halloween but I think the cold and seeing Lisbon's costume finally persuaded her. She was invited to a costume Halloween party at 4 pm on a Saturday. On the way home from choreography around noon she decided she wanted to be an emoji with a yellow suit and the face.
Last year I picked up McCall's 7674 but we never got around to making it and she decided to be a Ranger instead. I quickly made another trip to Joann's for more plush anti pill fleece fabric in yellow, black, and white. I totally missed the very light pink tongue when I glanced at the pattern envelope before leaving the house., so hers is tongueless. I was also surprised I had to trace some of the face pieces since they weren't all separate pieces in the pattern.
Anyway, I did the best I could with the time I had. I tried to make sure the pattern placement of the face wasn't weird. I sewed the face onto the front pieces before installing the zipper. I added the hood and arm and leg bands the next day. And Ansley's worn her costume around the house almost every day since I finished it.
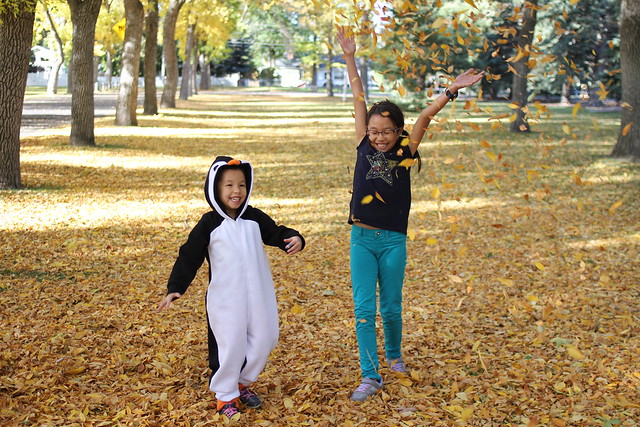
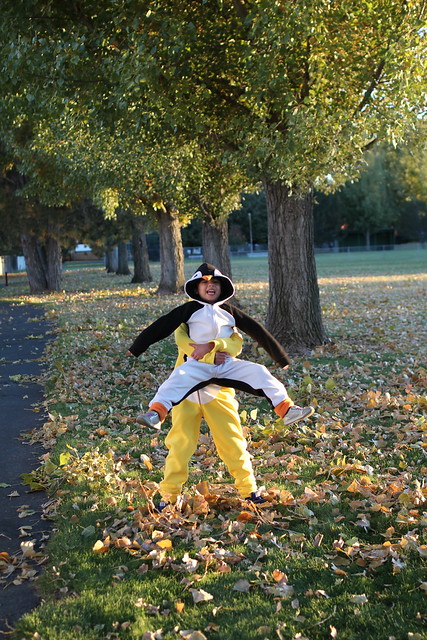
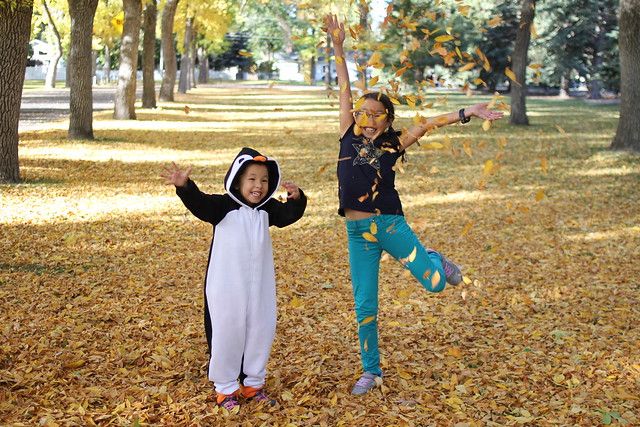
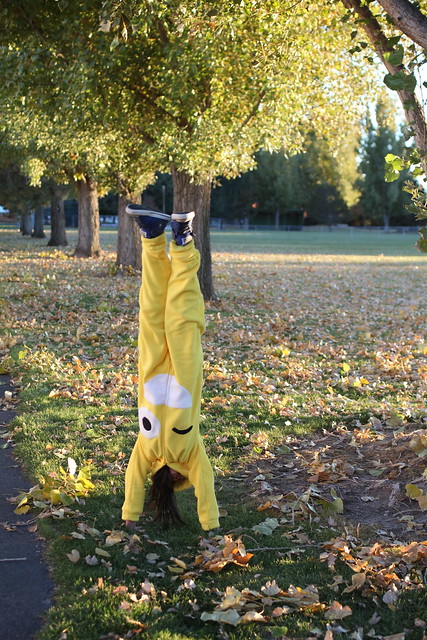
(Ansley said this needs to be captioned "hashtag Halloween handstand" so #halloweenhandstand
Happy Halloween! Thanks for stopping by!
Tuesday, October 23, 2018
The Wasabi and Sake Tees by Sew Like My Mom
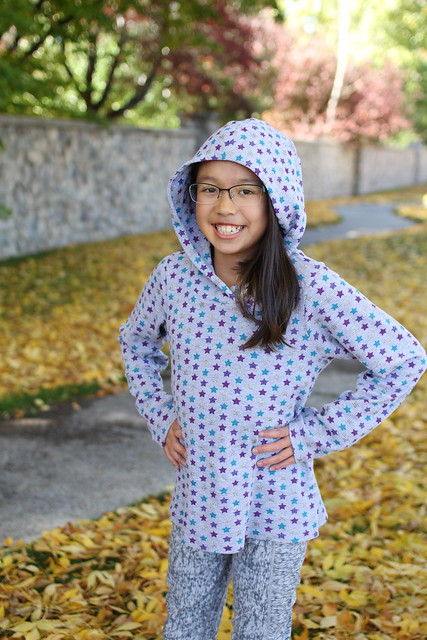
Hi! The Wasabi Tee (and dress) and Sake Tee (and dress) by Melissa of Sew Like My Mom are in heavy rotation at our house! (as is my craving for sushi....)
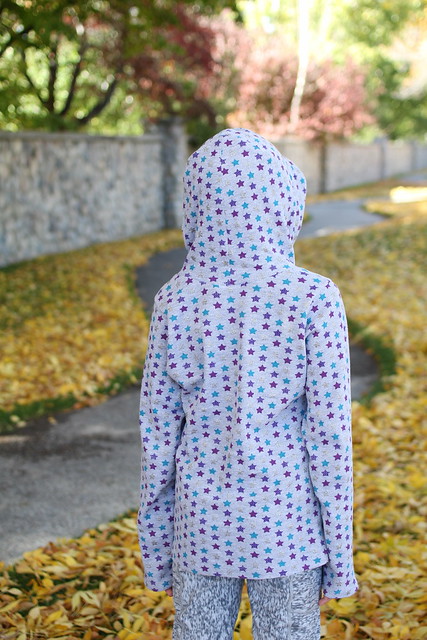
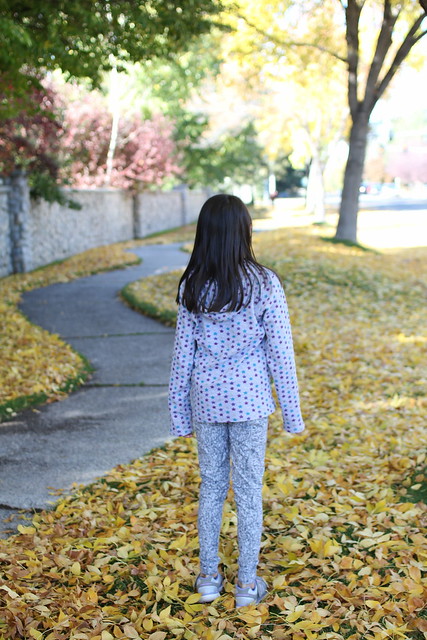
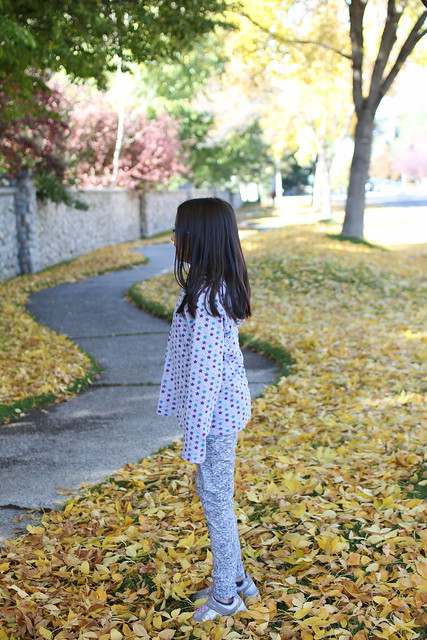
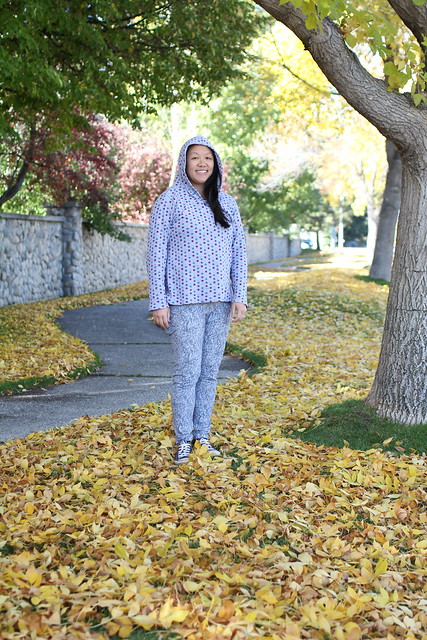
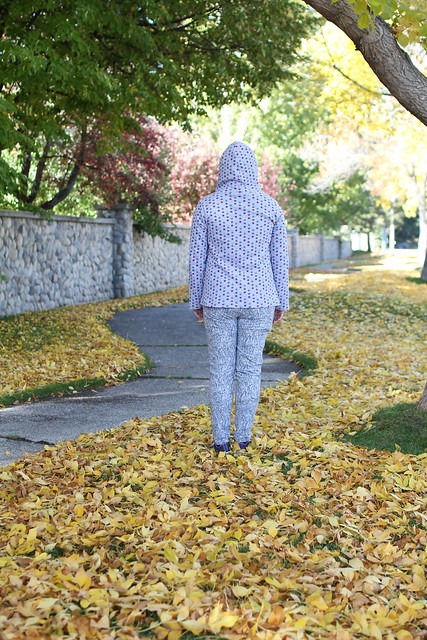
The Wasabi Tee comes in two size ranges (12m-8 years and 8-16 years) and includes separate pattern pieces for boys and girls, as well as separate cut lines for sleeveless vs sleeves (short or long are included though you could figure out something in between if you wanted). The Wasabi Tee also includes an optional kangaroo pocket and a dress length. My favorite feature is the hood with its darts! I have never sewn a hood with darts and I love the fit achieved through the darts! The hood can be lined or unlined and also crosses over in the front of the tee or dress (which is another one of my favorite features).
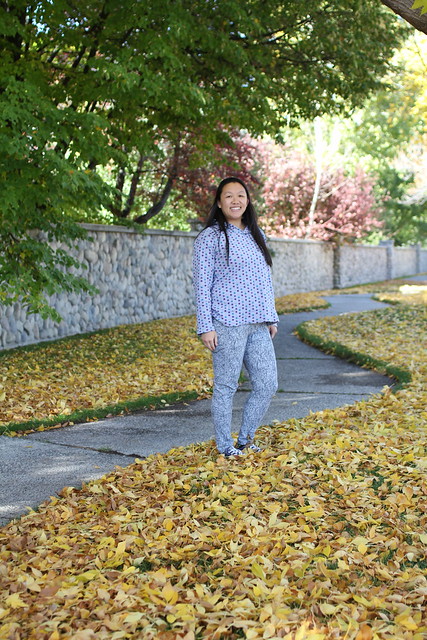
The Sake Tee (and dress) is the women's version of the Wasabi Tee (and dress) and comes in sizes XXS to 3XL. You already know the hood is my favorite. A close second is the shaping through the torso for the girls and women. It's so flattering and is still incredibly comfortable.
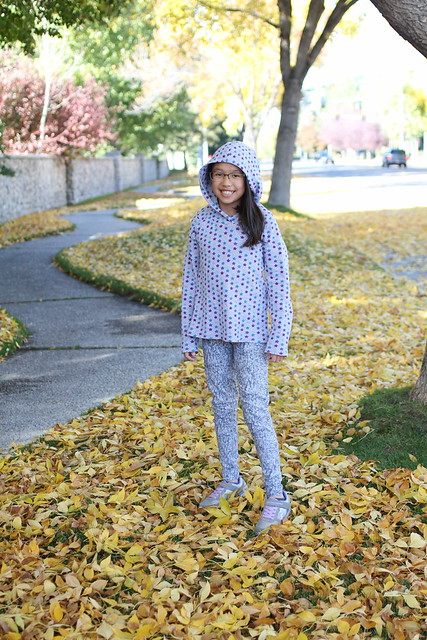
The Wasabi and Sake Tees are designed for fabrics like cotton lycra, interlock, french terry, and similar fabrics. I pretested some in interlock and a rib knit and used a waffle knit for these. The sleeves and bottom hems are hemmed with a traditional hem, though you could add bands if that's the look you're going for. The patterns include the option to print in layers so you can print just the size(s) you need. The pieces also include notches to line up the hood and sleeves, etc. The instructions are clear and include helpful text and photos with computer aided drawings.
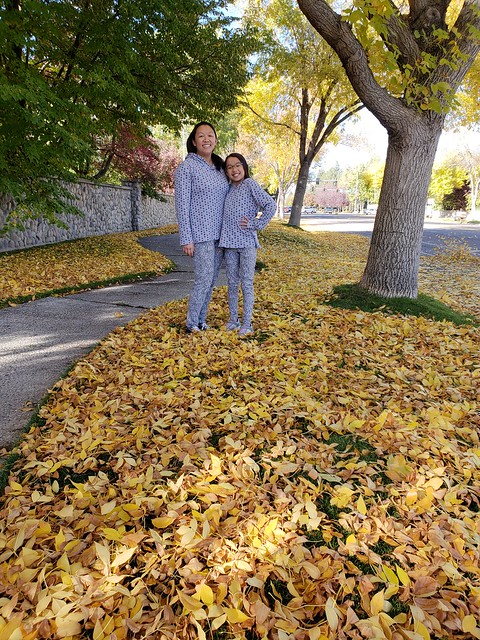
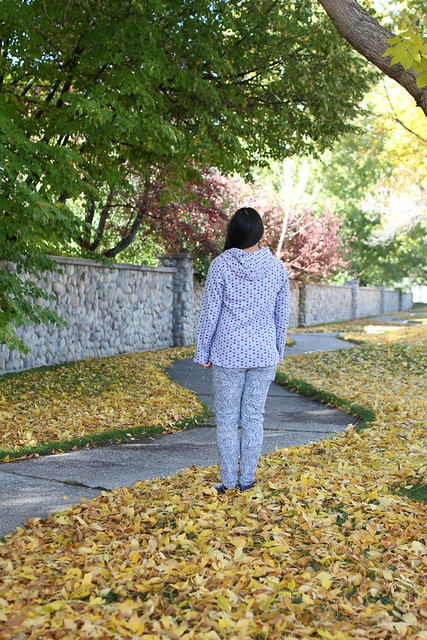
Ansley's is a size nine in the chest with a ten length. Mine is a straight size L. These are based on our measurements and are our normal sizes for Sew Like My Mom Patterns.
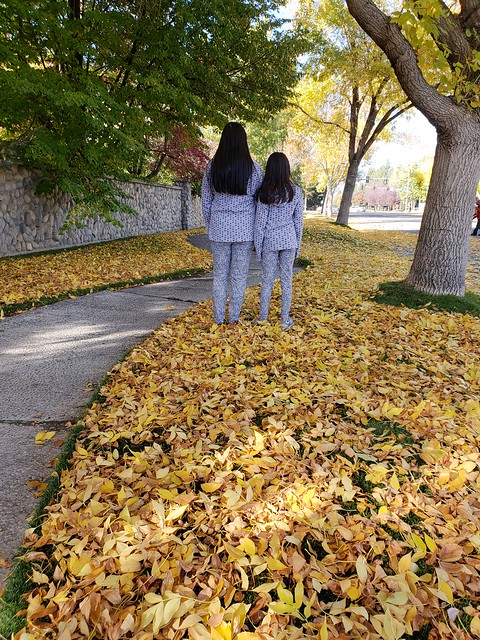
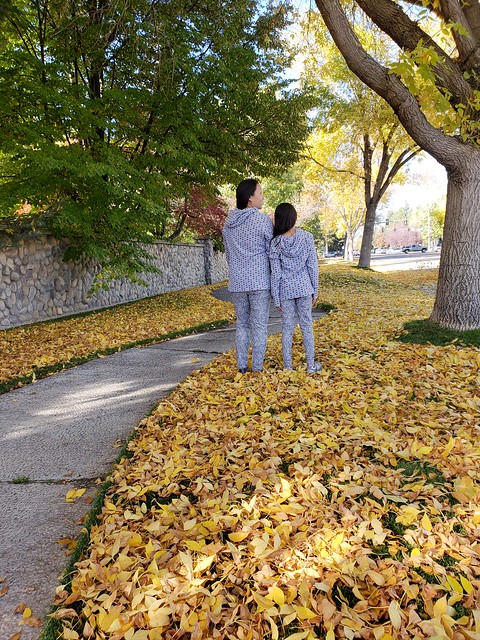
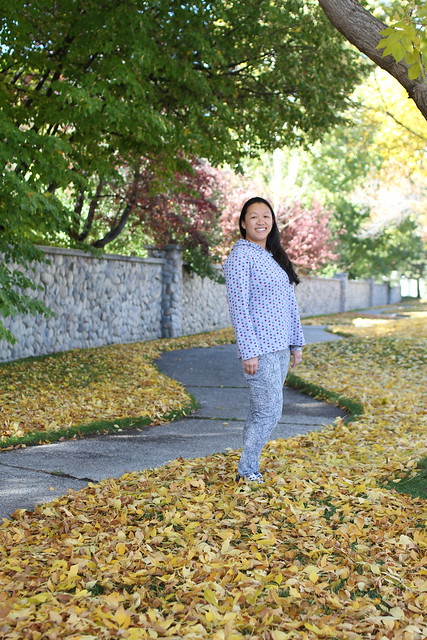
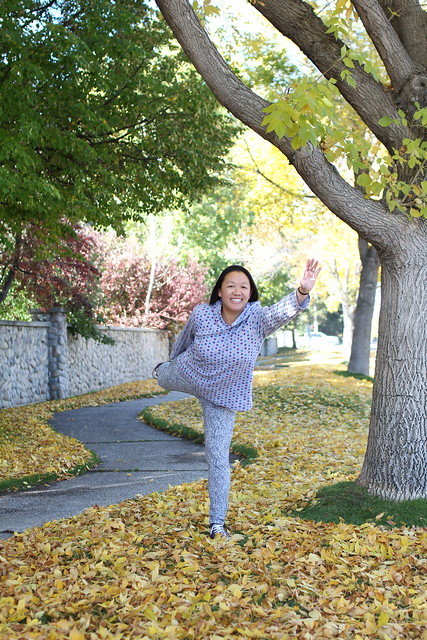
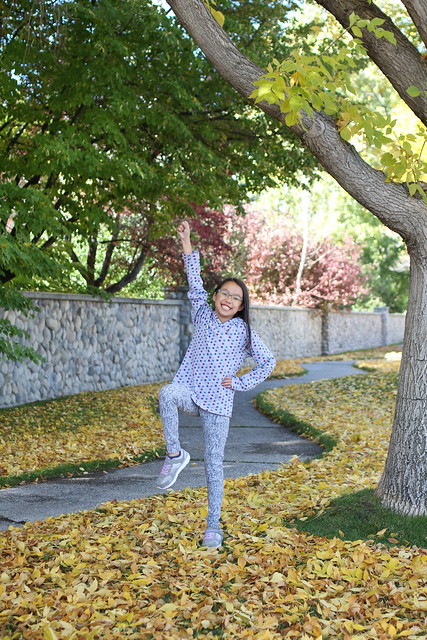
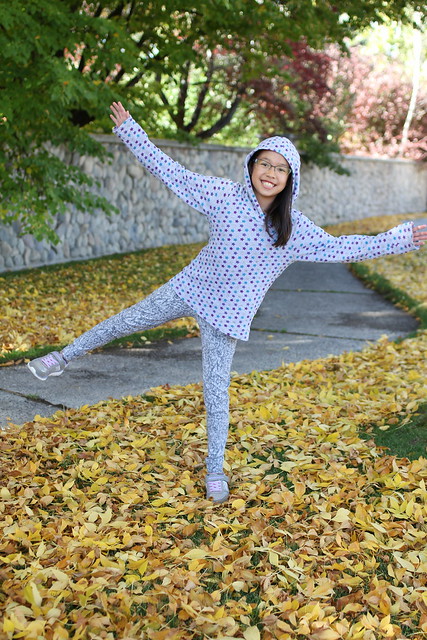
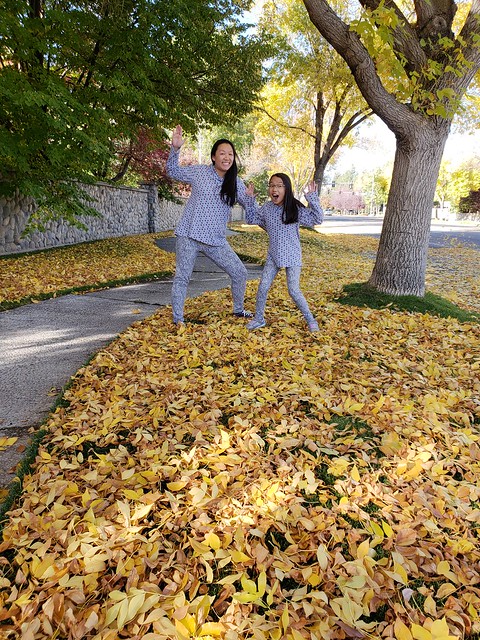
This photo shoot was super quick. We were on our way to choreography for Ansley's hip hop team so we left early to take pictures since it would be dark when she was finished. As we pulled onto the street, the leaves were being blown and collected! We are usually pretty fast but had extra motivation! Ansley is my photographer and enjoys telling me how to pose. For the first time I let Lisbon take pictures of us with my phone and thought she did a decent job! (I have since let her use my camera and she did well too(!) and since it's all digital it doesn't matter if she takes a bunch. She's four).
I had a little freak out when I found these leggings for Ansley because they are WOMEN'S SIZES! I actually bought mine first because I had a coupon and they were on sale on top of a sale (so they were like 83% off or something) and I love the phone pocket. I sized up because that's what they had left in the store so they are too loose for an intense workout but perfect for like yoga or lounging. Anyway, Ansley's are also a little loose but since we are wearing leggings as pants that's totally acceptable. ;) I wish I could buy fabric like this! Anyone have a good source?
The Wasabi and Sake Tees and Dresses are on sale through Wednesday, October 24th. There are options in the shop to buy the smaller children's range, the larger children's range, the women's and various combos. The bundle of all three is here (and we were so excited to make the listing lol). And if you're so inclined, here's my affiliate link (I get a small commission if you purchase with this link and there is no extra charge for you! Thank you for your support!).
Thanks for stopping by!!
The Kendrick Overalls by Hey June Patterns
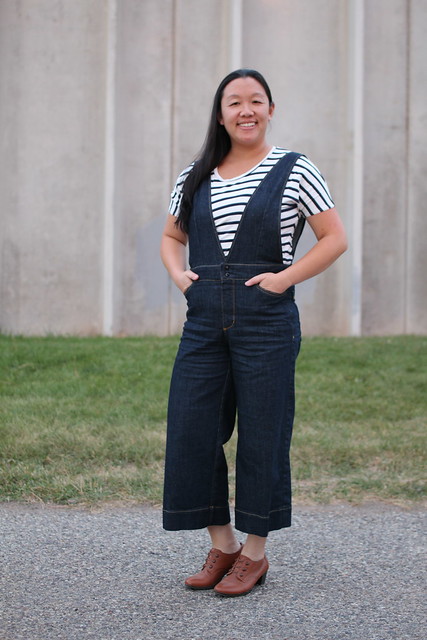
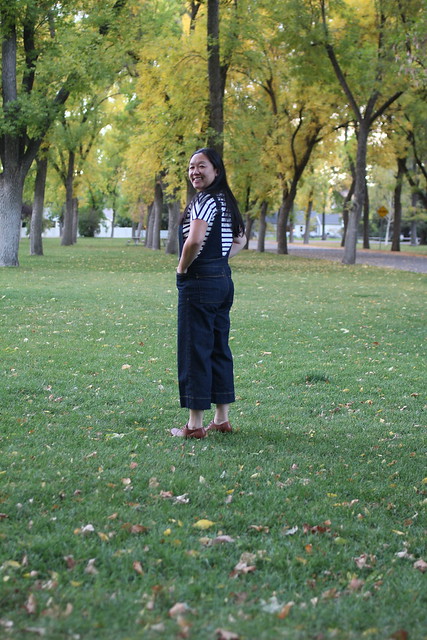
I didn't know I needed overalls in my life again until Adrianna started showing sneak peaks of the Kendrick Overalls on her instagram (@heyjunehandmade). I had overalls several years ago and while they were comfy and cool (mostly temperature cool, not necessarily stylishly cool) one truly unflattering picture my parents sent with our family Christmas card in like 2001 is burned in my mind. However, these overalls are not that unfortunate pair!
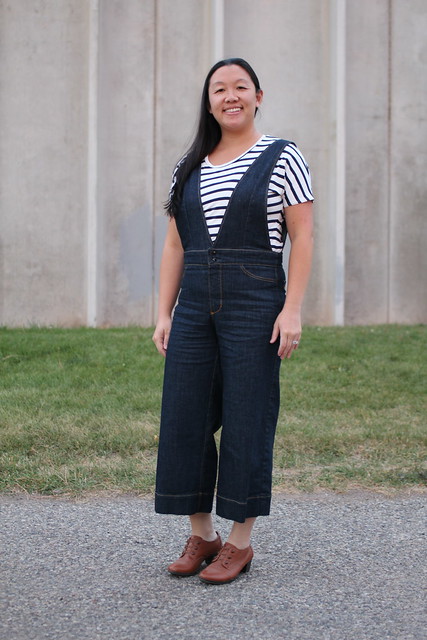
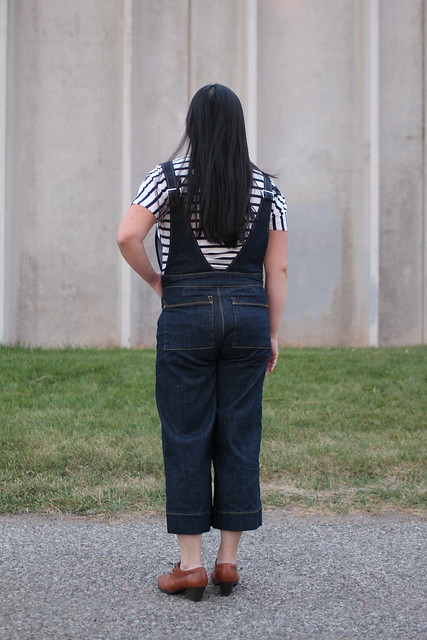
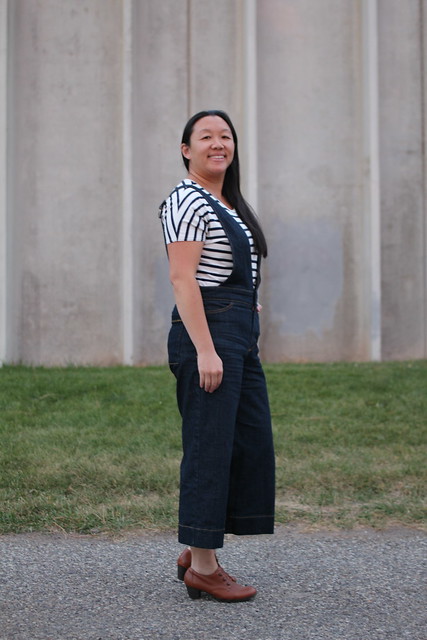
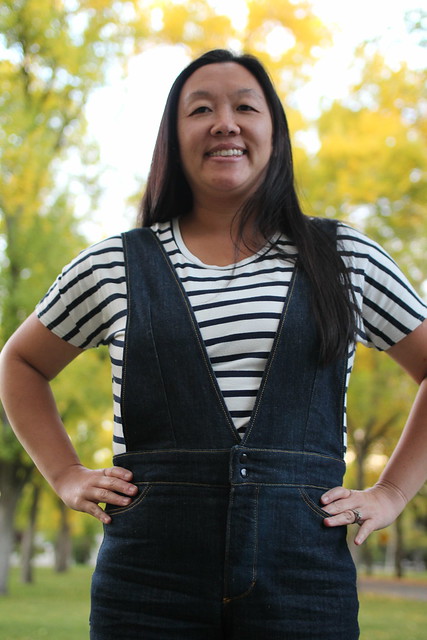
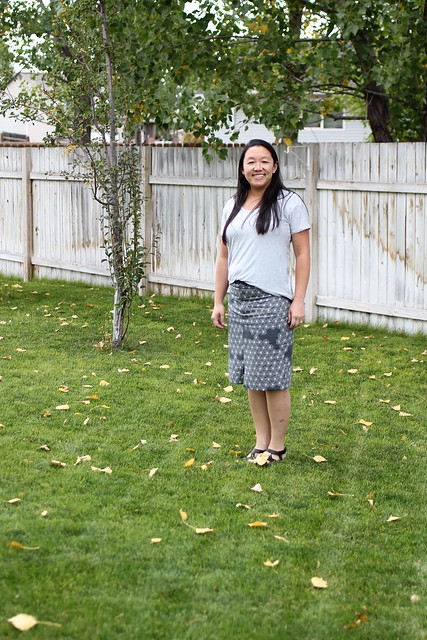
The Kendrick Overalls are a high waisted cropped wide leg pant OR fitted skirt with or without the bib. So basically they are four patterns in one! The bib isn't the standard overall bib I think of (you know, that boxy thing) but they have darts and fit and flatter the body.
Let's talk about the high waisted thing for a second. I had always shied away from them because they felt weird on me or I felt like I looked weird in them or the pockets are unflattering or the tapered legs were gross on me etc., etc., etc. I am also less toned in the middle since having children. However, sewing has changed all of that! I can blend sizes if I need, eliminate wedgies, change length! The crazy thing is I hardly had to do anything to this pattern to make it fit how I wanted! I scooped out the seat 1/2 inch (normal for me and I'll add another 1/8th inch to my next pair) and I used smaller seam allowances in the side seams, which was super easy because there's a one inch seam allowance at the outer seams included in the pattern. A simple baste fit was all I needed to get my ideal size!
Like all Hey June patterns there are excellent illustrations and instructions and the option to print in layers or at a copy shop. The Kendrick Overalls come in sizes 2-22. They are drafted for non stretch wovens. I always appreciate the professional finishing instructions and the helpful notches to line up pieces. There are also different pocket options and a pocket stay, which is the best! So sleek! And the pocket bags don't flip out!
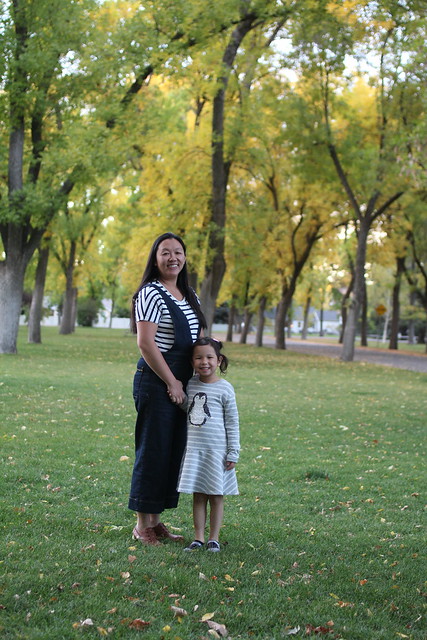
I sewed the overalls first. I used a denim with a tiny bit of stretch from a local store (like maybe 1% spandex or about 5% stretch) that went out of business. I sewed a size 10 based on my measurements. The rise in the final version has been raised an inch from this version. I scooped out the seat 1/2 inch, which is normal for me. I also used a 3/4 inch seam on the out seams. I have been wearing these a lot since finishing them and decided I needed to loosen the straps a little more so the seat feels more comfortable than these pictures. It's kind of a fine balance with the straps- a little too loose and they like to slide off my shoulders (again, NORMAL for me. I have never found a purse that actually stays on my shoulders unless it's a cross body style) or a little too tight like when I took these pics. The straps do remind me not to slouch, so that's another unforeseen plus.
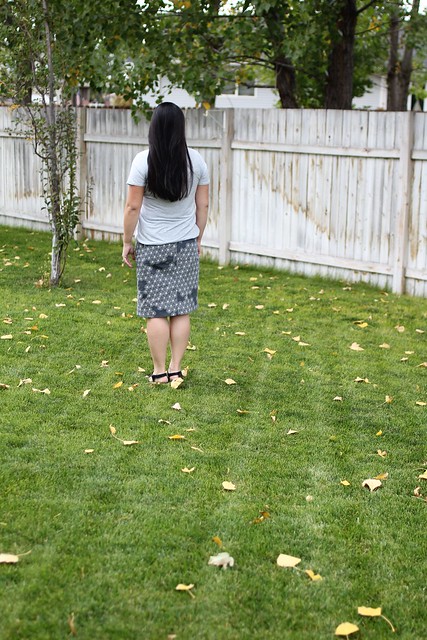
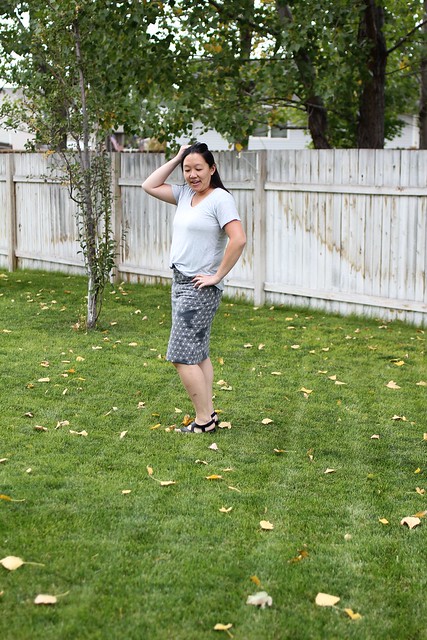
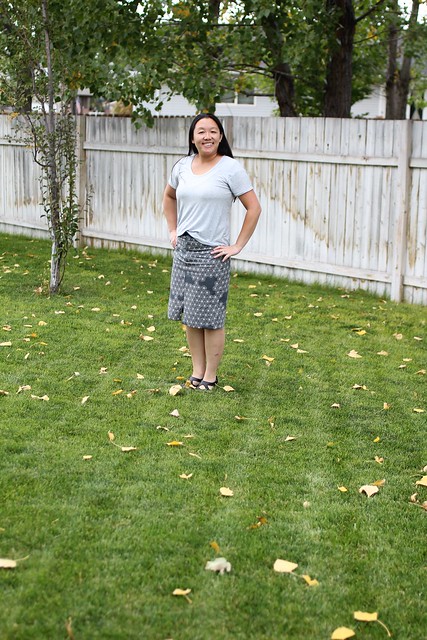
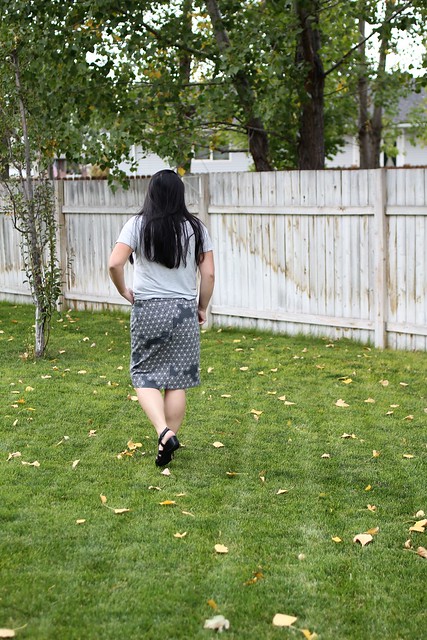
I sewed the skirt next in a non stretch somewhat light canvas from IKEA years ago. Since it feels amazing when standing or walking but is a little snug for my preference when sitting down for long periods of time, I think I overfit it a little. I also may have been counting on this fabric to relax a little like denim does but it doesn't. It's a good lesson for me. Anyway, the skirt came together beautifully and easily. I chose not to topstitch with contrasting thread (or even topstitch thread) to make it a little less casual. I adore the slit detail in the front and the chunky hem. I will likely lower the top of the slit a little on my next pair (personal preference) and consider grading the waistband out to be more comfortable for my shape.
I'm planning to batch sew a few pairs of wide legged, full length trousers in a navy twill and dark denim and/or pink denim.
(Overall pics paired with an Aurora Tee minus the long sleeves. Skirt paired with a Union St Tee. Pics by my nine year old).
Make sure to check out the tester round up too! So many amazing makes and pictures!
And here's my (aff link if you'd like- no additional cost to you).
Thanks for stopping by!
Sunday, October 21, 2018
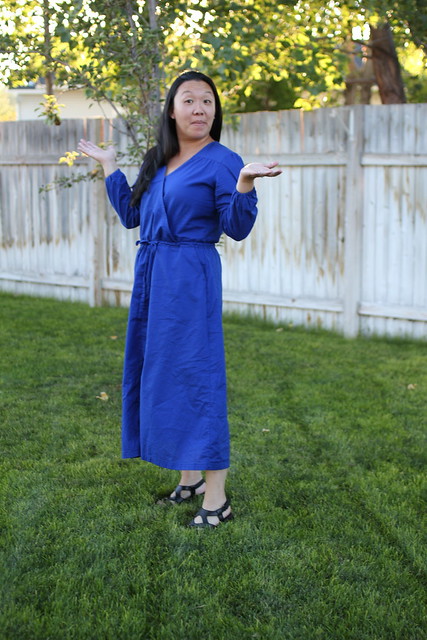
The Orchid Midi by Chalk and Notch
Did you see the gorgeous Orchid Midi by Chalk and Notch and the Parasol Jumpsuit by Ensemble Patterns released this month? I'm still swooning over all of the versions and combinations of these two patterns! You need to check out these posts if you haven't already!! (Gabriela's post! Celina's post!)
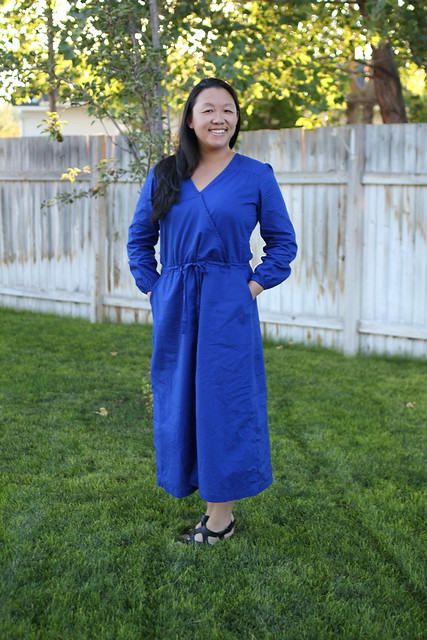
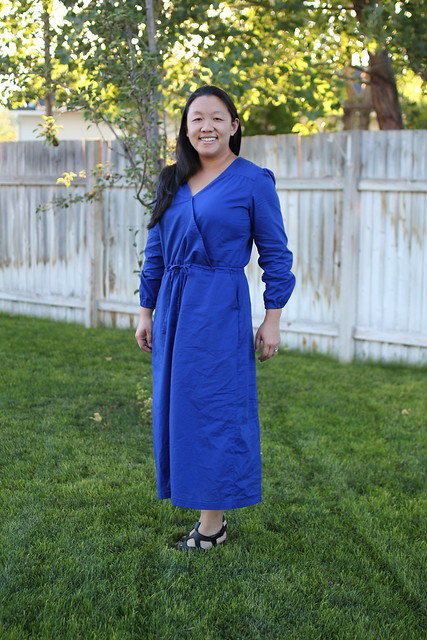
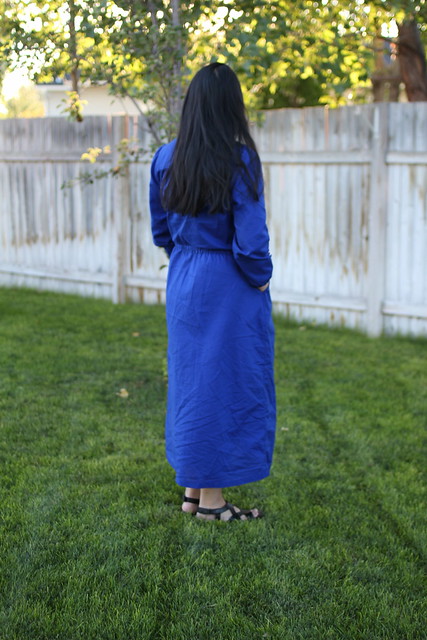
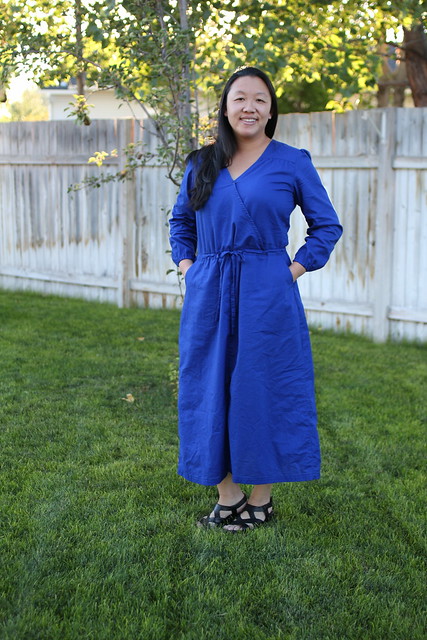
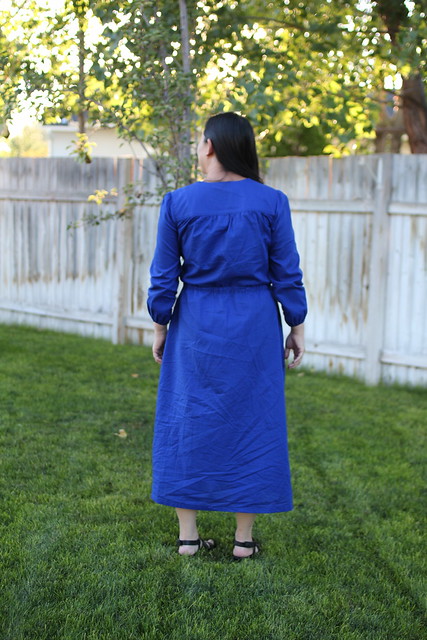
I was lucky enough to be able to test the Orchid Midi and I just love it! I feel so elegant and comfortable in it! This was my first test for Gabriela and I really like how she divided her testing into different phases, which was new to me.
I was in the first phase test group, so there have been a few minor changes to the final pattern (which is NORMAL over the course of testing but I didn't want to misrepresent this gorgeous pattern!). The final pattern has been shortened in the skirt and the sleeves are slightly longer than my version shows.
The Orchid Midi comes in sizes 0-18 and has a home print and copy shop version. There are layers so you only need to print the size(s) you need and there are pattern pieces for the interfacing, which is much faster for me than drawing my own pattern pieces for interfacing! There are notches and instructions for finishing the seams, which leads to a lovely finish. Sleeve options include ruffled sleeves and a long sleeve (and sleeveless if you combine it with the Parasol Jumpsuit). My favorite part is the VERY GENEROUS pockets! The instructions have clear text and illustrations.
This was my first proper mitered corner (at the hem) and the instructions were clear and I got a nice finish the first time around.
For this test version I used a 100% cotton. It is a little stiffer than the suggested rayon fabrics (rayon challis or rayon crepe) but similar in feel to the cotton lawn (also recommended) I have in my stash. I sewed a size 12 according to my measurements. After wearing this dress (and napping in it then taking these pics), I determined I needed to buy a tiny snap set to keep the bodice more overlapped for my comfort. I also need to redo the elastic so it's not quite as snug (again, not a pattern issue, just for personal comfort) since the sleeves ended up a little shorter than intended and I measured the elastic comfortably for my wrist.
I am planning a light blue floral for my next version. I might try printing the final pattern at a copy shop. I found the home print pattern was laid out very efficiently but the pages fall off my island so it's more challenging to assemble. What format do you prefer? I'm also itching to sew a pair of Parasol Trousers! You can pick up both patterns at a discount here or here until the end of the month. I also have a copy of the Orchid Midi that I'm giving away on instagram. (@replicatethendeviate)
Thanks for stopping by!
Subscribe to:
Posts (Atom)