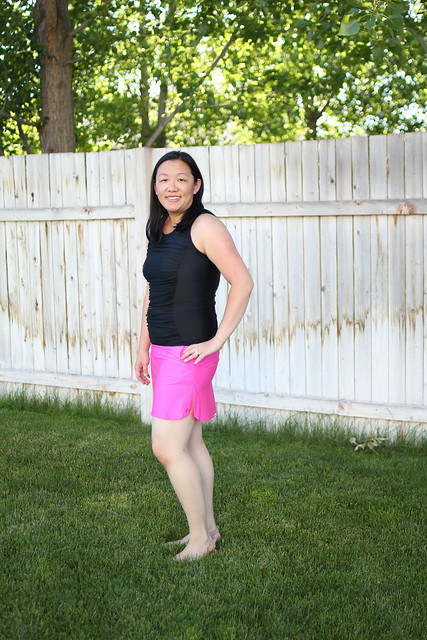
This is the Grace Tankini by Audrey of Savvy Patterns and the Skirt Fixation blog. It comes with two top views- view A with a solid front and circle cut out in the back and view B with a ruched center panel. There are multiple skirt options- no skirt (with perfect fitting panties!), circle skirt, sport skirt with plain front, and sport skirt with ruched center. There is an optional card pocket or more traditional pockets in the sport skirt. There are excellent directions for sewing a shelf bra, optional boning, and optional lining, and optional power mesh. Audrey went a step further and has included several video tutorials on her blog about sewing in cups and boning and elastic.
The pattern has excellent instructions and illustrations and the option to print just the size(s) you need (option to print in layers) and a printing guide to print just the pieces you need.
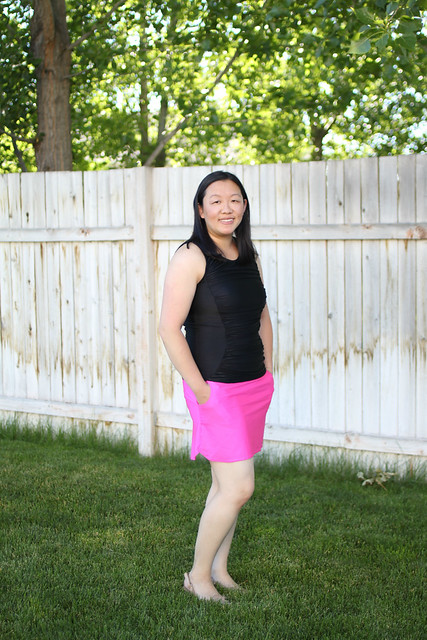
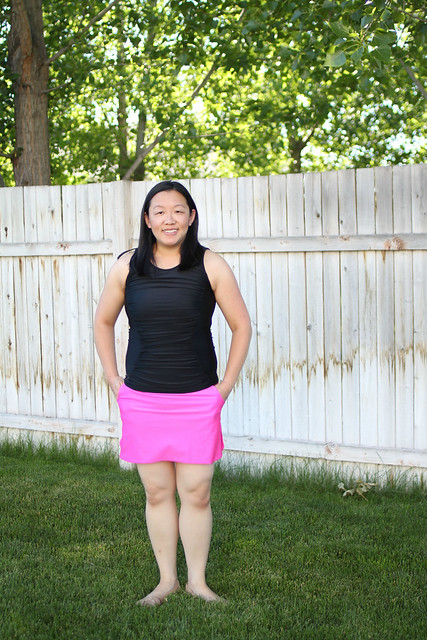
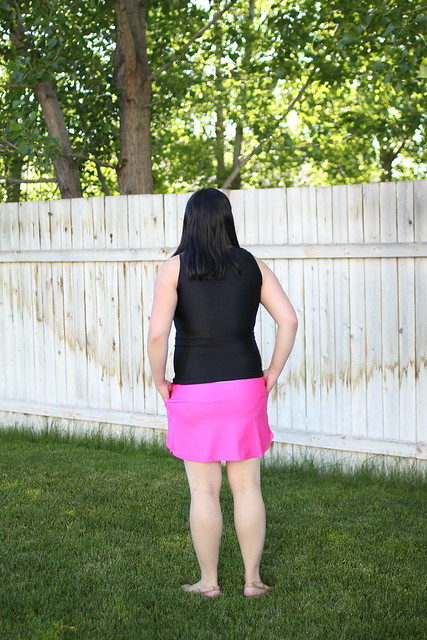
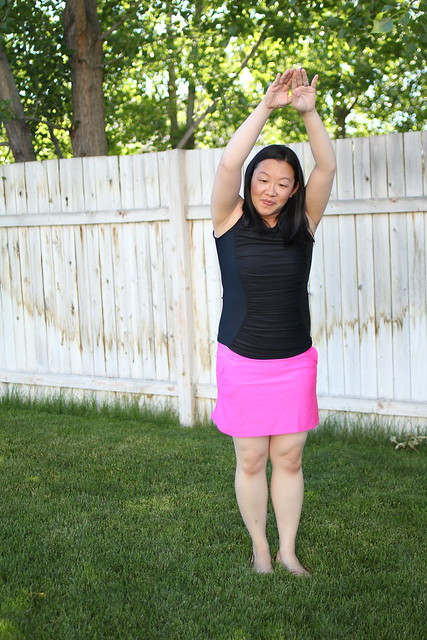
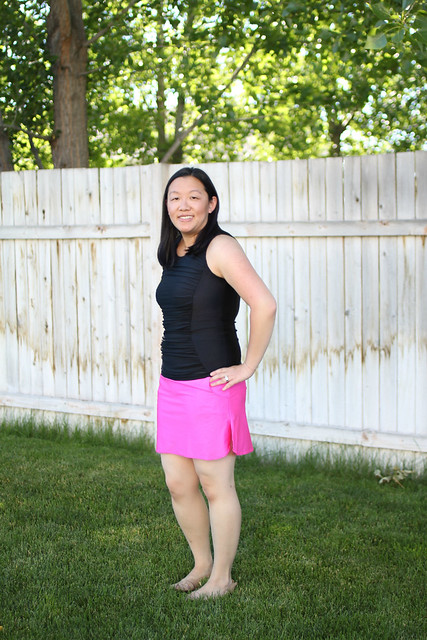
I chose to make the ruched center top (view b) and the plain sport skirt with pockets.
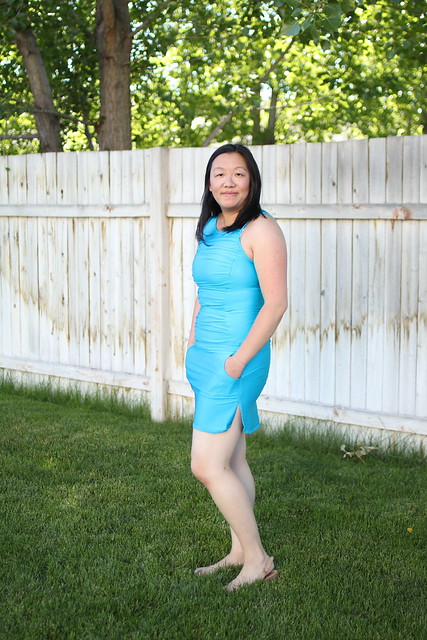
I used swim fabrics and lining that was labeled as "power mesh/swim lining" from Joann. I also bought the swim elastic (albeit 3/8 inch instead of 1/4 inch as the pattern specifies because that's all my store had) from Joann. For my tester version (the blue one) I used cups from a sports bra I bought for a quarter from JC Penney. I used swim cups from Sew Sassy Fabrics for my final (black and pink). I am not affiliated with them. I couldn't find much info about their products so that's why I mention them. My order came quickly and they are as advertised. They are smaller than I prefer and I ordered based on my size. I had previously ordered some cups from Amazon for sports bras but didn't realize they are also labelled as swim cups until I reordered them. Oops. Anyway you could also use cups from an old swimsuit. The ones I used from a sports bra were really thin so I knew they would be fine. However I have some sports bras that have sturdier padding and would probably take longer to dry than thinner ones and I don't want that. HA.
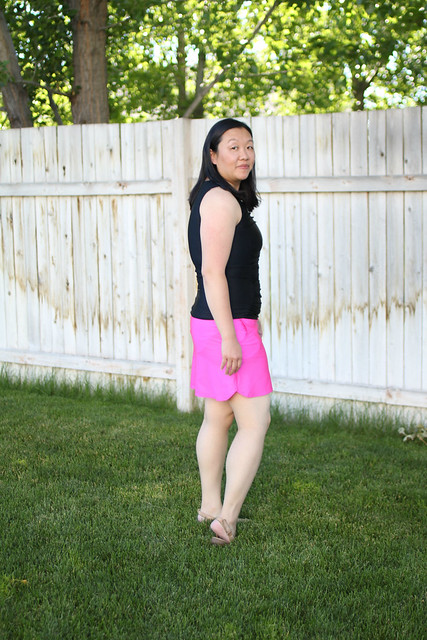
The tankini came together really easily. The longest part was cutting the swim fabric. If your fabric is slippery it helps to cut a single layer rather than on the fold. I also found that using a stretch needle instead of a ballpoint needle made a difference in my stitching. (less skipped stitches). Also the elastic on the legs of my panties looks uneven when it's not on because it is uneven. I stretched it more in the back for a snugger fit in the back, which is what I want. It is not noticeable when it's on and I've read that this is normal with home sewn swimwear.
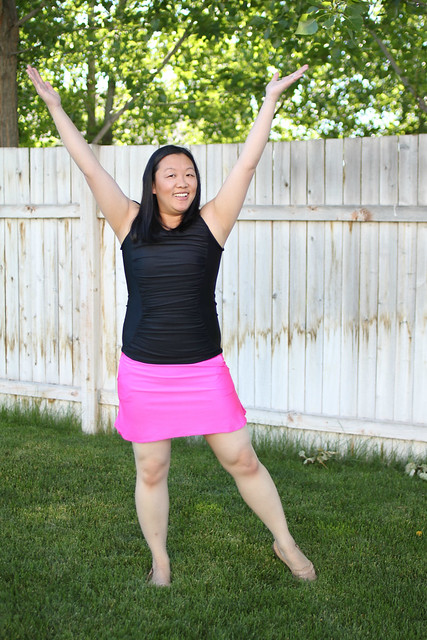
Ansley has been doing an excellent job at taking pictures for me lately. She made me pose in a pretend dive.
And a picture of the tester version. The neckline and armscye were adjusted, as was the final width in the pattern. Audrey worked tirelessly to assure the fit was just right and it looks AMAZING on all of the testers!!!!
Thanks for stopping by! Now go forth and sew all the swimwear and free yourself from the agony of swimwear shopping with fluorescent lights and dressing rooms since the Grace Tankini fits just right in all the right places!

I love it!! You look so cute in it and the colors are such a good match. That's good to know about the stretch needle (I only recently learned that there were two different kinds, gasp!). Love your diving photo, by the way! :)
ReplyDeleteLove your suits. Thanks so much for all your help in testing!
ReplyDeleteThose both look fabulous on you!! You have a great photographer too :).
ReplyDeleteThe skirt with pockets is fantastic isn't it! Love mine too
Well done!