Wednesday, February 29, 2012

Turtleneck Refashion

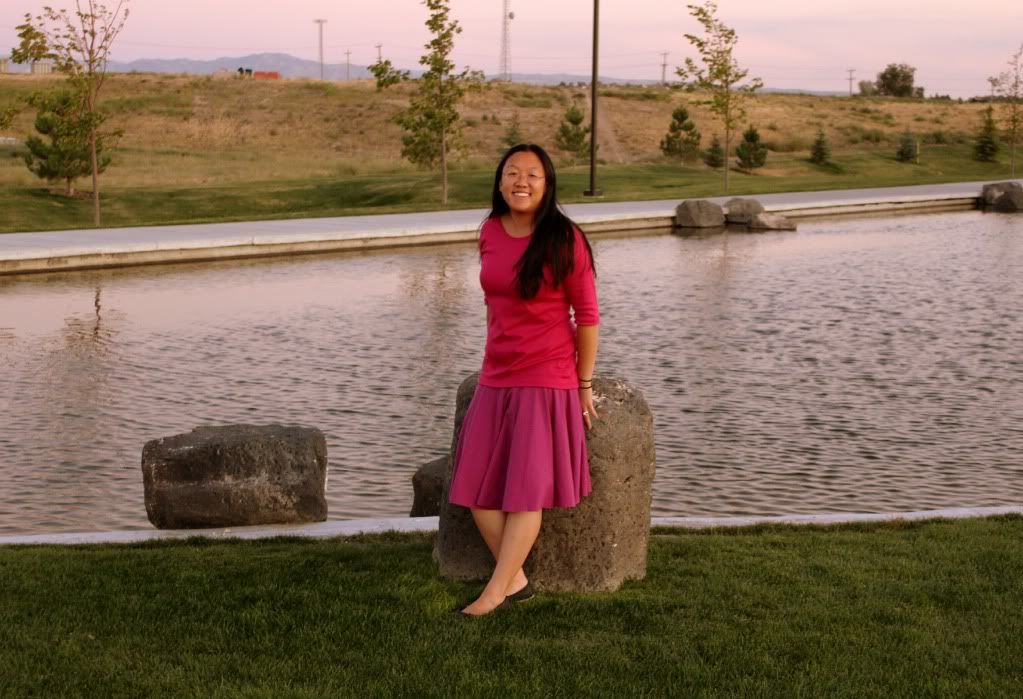
I looked everywhere for a better picture of me wearing my favorite 25 cent refashioned turtleneck but this was the best I could find. I won't tell you what I don't like about the picture b/c then you'll go looking for it. haha. And yes, that's another circle skirt. I actually covered the elastic band and like it but will stretch the knit band more next time so it's not a bit lumpy.

Photobucket

Made using this tutorial, originally posted on Tricia's blog, Made by Me Shared with You, as part of Toptober Fest.

I got each of these turtlenecks for about a dollar. They were a few sizes too large for me, which is great for refashioning. Now they're some of my favorites.


I used a shirt that fit well (with a similar amount of stretch as the turtleneck) and traced the body of the shirt, adding my seam allowance. (I kept the bottom hem of the shirt in tact). If you want the neckline to be more scooped in the front, open up the shirt and line up the side seams (so you're only cutting one layer of the shirt instead of two). I left my necklines symmetrical.


I kept the original hem of the sleeve bottom as the bottom of my new sleeve. My grey shirt had three quarter length sleeves and I wanted half sleeves so I didn't trace the full length of the grey shirt sleeves. (make sure the fold of your shirts line up). I was able to keep the sleeve seam the same too (only cutting the top curve for the shoulder).


I sewed the body of the shirt, right sides together. I sewed the sleeves in (shirt inside out, sleeves right side out). (not pictured)

Using the scraps from the side of the shirt, I cut some strips to bind the neckline. (both the shirt and the strips are doubled in this picture). Since the fabric isn't stretchy in this direction, I should've cut more. (more like 90% of the neckline, rather than 80%). I'll show you what to do if that happens to you too.


Even out your strips if necessary and sew short ends together to form a loop.


On the right side of your shirt, sew the binding while gently stretching the binding loop. Start in the back of your shirt.


Open up your loop and add another scrap if you need to. Since you started in the back, it won't be as obvious. Reclose the binding loop.


Fold the binding up and over the neckline (so the raw edge is now on the inside of the shirt) and sew with a decorative stitch.


Go model your shirt. Skirt refashioned and blogged here. (They matched great when I got dressed in the dark).

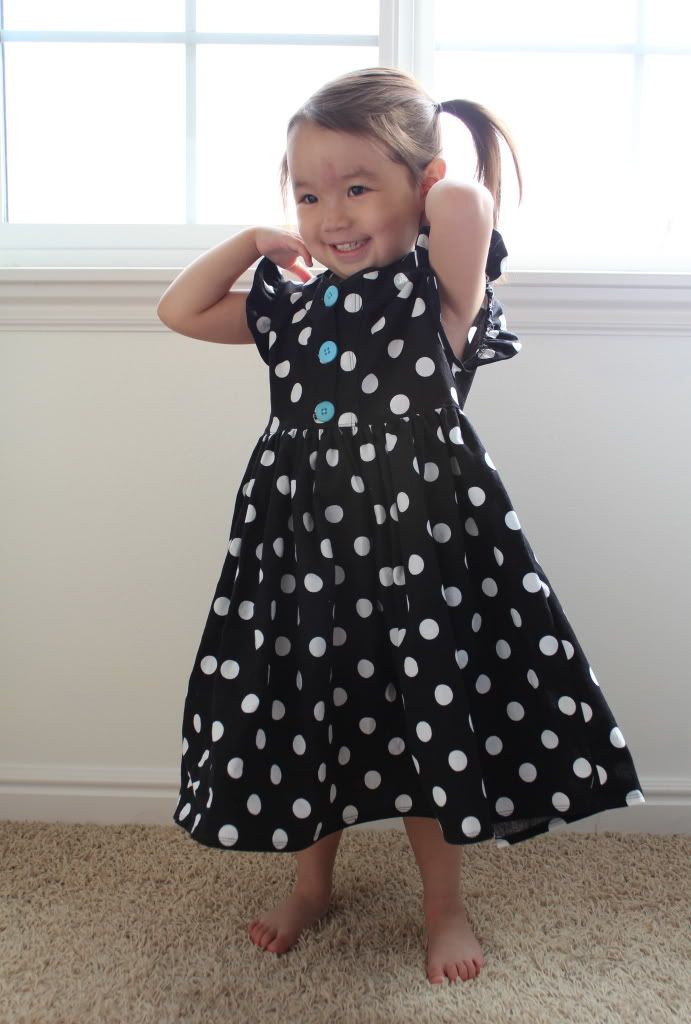
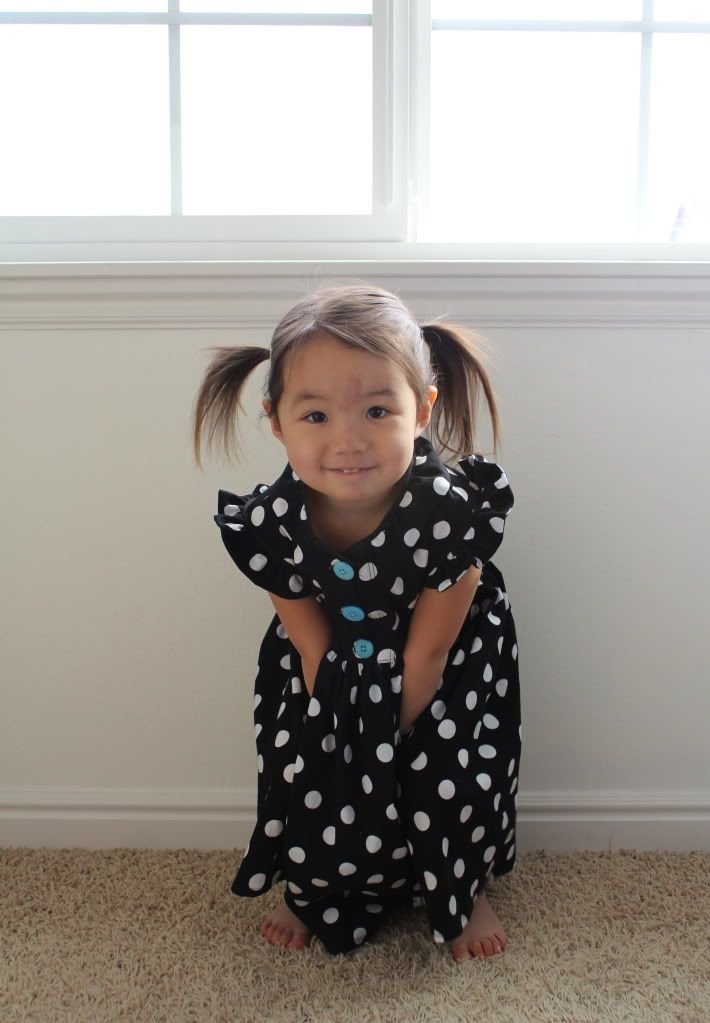
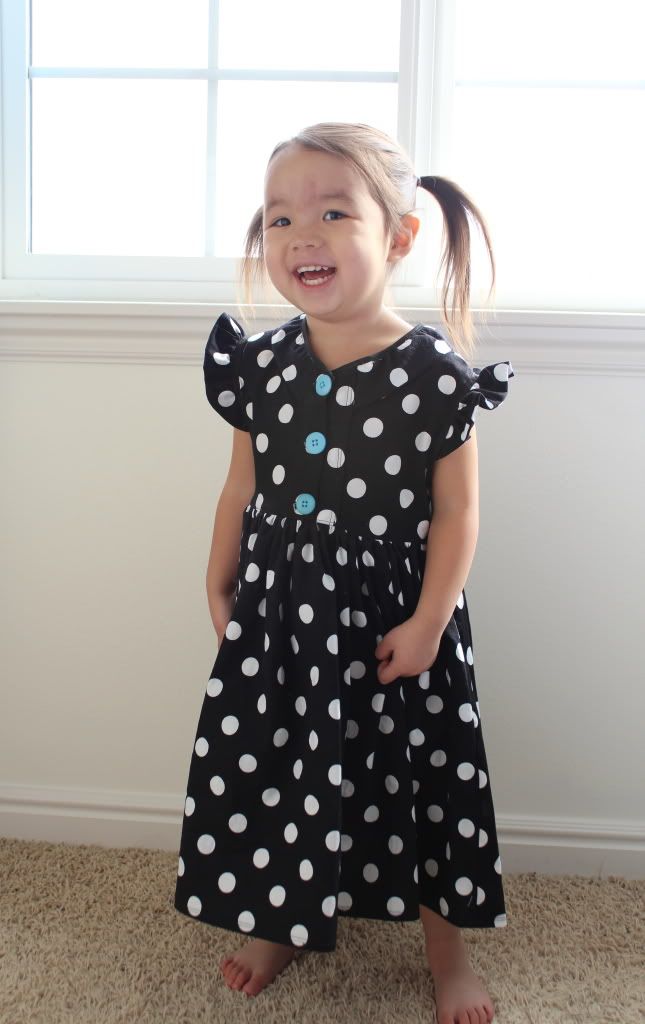
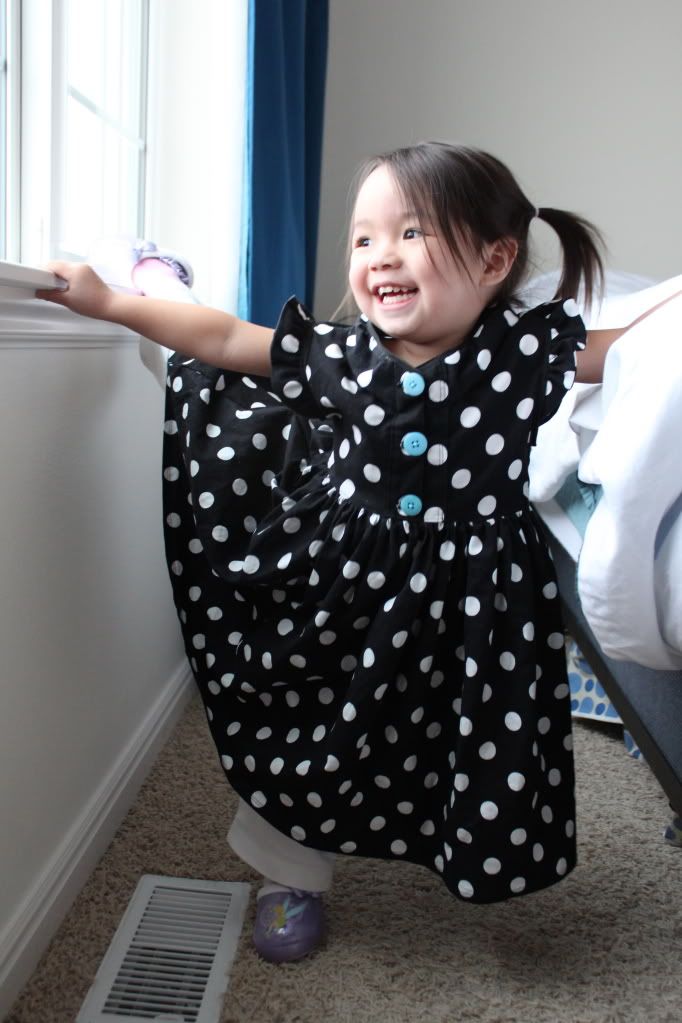
The Coraline Dress in Polka Dot

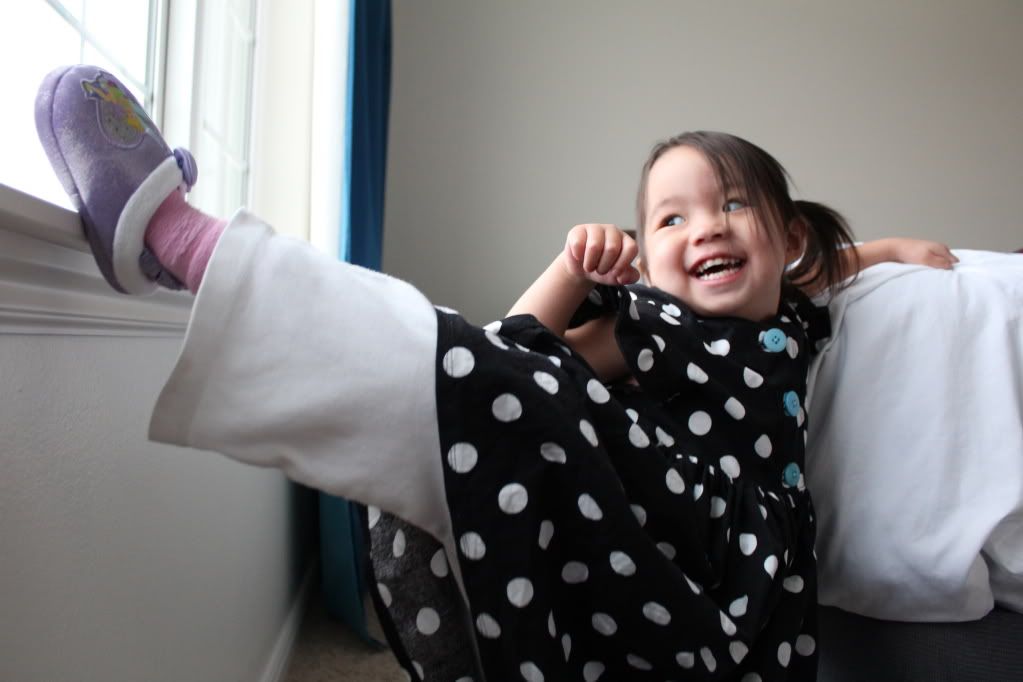
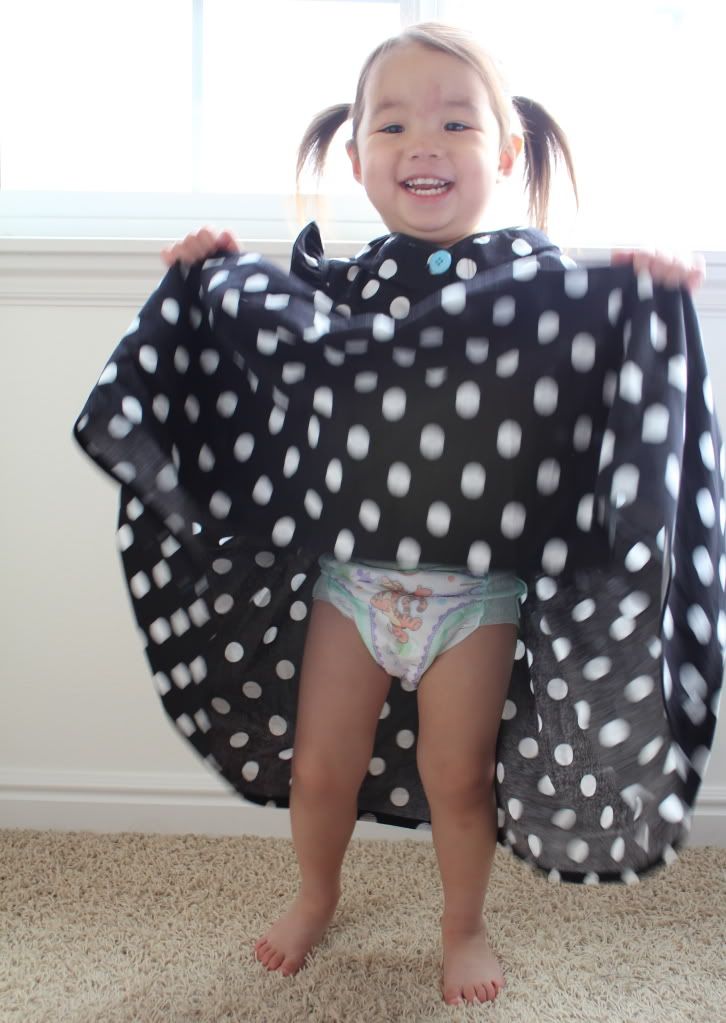
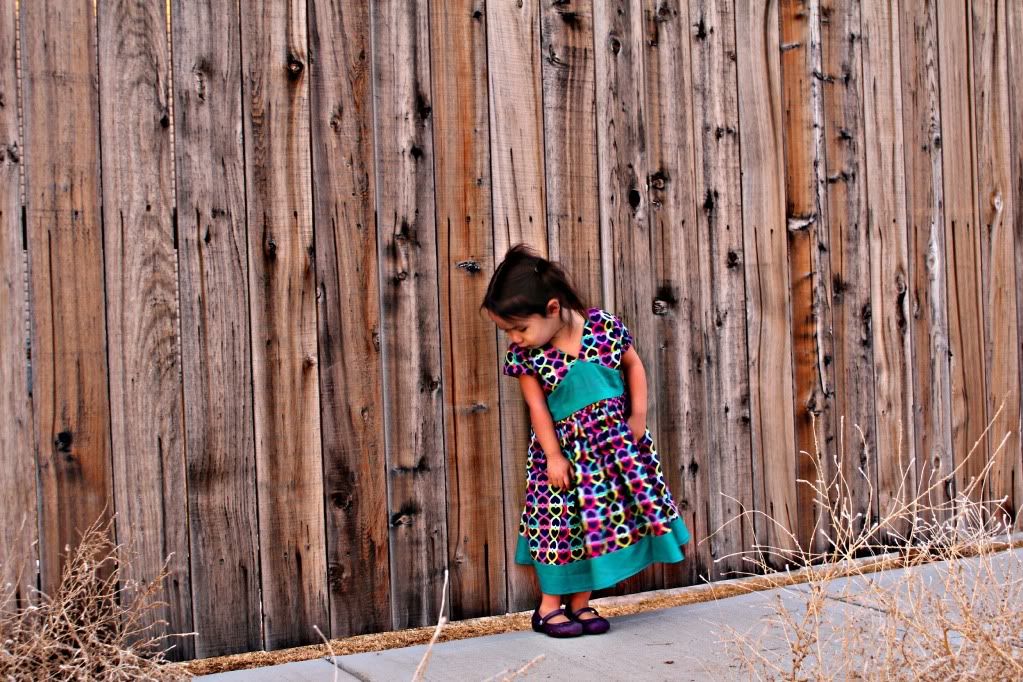
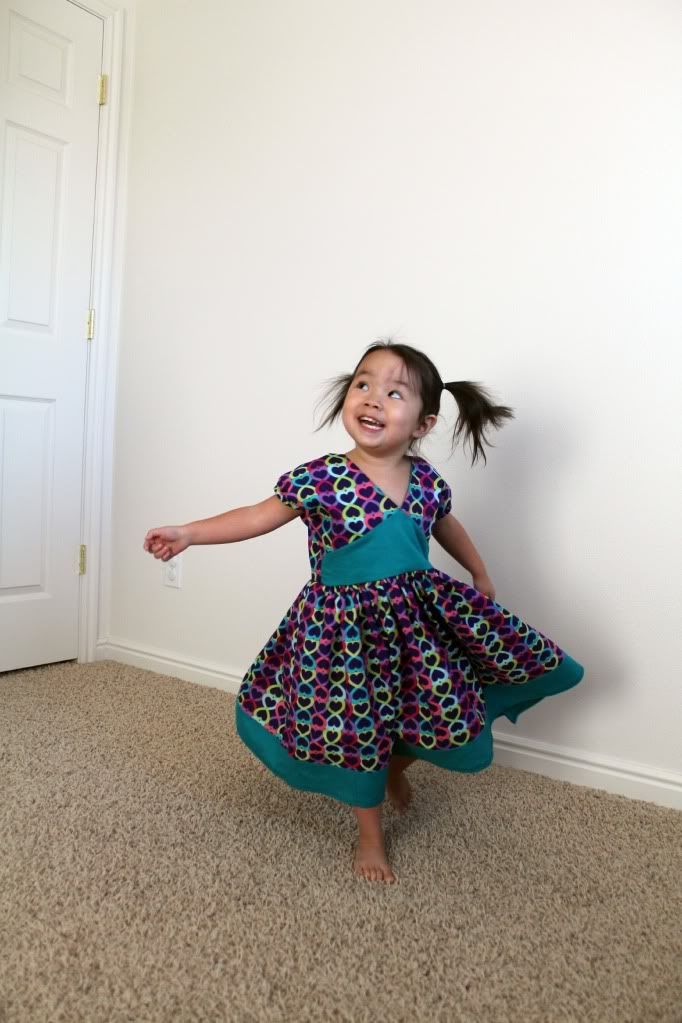
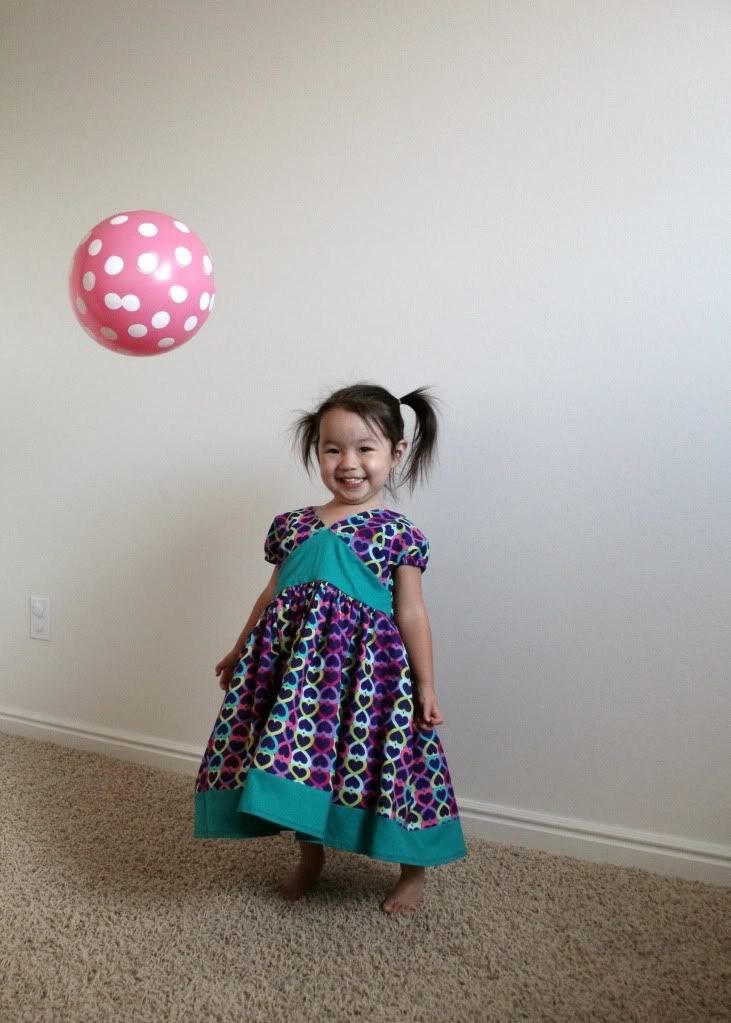
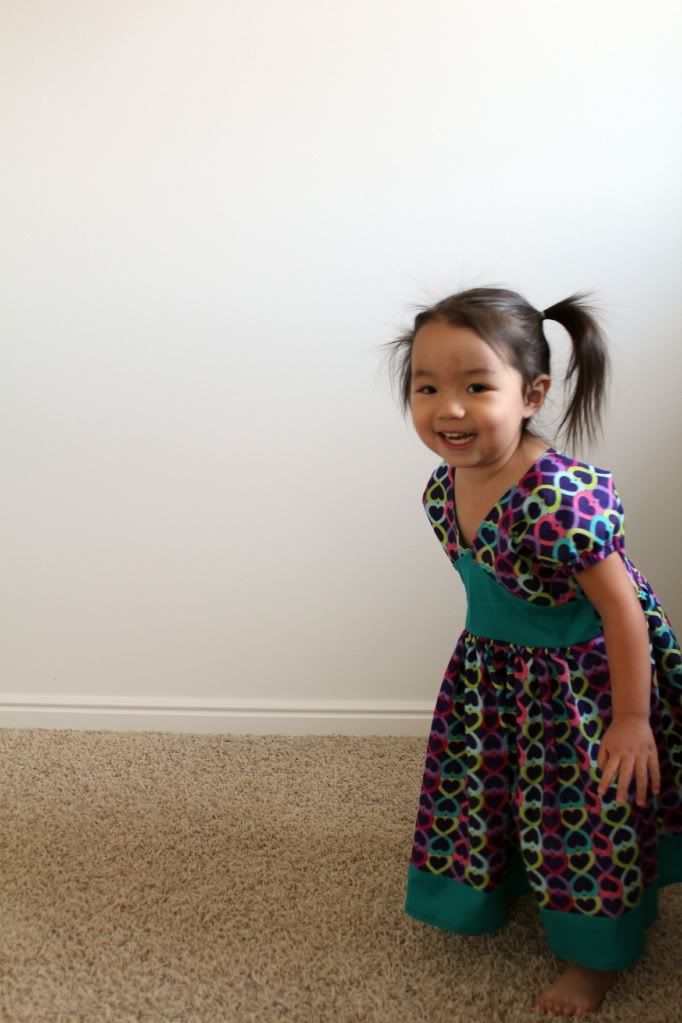
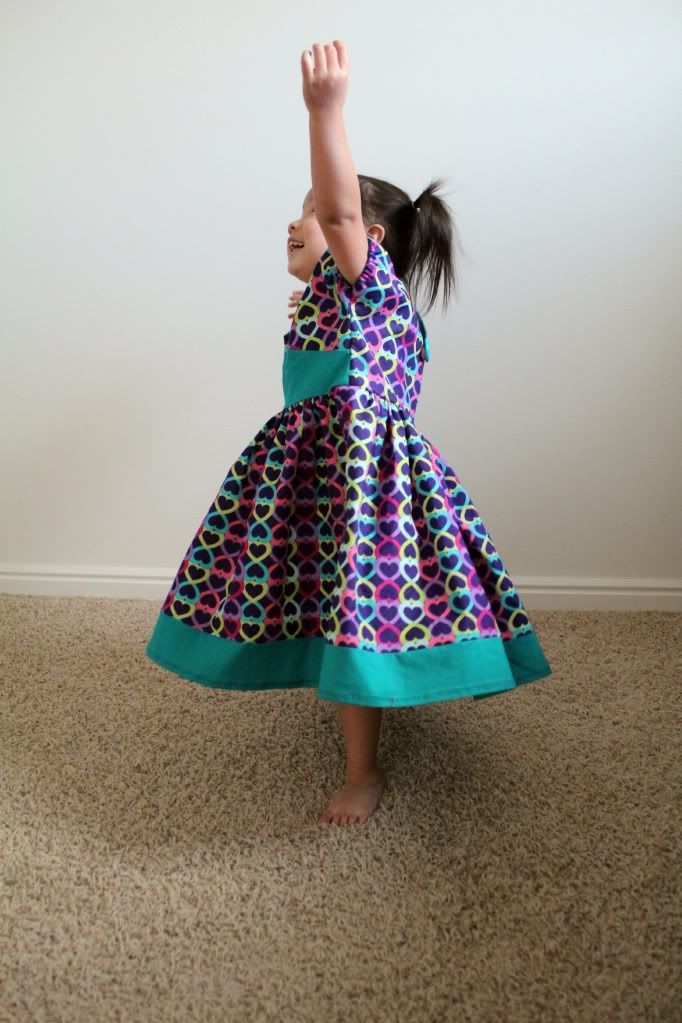
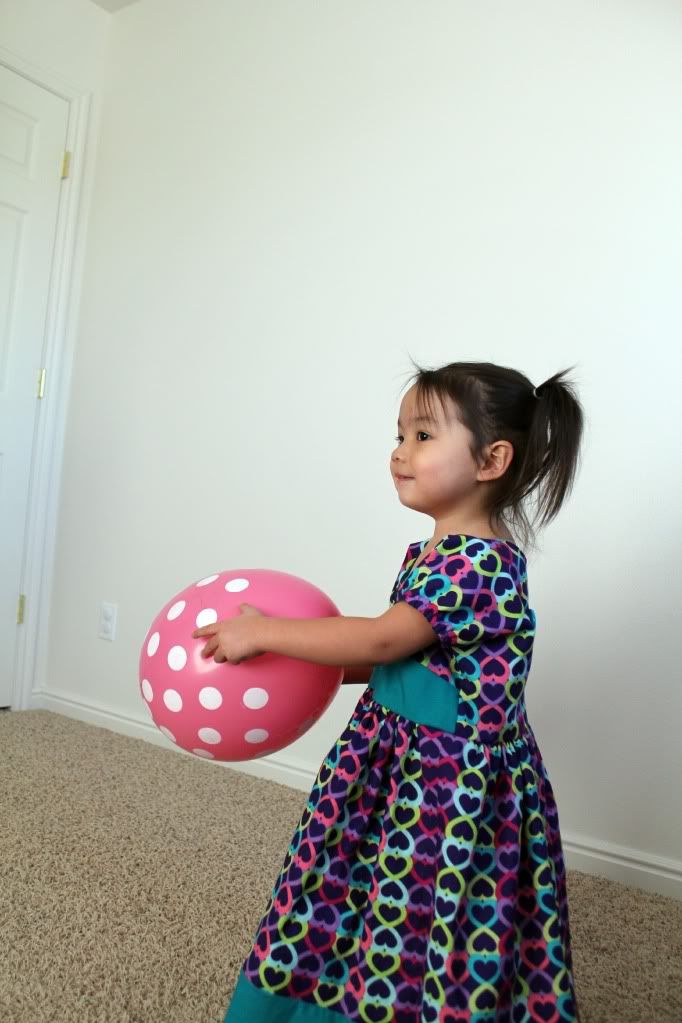
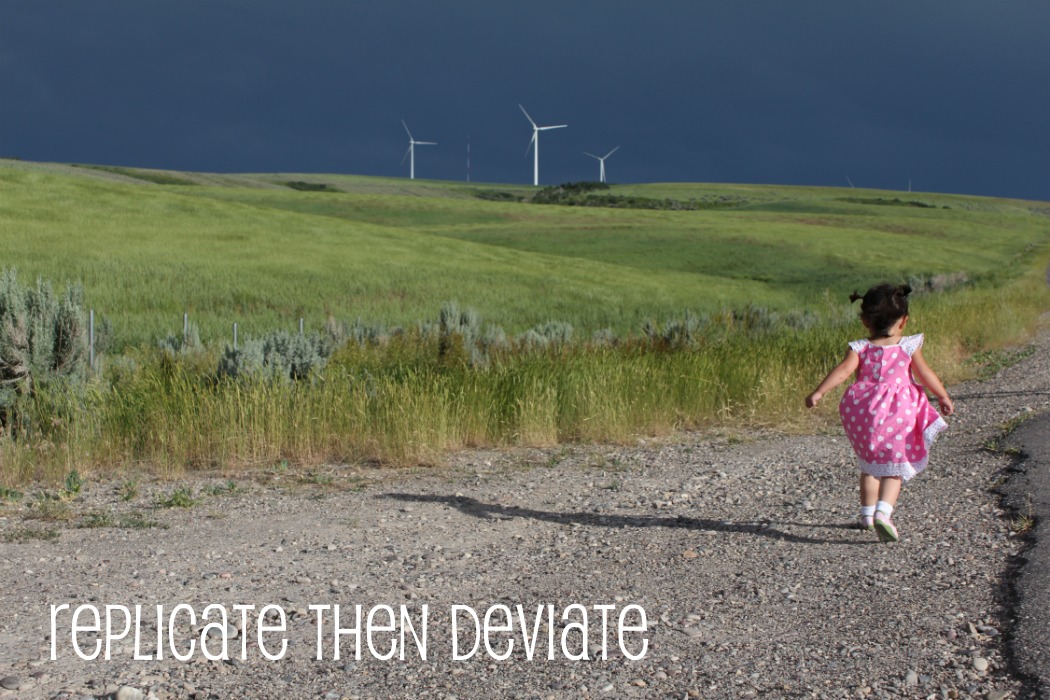
The Coraline Dress by Jess from Craftiness is Not Optional is gorgeous!! I made my own version using remnants and due to a miscalculation my neck ruffle is not very ruffly. I still like it though. :) I used the bodice from Jessica from Me Sew Crazy's Julie Dress (blogged here) and altered the neckline. I wish I had added more space in the front for the button placket so it wouldn't be so snug. It's not super snug but Ansley will probably outgrow the bodice before any other part of the dress. And now 6000 more words from my silly ballerina princess:

Photobucket

Photobucket

Photobucket

Photobucket

Photobucket

Photobucket

Wednesday, February 15, 2012

My Signature Style (at least for this week)

Photobucket

I'm still defining what my signature style is and this post helps a lot, but would've been even more helpful last week. :)

Photobucket

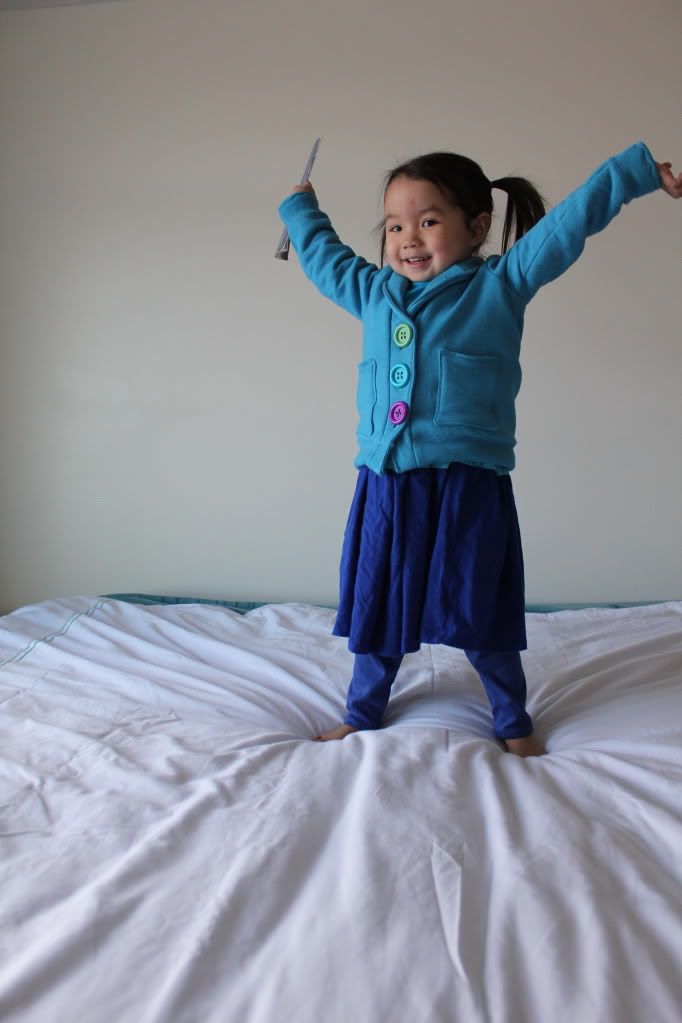
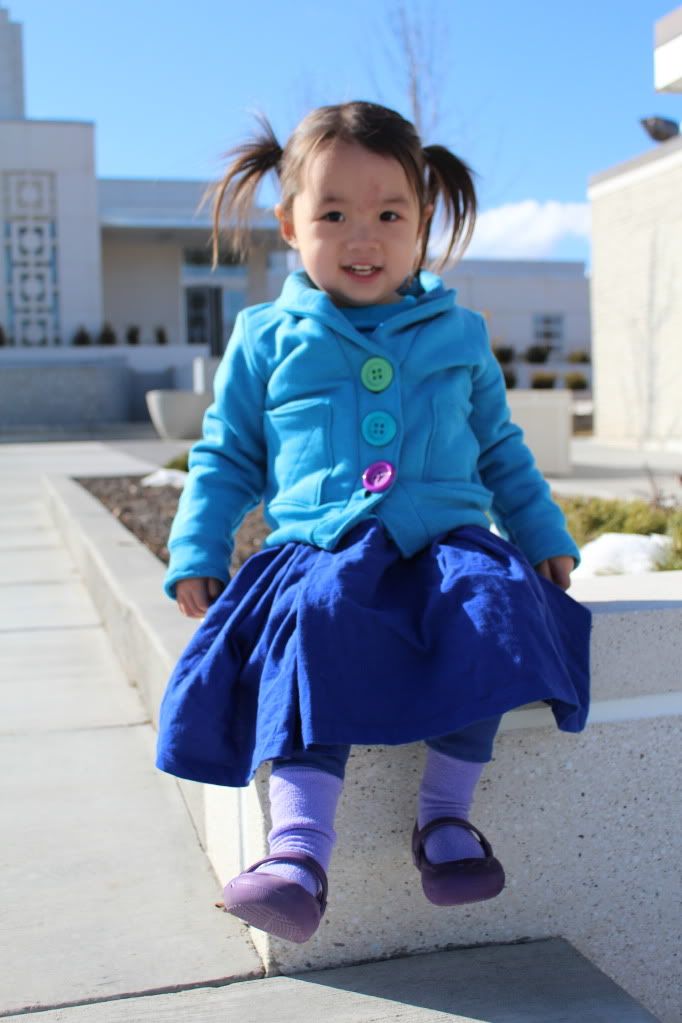
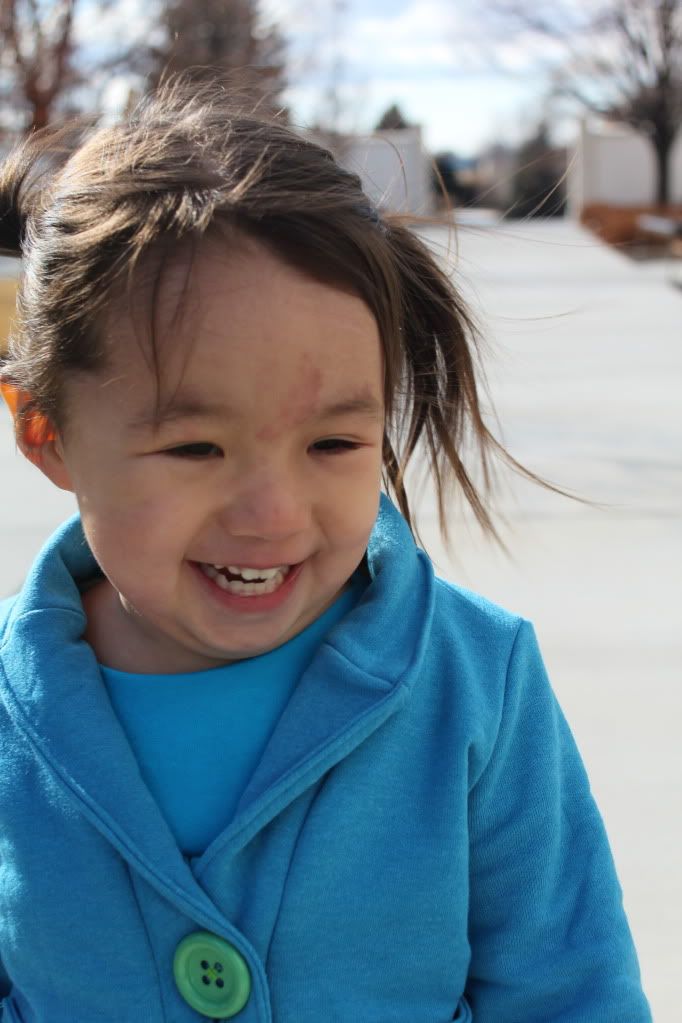
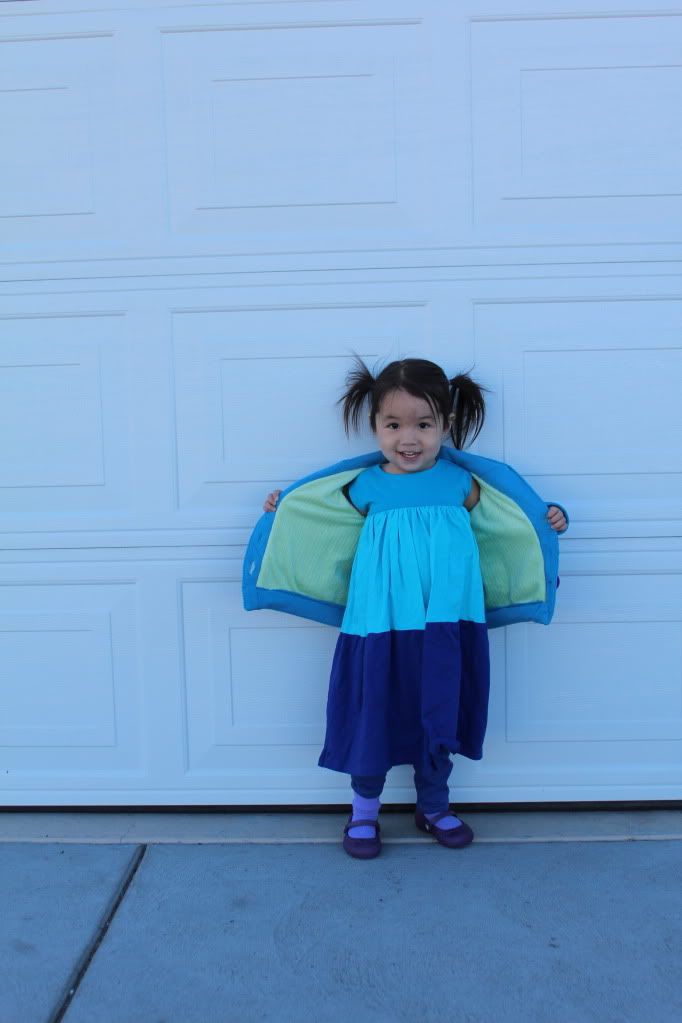
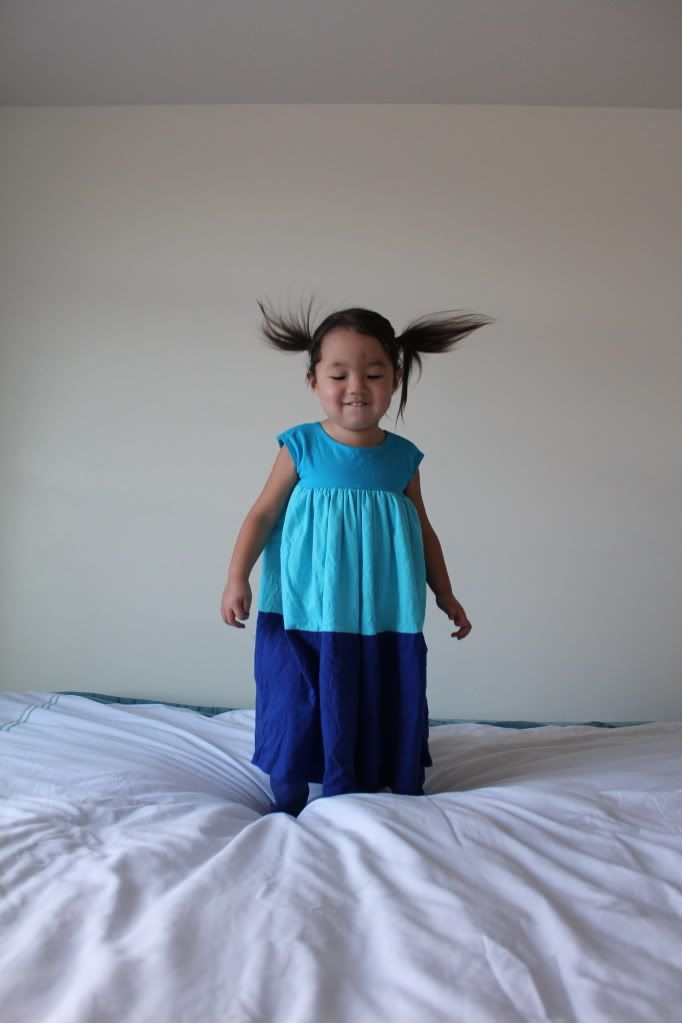
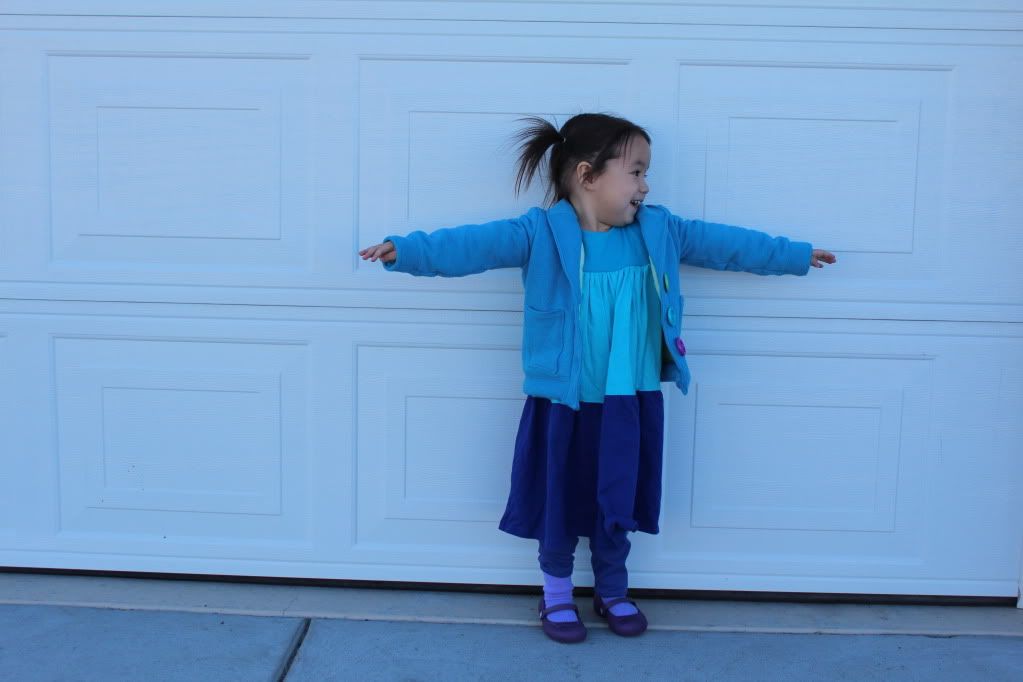
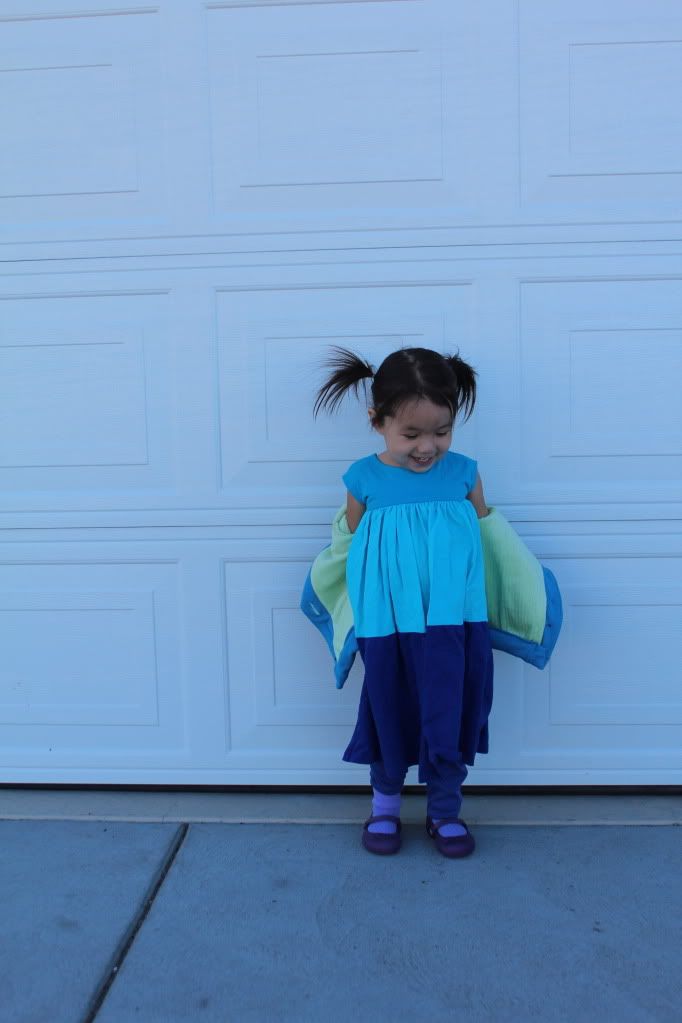
This outfit features some of my favorite things- the colors, the comfort of knit, and a little bit of fun. This ensemble is also one of my favorite refashions.

Photobucket

The exterior of the jacket was made from an oversized sweatshirt that I bought on clearance for $3 at Walmart. I love the color and how the outside feels sturdy. However, the inside felt really cheap and yucky. Inspired by Jessica's outerwear, I lined the jacket with a green minkee from my stash. I made a pattern for the jacket based on my favorite sweatshirt cardigan from LL Bean and another one of Ansley's sweatshirts. The shawl, the button strip/placket/I obviously can't think of the word, and pockets came from the sleeves of the sweatshirt. Luckily Tricia posted applique tips before I sewed on the pockets and I used a tight zigzag around the pockets and am happy with how ti turned out. I also used my cheater method for buttonholes.

Photobucket

The dress was made from a $1 women's sundress, also from Walmart. I unpicked the shirred portion at the top (I'm saving it for something different since shirring and I are not friends, ha) b/c I needed every bit of fabric. The bodice is fully lined and I gathered the skirt portion using two basting stitches instead of one. I'm happy with how the cap sleeves turned out this time around.

Photobucket

I made the leggings by tracing a pair of Ansley's leggings. They aren't anything special, except that the fabric also came from my stash. And the legs really are even, they're just caught up in her socks.

Photobucket

Photobucket

Tuesday, February 14, 2012

My Valentine's Dress and A Bonus

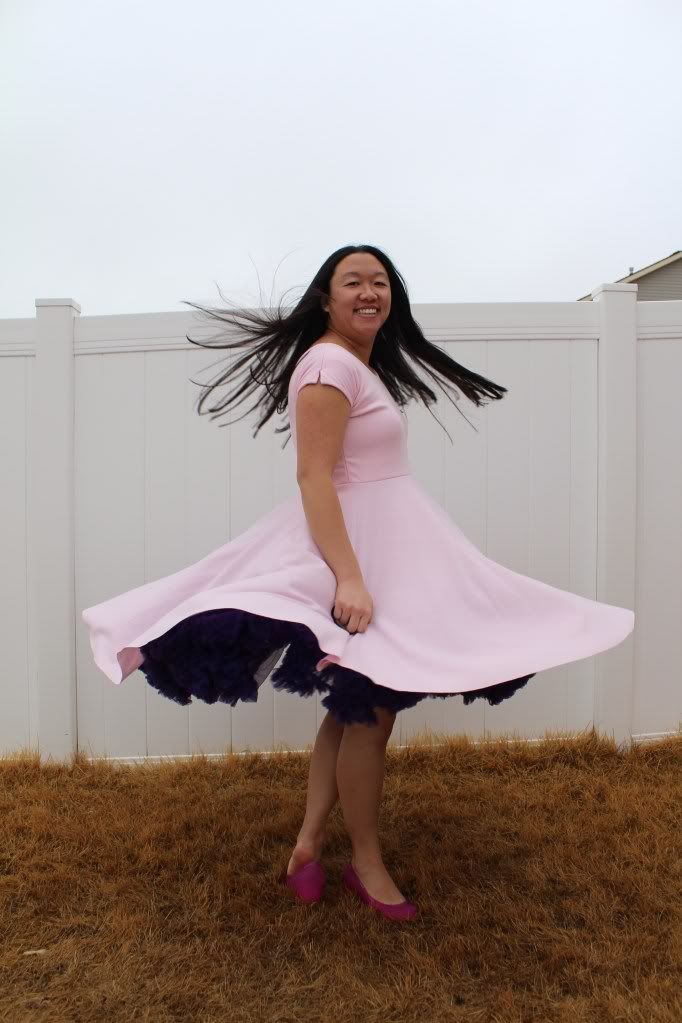
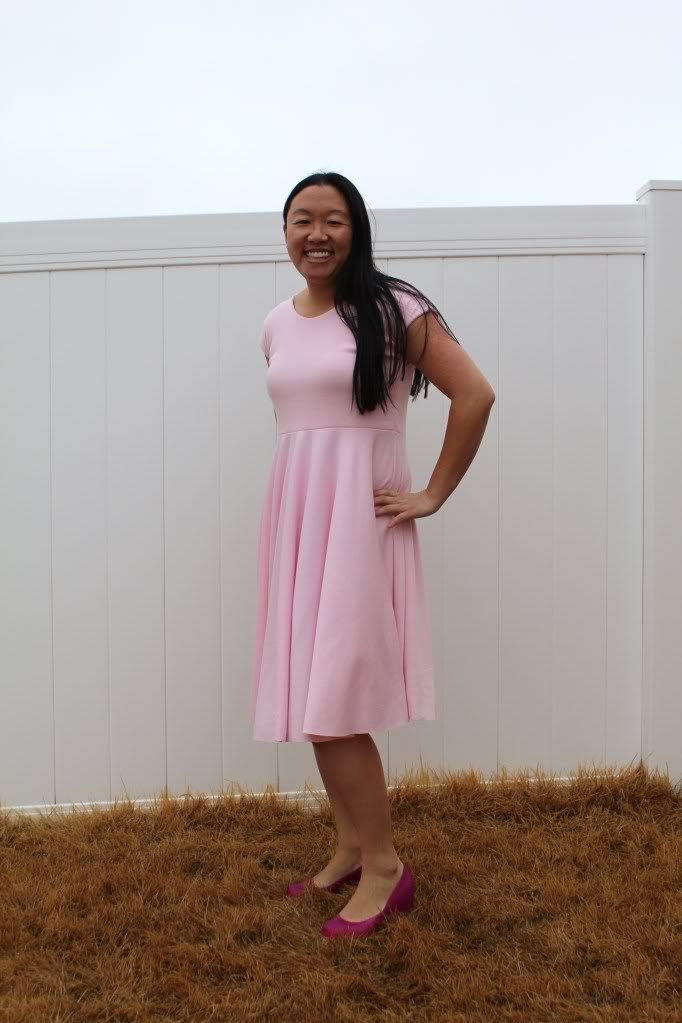
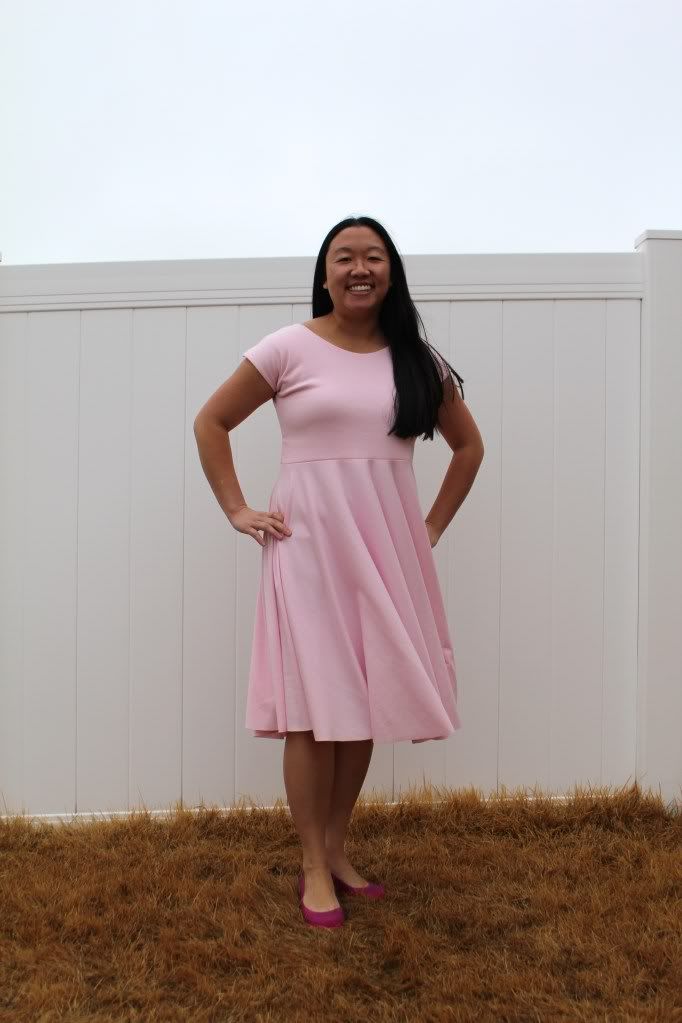
I am seriously in love with this dress. It's super flattering and super comfortable and super fun with a fluffy slip. :) I decided I needed a dress like Ansley's (here and here) but instead of binding the neck and the sleeves, I lined the top portion, plus now it's not see through. I didn't intend to have split sleeves but it made the dress more comfortable/less restricting. The bottom is a circle.

With the fluffy slip:

Photobucket

And without. I don't know where the rest of my pictures went (again!) but these are sufficient).
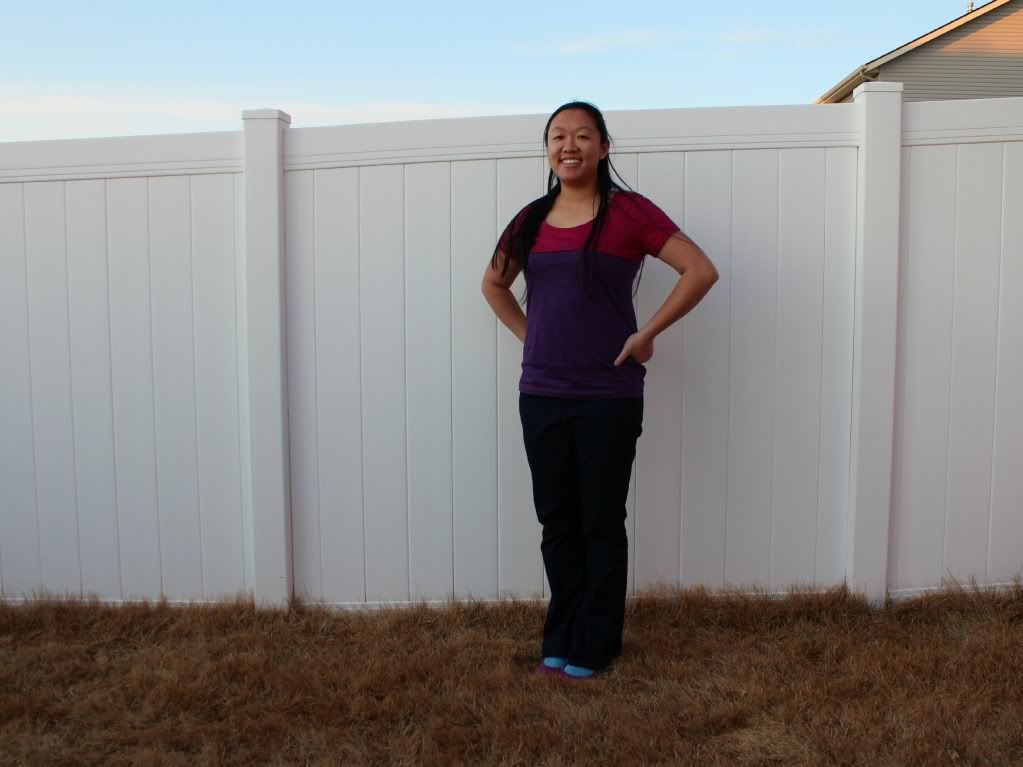
Photobucket

(it's rarely not windy here)

Photobucket

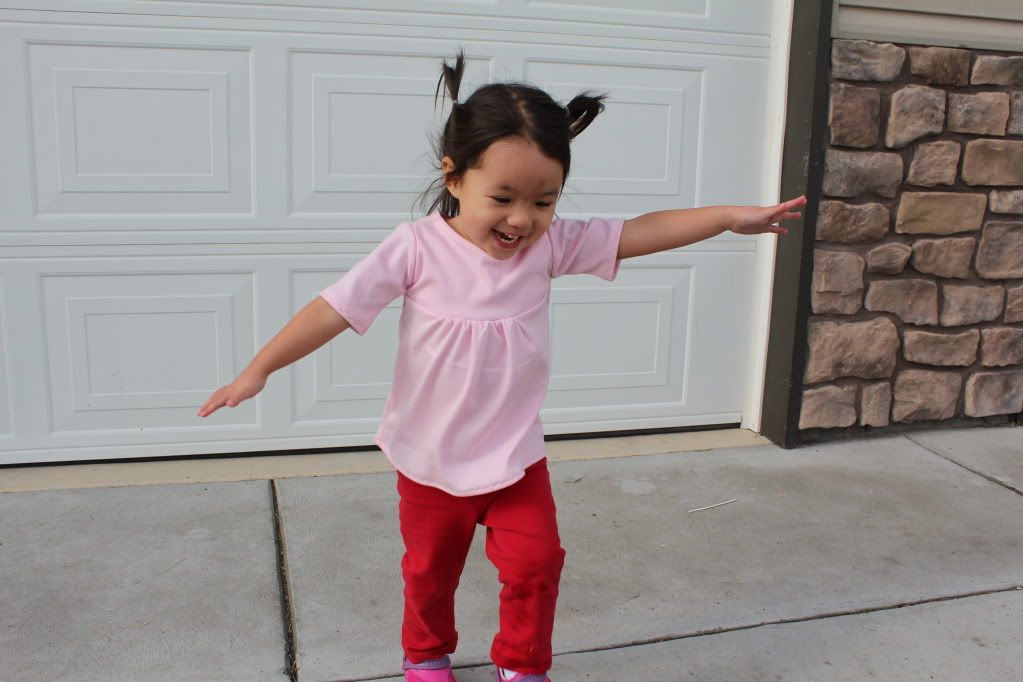
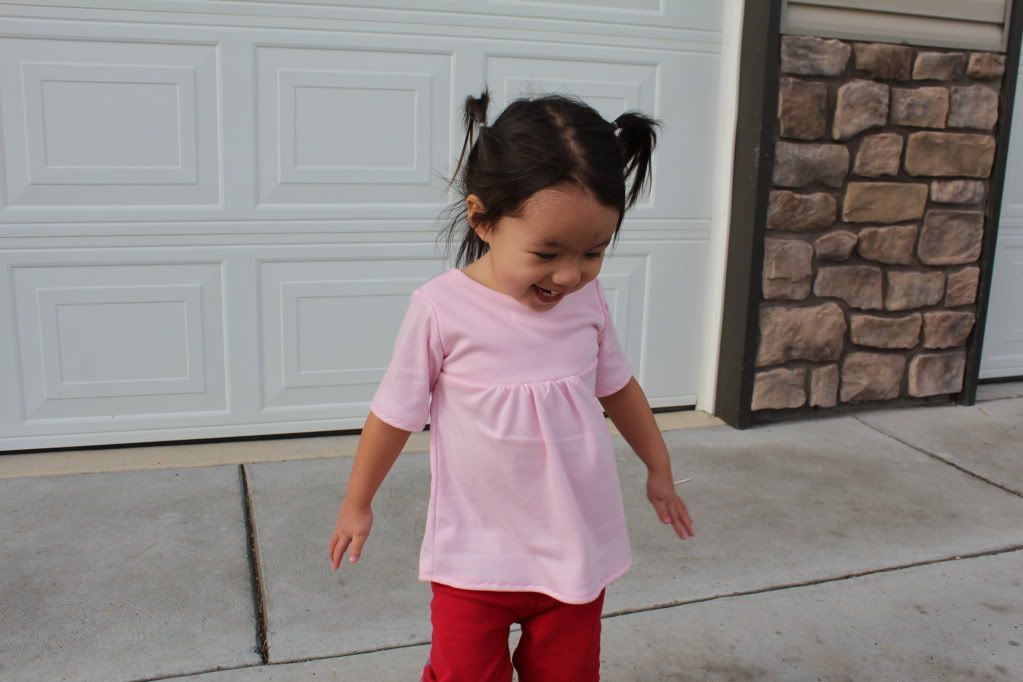
And the bonus is I had enough leftover to make Ansley a shirt. I used Shwin & Shwin's tutorial. Instead of making a facing, I lined the yoke in front and made a matching piece in the back. I tried to add a scallop stitch to keep the back piece down but it didn't work and I need to read the manual. I also only gathered the center of the front piece instead of the whole thing. I love the sleeve length- it was lucky it turned out b/c I didn't measure it. And for the record, I don't normally think red and pink go together except on Valentine's Day.
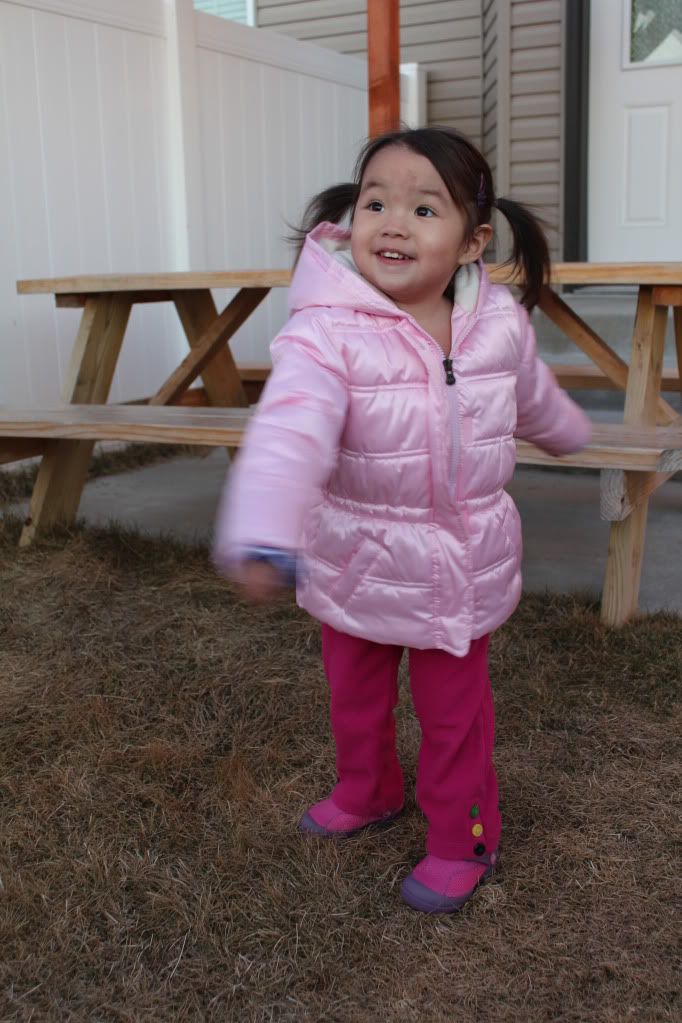
Photobucket

Photobucket

Happy Valentine's Day!!

Linked here:


and here:

Dear Lillie's Valentine's Link Party


Monday, February 13, 2012

Awarded

Thanks Claire at ragbags and gladrags for the Liebster award! :)


The Rules are :
1- Choose FIVE up and coming blogs with less than 200 followers to award the Liebster Award to.
2- Put their links on your blog and let them know that you have done this.
3- Show your thanks to the blogger who gave you the award by linking back to them.
4- Post the award on your blog.

In no particular order (and no offense meant if I couldn't find the number of followers on your blog :) ).


un petit design- can't wait to make a dress for Ansley from her blog. Gorgeous photos too!


Becky's Craft Closet- she helped me sew my very first skirt for Ansley.


Hart to Hart photography- beautiful, light filled and fun photos.


Mule n Nag Crafts- a friend and her sister who do all sorts of crafty things from home decor, churchy stuff, and crocheting


The Winding Road- lovely photos, parties, and children. :)

Thanks again Claire!

Wednesday, February 8, 2012

Quick Color Blocking

Photobucket

I had to make a pair of shirts like this after seeing Madeline's post. I couldn't find any shirts like this at Walmart but did find some at JCPenney for $5 and they have the slightest sheen and are super soft. I should have cut them a little bit closer to the bottom of the sleeve, and will if I make another set. I didn't realize the front and back of the shirt are slightly different sizes (makes sense but I didn't think to check for it before pinning it) so if the top and bottom of the shirts don't line up immediately, switch one around and try again. :)

Bonus unrelated picture:

Photobucket

Thursday, February 2, 2012

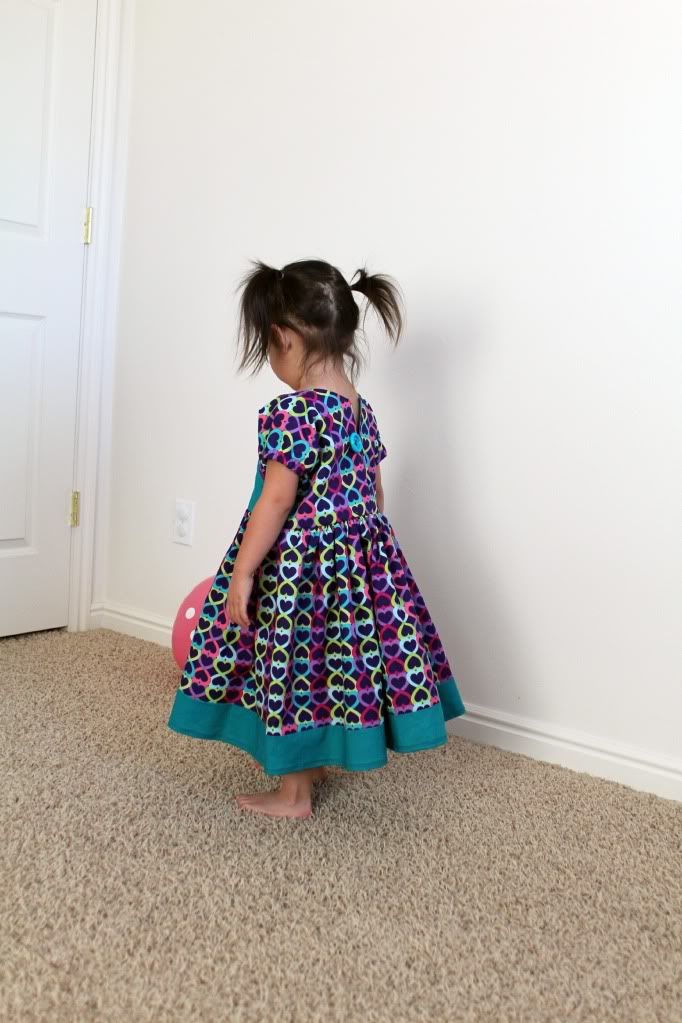
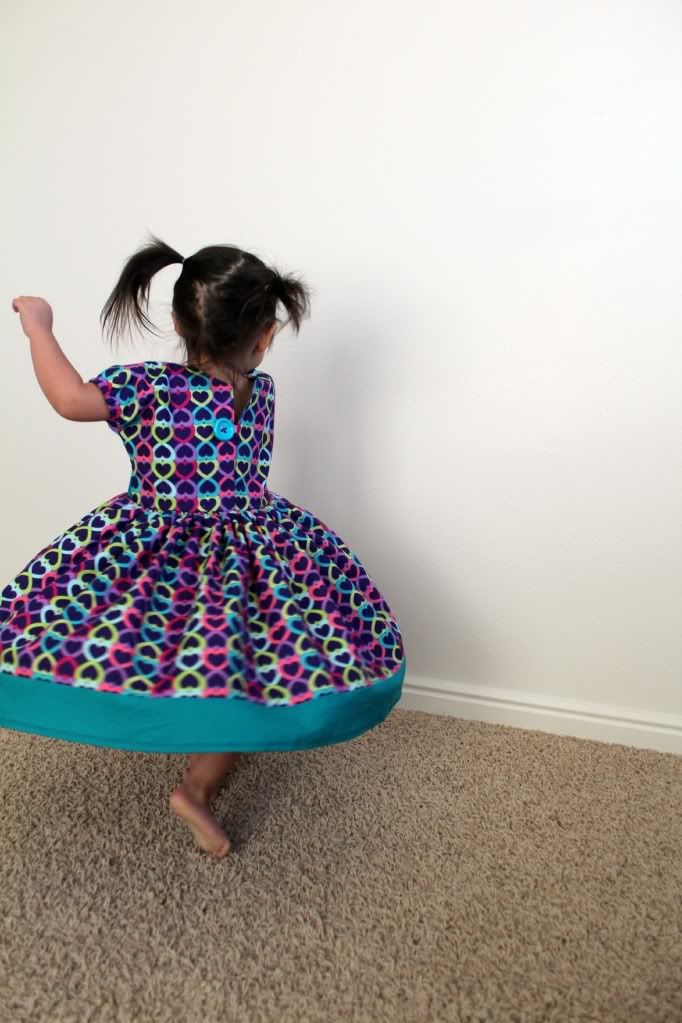
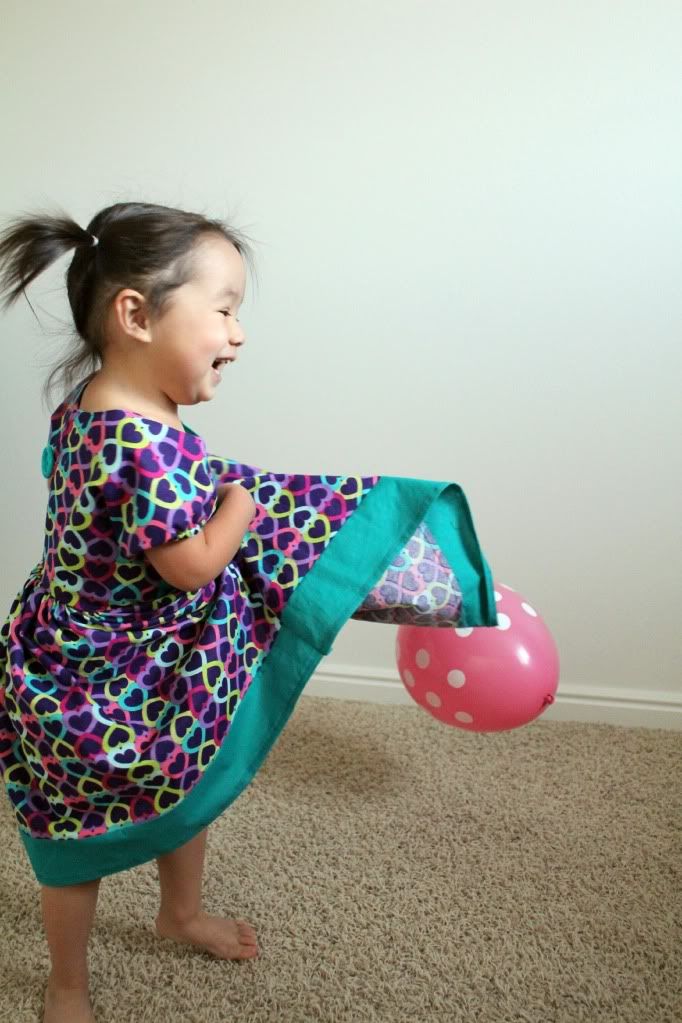
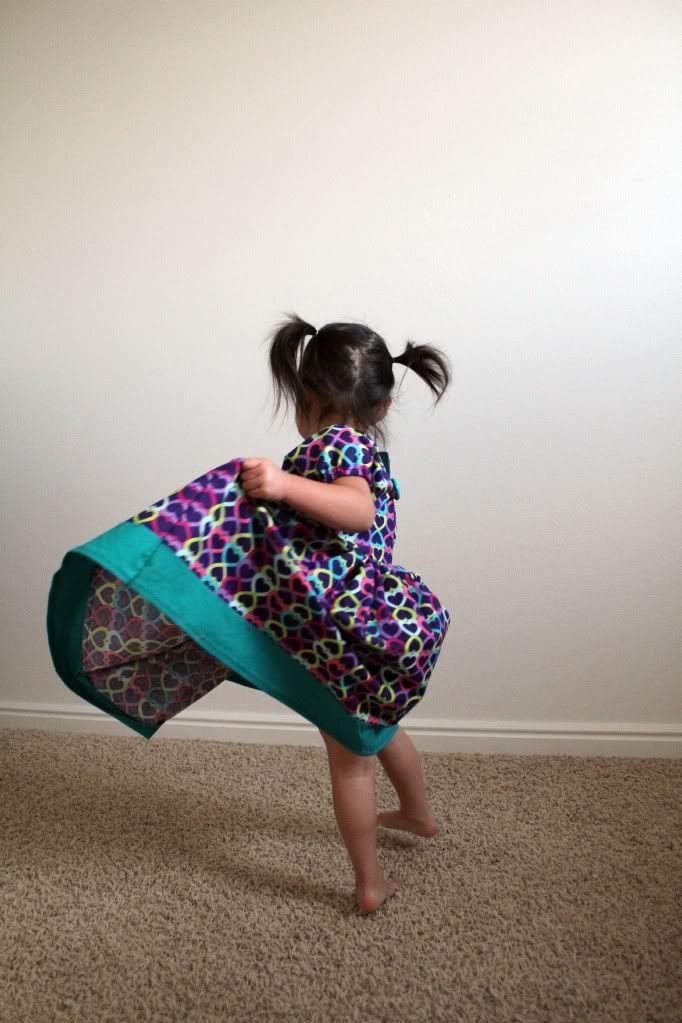
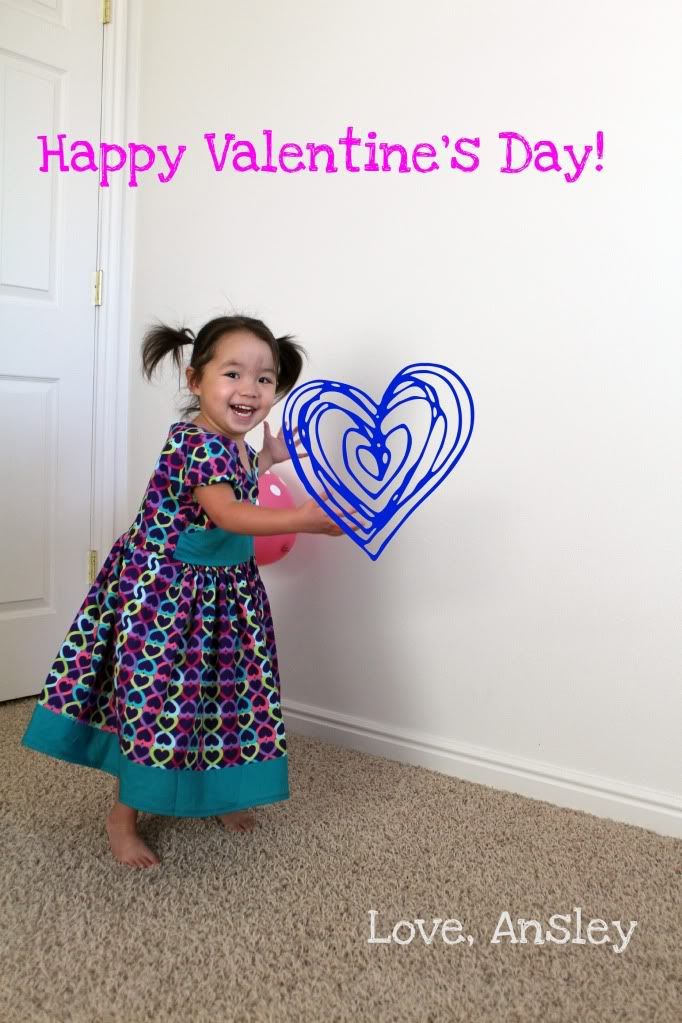
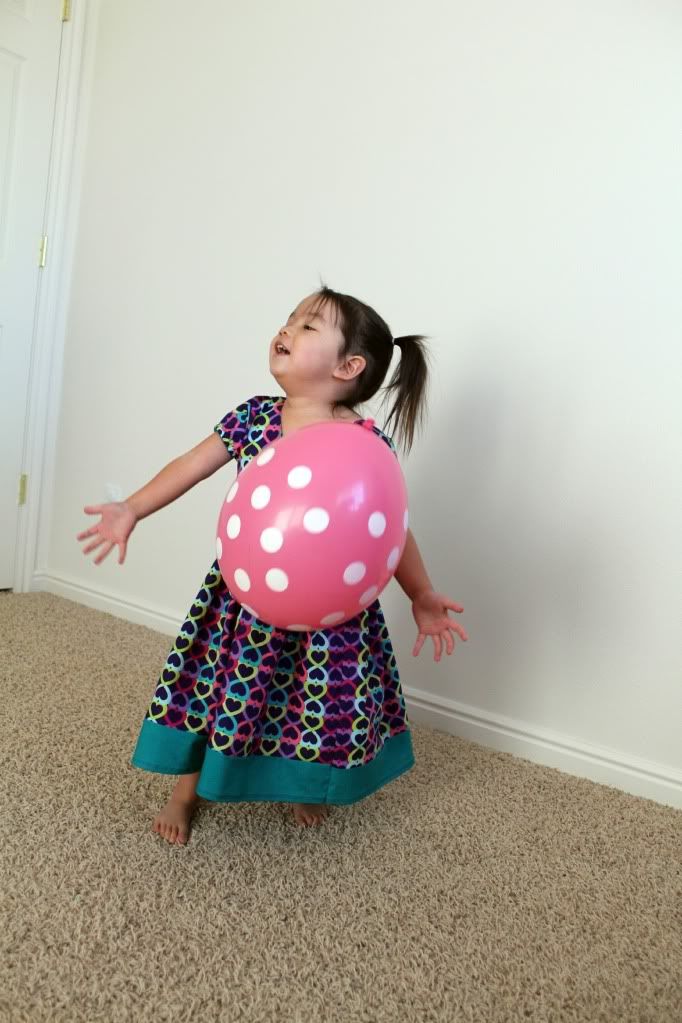
Ansley's Valentine's Dress 2012

Photobucket

I made this little dress based on this dress:

Source: etsy.com via Emily on Pinterest


(Facebook site and Etsy site)

I made a few changes like adding a button closure in the back so it would go over Ansley's head easily (which if I make another dress I will move up) and adding a lot of extra fabric for a really full skirt. I used two long basting stitches to gather the skirt, which I'd never done before. It made the gathering so much more even though so I'll probably use two threads more often. I also added some topstitching and double stitched the hem in blue and purple (mostly b/c I didn't have matching thread).

Photobucket

Photobucket

Photobucket

Photobucket

Photobucket

The back:

Photobucket

Photobucket

It's perfect for dancing!

Photobucket

Photobucket

I just recently became reobsessed with picnik. I hope there will be another cool program like it in google + (or maybe there already is and I haven't figured it out).

Photobucket

And a funny outtake:

Photobucket

I probably shouldn't've looked at the project run and play flickr group before adding this. :)

Also, linked here:

Dear Lillie's Valentine's Link Party