(Ansley's wearing her Snow White dress and really wanted both giant flowers in her hair and bumped her head on the door handles so that's why she's a little sad in one of the pictures.)
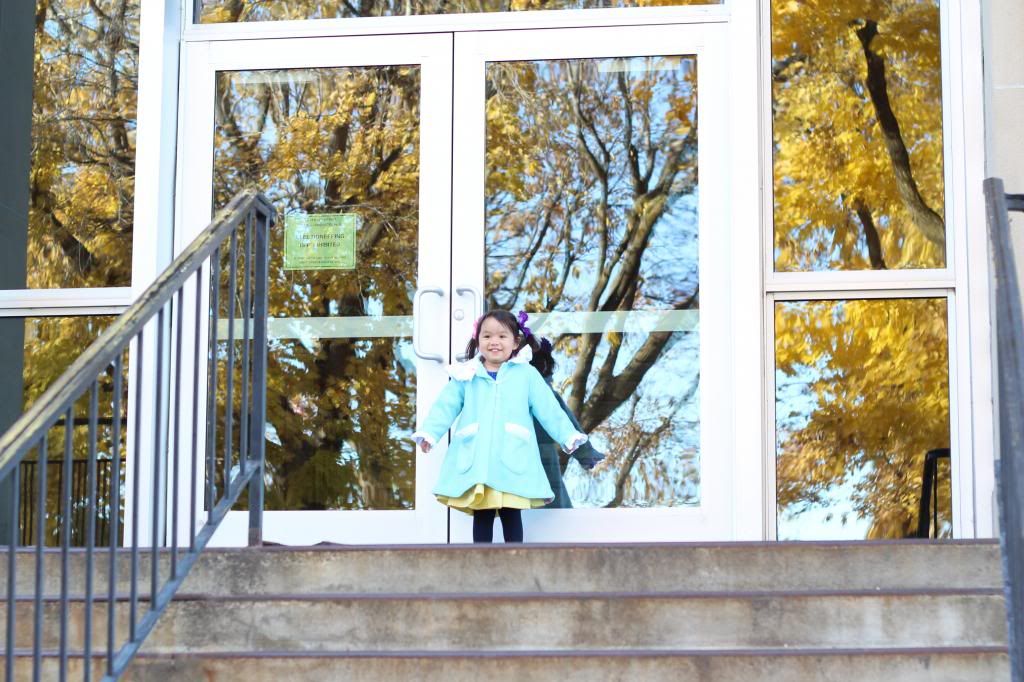
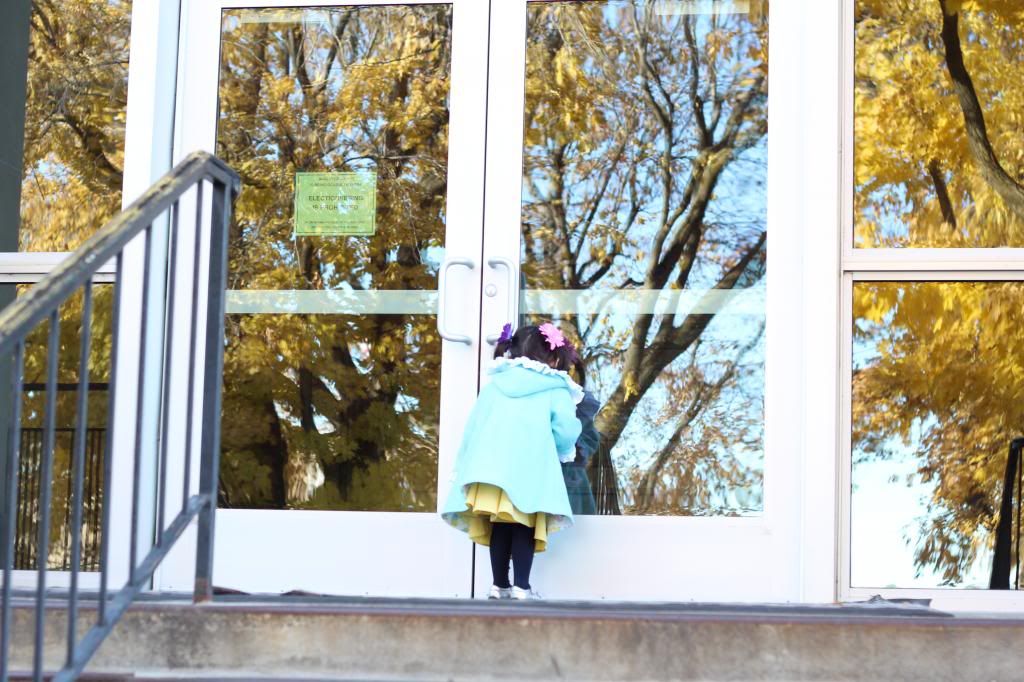
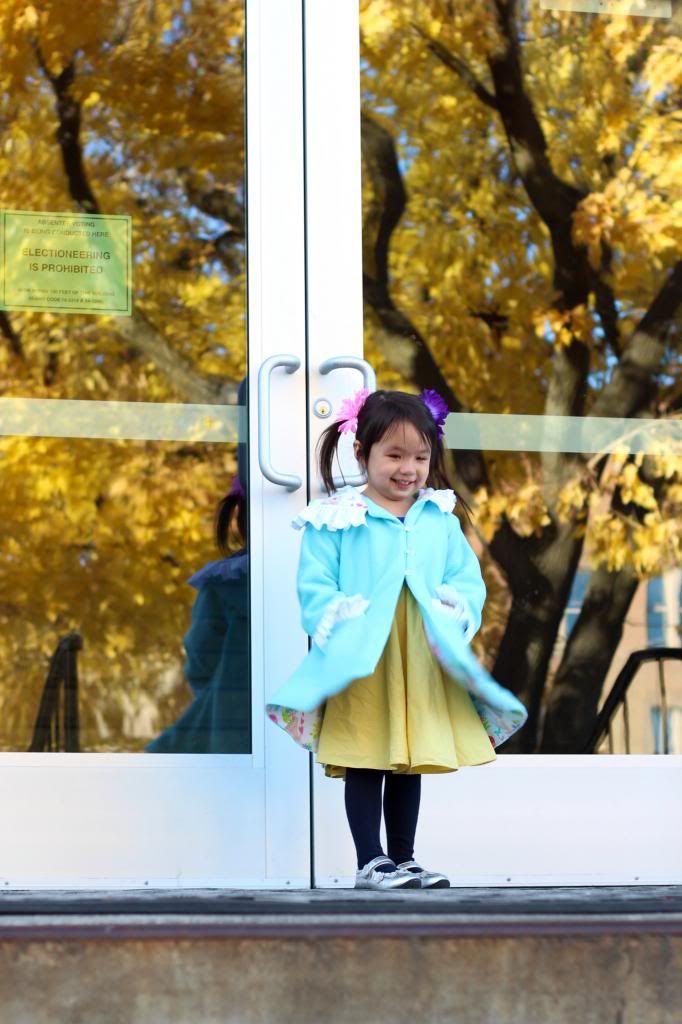
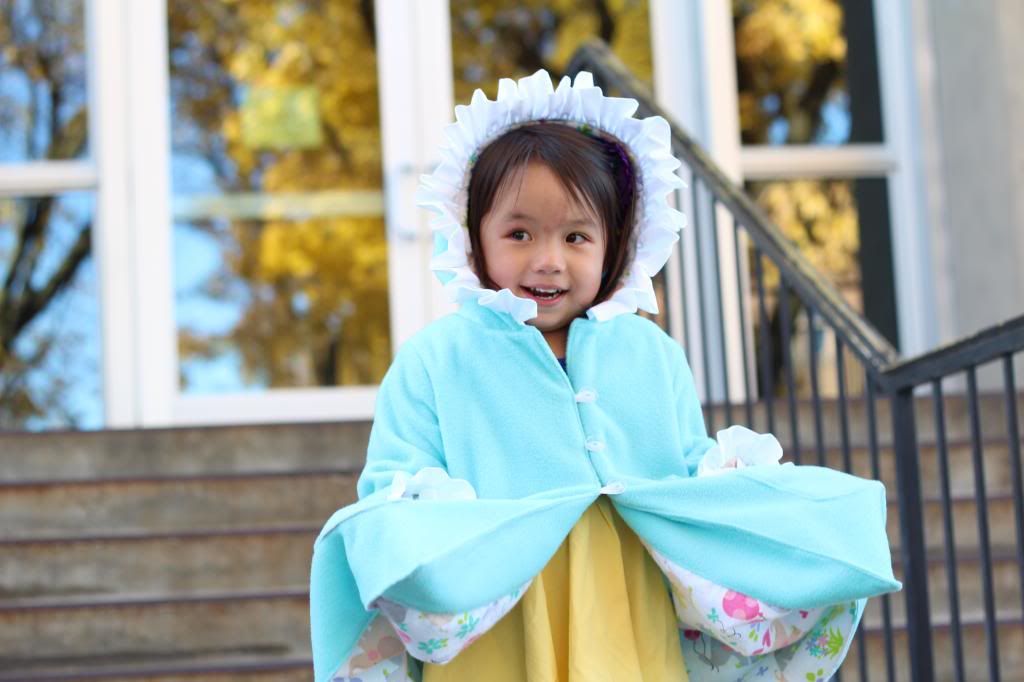
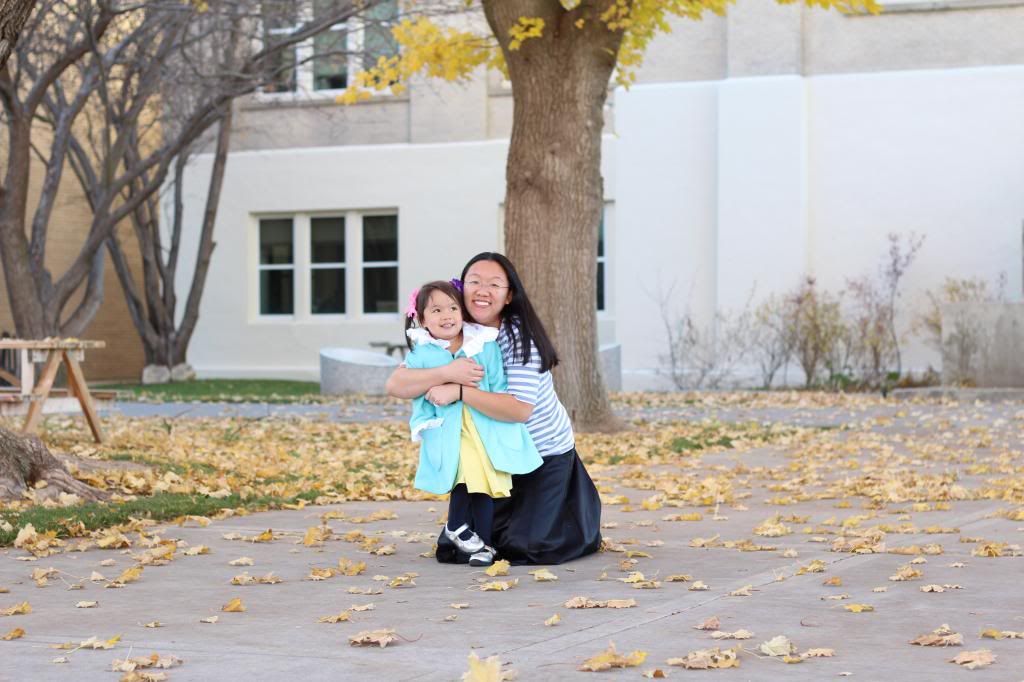
I used Simplicity 2526 again (first used here) and traced the hood from Ansley's Red Riding Hood Coat (which I made by tracing the hoods from one of her other coats). I used fleece for the exterior and a flannel for the lining.
To add the lining, basically you cut out two of most of the pattern pieces. I love this coat pattern b//c it only has four pattern pieces that I used- the back, the front, the facings (that attach to the front) and sleeves (which I lengthened). I cut the hood pieces out of the exterior and interior fabrics, the pocket pieces out of the interior and exterior fabrics (guest posted here), the lengthened sleeve pieces from the exterior and interior fabric, and the back pieces from the exterior and interior fabrics. (ignoring the ruffles here, but check out my guest post if you want more info about them). I then cut the front pieces out of the exterior fabric and the facings for the front from the exterior fabric. I added a 1/4 inch seam allowance on the part of the facing that will attach to the lining. Now I just need to cut the interior fabric to match the front pattern piece minus the facing plus a 1/4 seam allowance.
Here's a picture of the facings and the interior front piece minus the facings (both pieces have a 1/4 inch seam allowance added where they will be sewn together). (I didn't use any fancy tools, just eyeballed that extra distance).
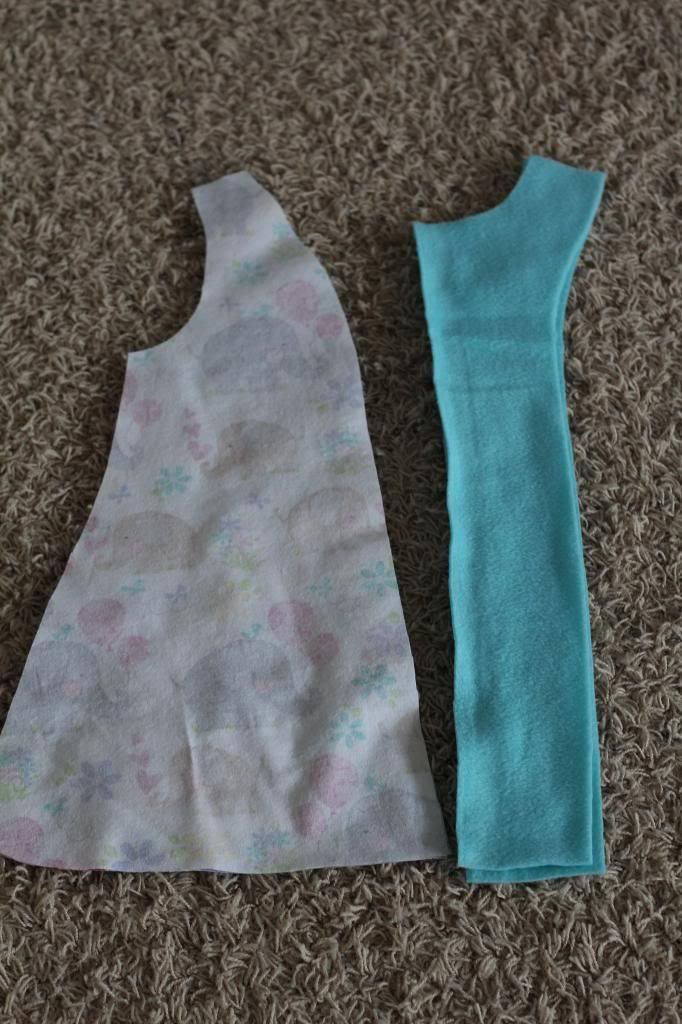
And another picture showing my interior piece looks almost exactly like the piece "missing" from the exterior front and facing pieces (stacked to show how they're sewn together).
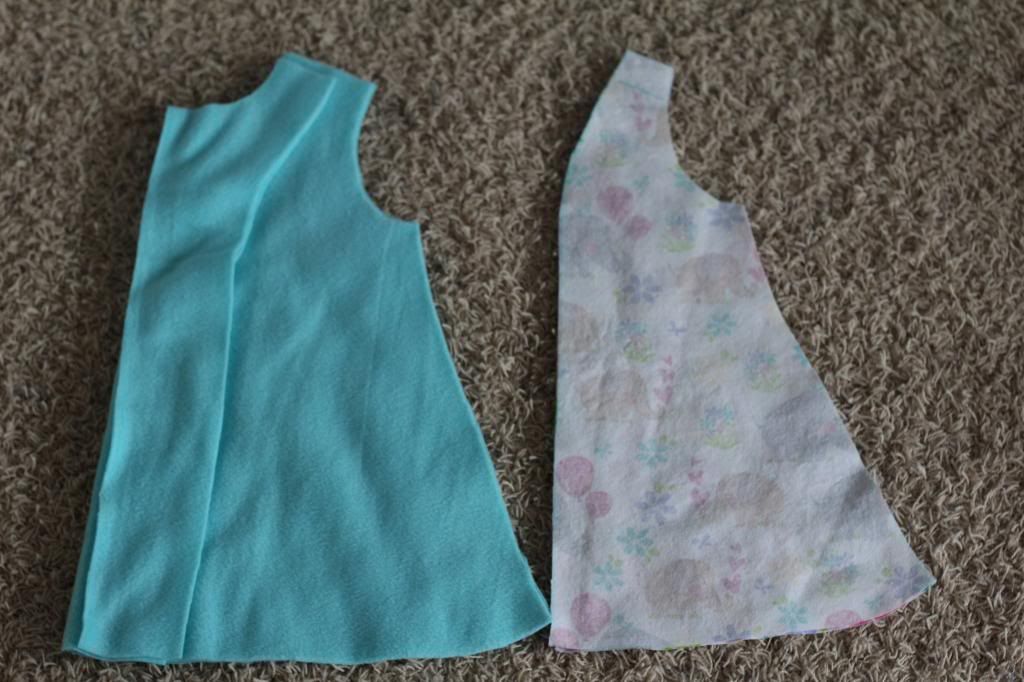
Clear as mud, huh?
Right sides together I sewed the front facing and the interior lining front piece. Repeat for the opposite side.
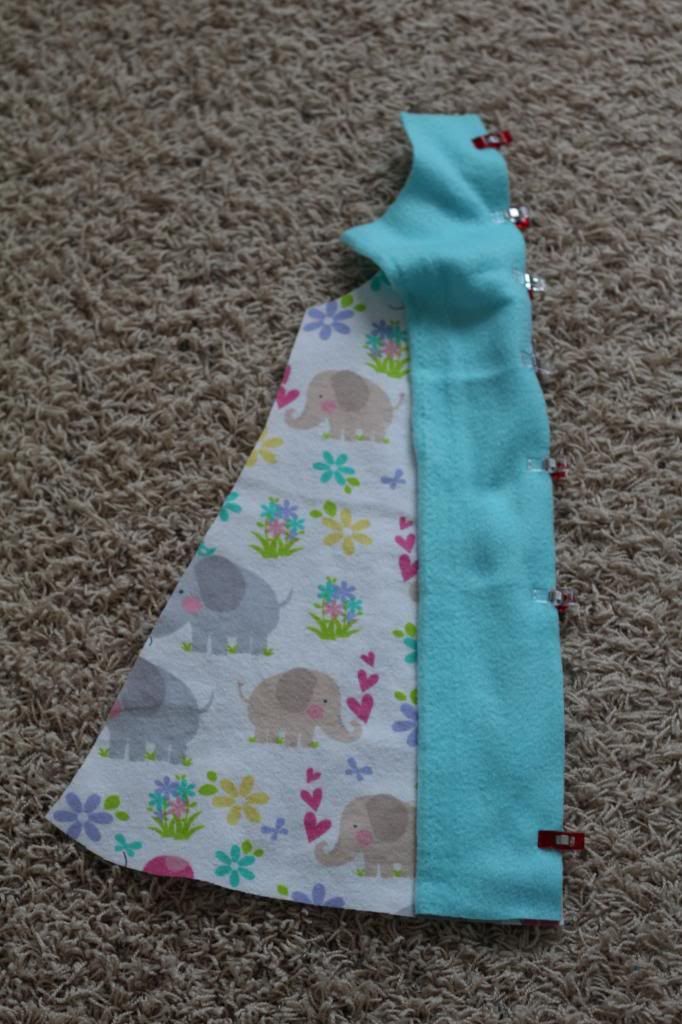
Trim seam allowance, clip curve, press really well (um I'm a little embarrassed to admit this is the first time I've ironed fleece. I totally thought it would melt or not last. I used a cooler setting and lots of steam). I topstitched along the exterior fabric to reinforce the seam. Plus it looked prettier.
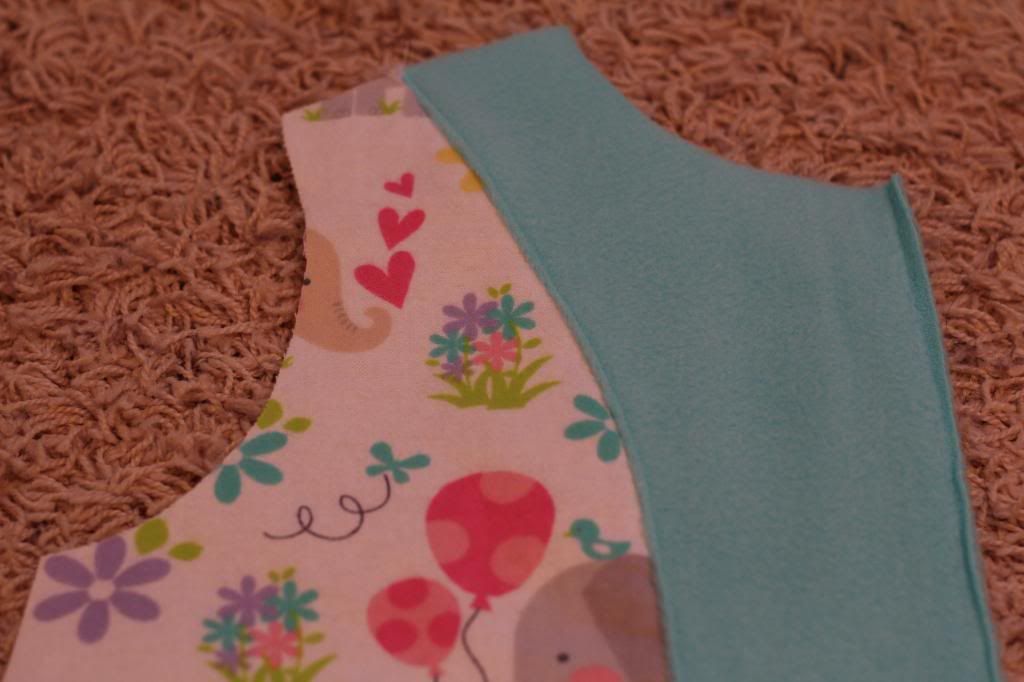
Sew coat together as instructed in the pattern. Repeat for the lining (treat the facing as part of the lining for now)
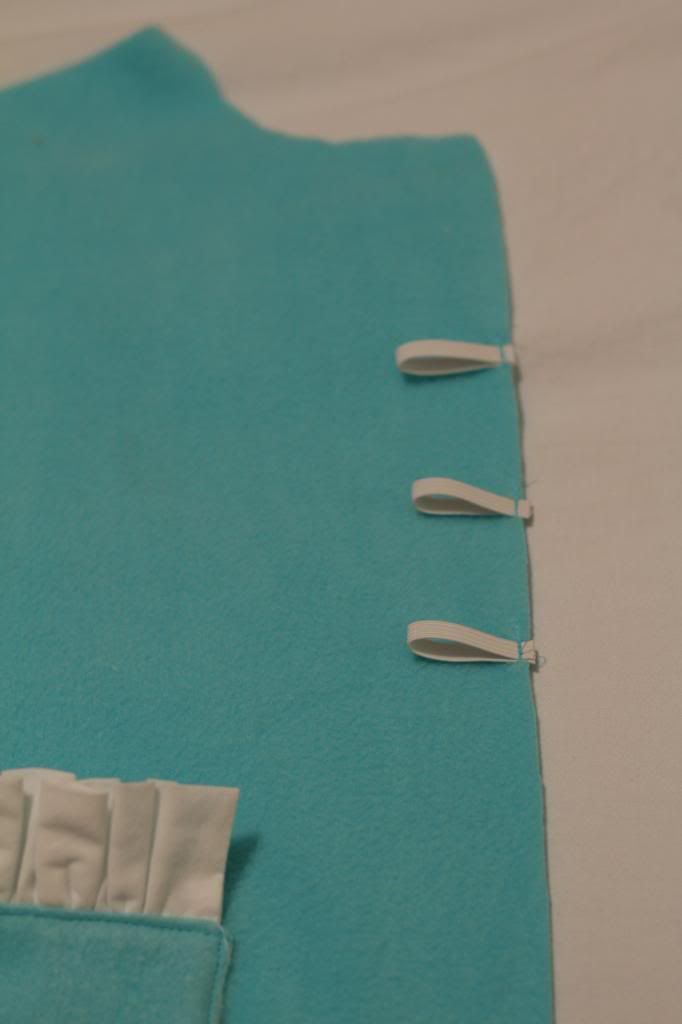
Added some little elastic loops for buttons to the exterior. I also forgot to account for the seam attaching the front and lining and had intended to use larger buttons but once sewn together the elastic wouldn't fit over them. I actually like the glittery smaller buttons I ended up using.
I sewed the hood together (see guest post above) and basted the bottom raw edges together (I think). I basted the hood to the exterior fabric, exterior right sides facing. I also added a little ribbon loop to hang the coat.No picture. Boo.
Right sides together, wonder clip or pin around the front opening, neckline (tuck the hood inside) and bottom of the coat. The sleeves will be tucked inside too.
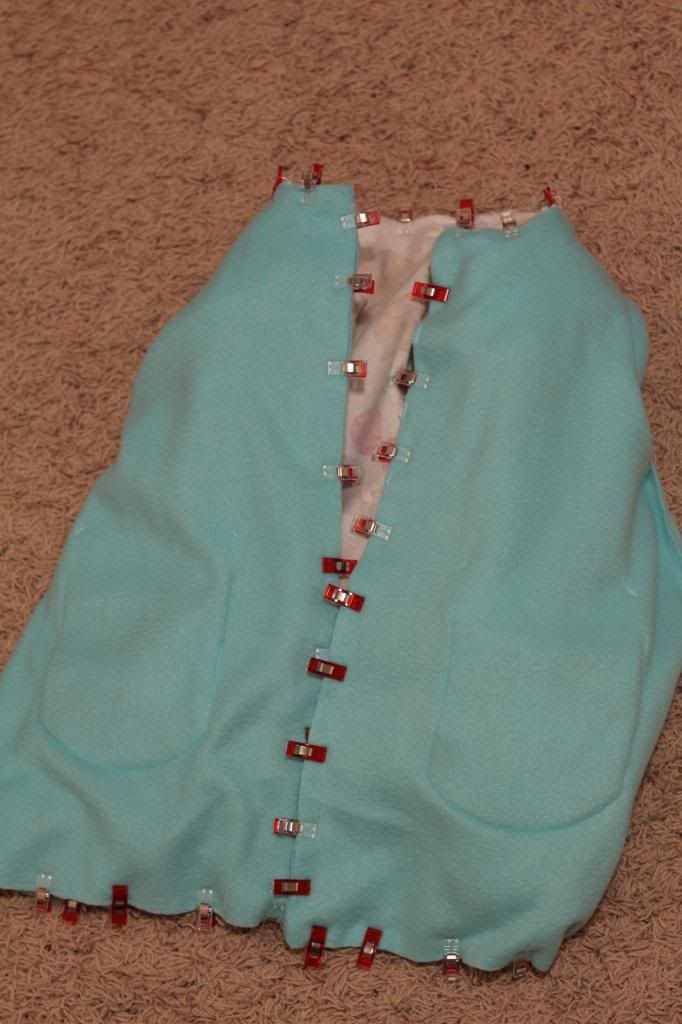
Leave an opening in the bottom of the coat (about six inches or so). Sew around the front, neckline, and the bottom except the opening. Trim corners, clip curves, trim seam allowance as necessary. I used about a 1/4 inch seam allowance but trimmed it to about 1/8 inch in most places. I did not increase the pattern size by 1/4 inch where I ended up sewing the exterior and interior together b/c the coat is still a bit large on Ansley (it's a size 4 kind of cheated bigger by using 3/8 inch seam allowances instead of the 5/8 inch seam allowances the pattern calls for) but to by more technical, you might want to. Turn coat right side out (through the nice opening you left in the bottom)
Alright- here's the coolest thing I've learned lately. I must've read these instructions (from this coat) twenty times and had NO IDEA what the pattern was talking about. HA. Okay so your coat is right side out. (optional but recommended) Push the lining sleeves into the exterior sleeves. Pin the sleeve seams together, close to the armpit sleeve.
Now reach through the bottom of the coat opening and pull both sleeve parts (interior and exterior) through the bottom of the coat. (we will be doing this one sleeve at a time). Don't poke yourself with the pin. Like so:
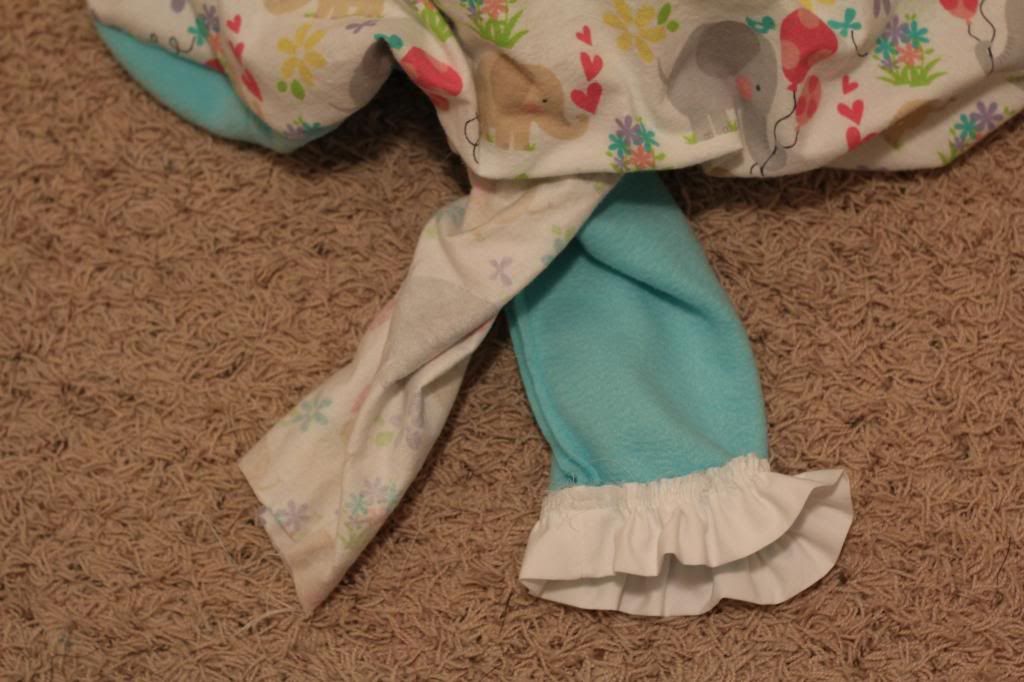
(the ruffle should be facing up not down)
Pin or wonder clip the sleeve ends right sides together, sandwiching in the ruffle, lining up the sleeve seam as best as possible. Quite difficult to take pictures of:
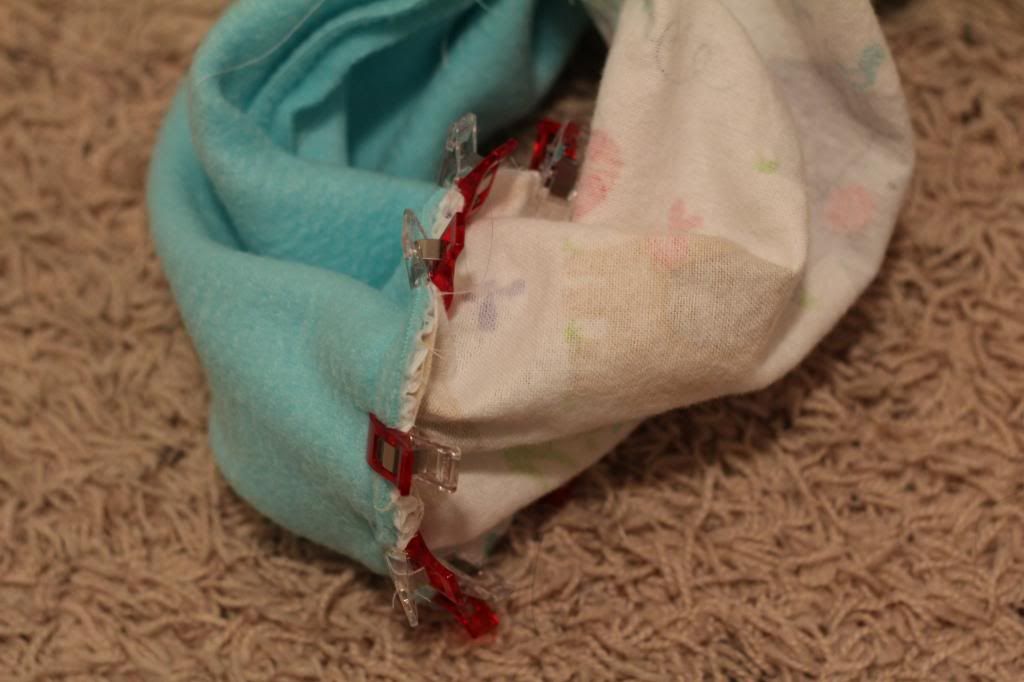

Kinda weird, right? The interior and exterior sleeves are separated from each other, inside out as you look at them. Baste the sleeve bottom seam together. Go very slow. If it looks good, go ahead and sew it with your regular stitch. (I like to sew my sleeves with the body of the sleeve around the arm of my sewing machine but cannot sew these sleeves together my usual way).
Push the finished sleeve back through the opening at the bottom of the coat. Repeat for the other sleeve. Press the coat well. Close the opening at the bottom of the coat and topstitch the bottom (my topstitching enclosed the opening at the bottom of my coat), fronts, and along the neckline/hood seam (which also helped my little ribbon loop face down towards the bottom of the coat rather than up towards the hood). Add buttons.
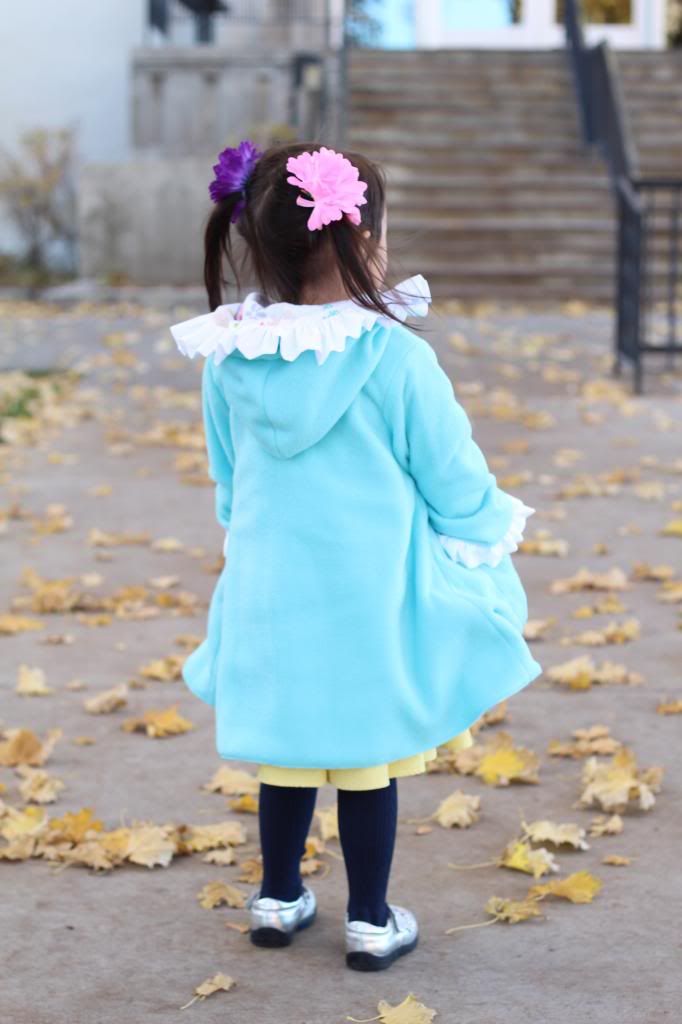


She's adorable, and the coat is too. I love the button choice also. It turned out great. I'm a bit envious of your no cooking/dishes duty, but probably wouldn't endure surgery to get away with it. Hope you heal quickly!
ReplyDeletestinking Cute Emily, I also love the pictures and the leaves! Its like a game to me to figure out exactly where you took your pictures, I really enjoy them!
ReplyDeletethis jacket is scrumptious! I want one!
ReplyDelete