Showing posts with label tutorial. Show all posts

Monday, December 3, 2012

Better Late than Never

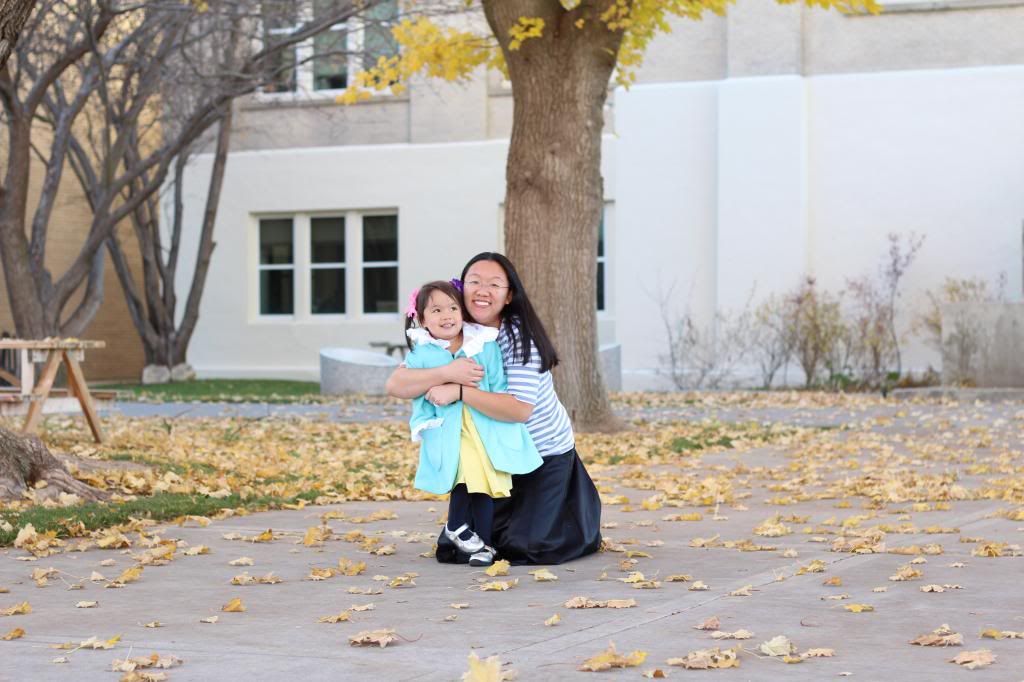
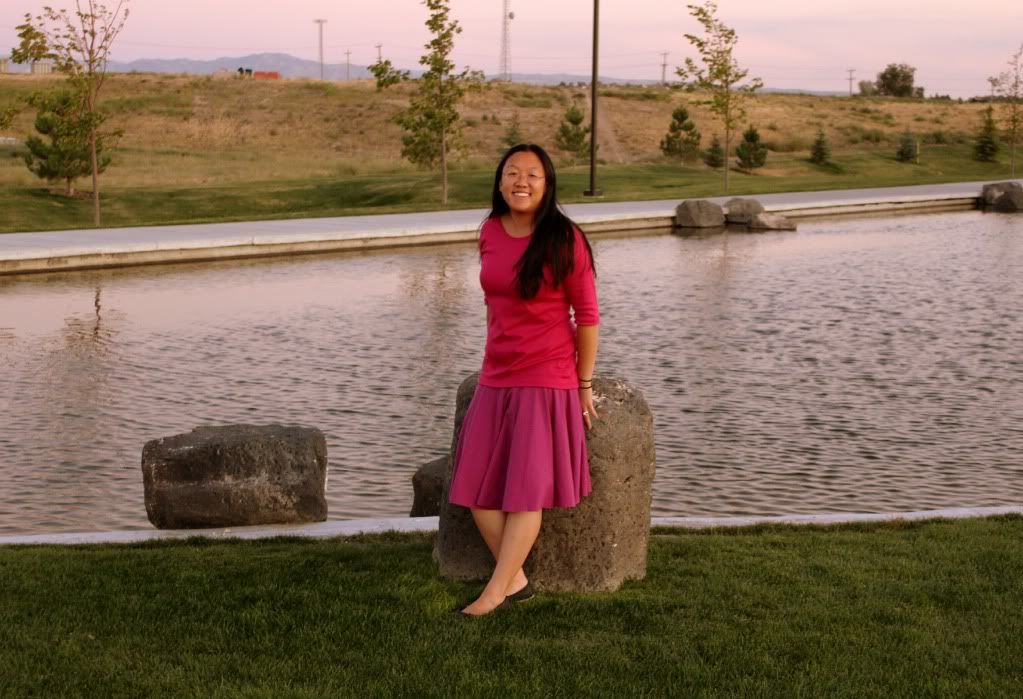
It's been three weeks since my surgery and I feel so much better! I can play the piano, type, take pictures, but don't want to get my incision wet so I'm not doing dishes or cooking much or cleaning. Pretty sure it doesn't get much better than this. (slightly kidding).

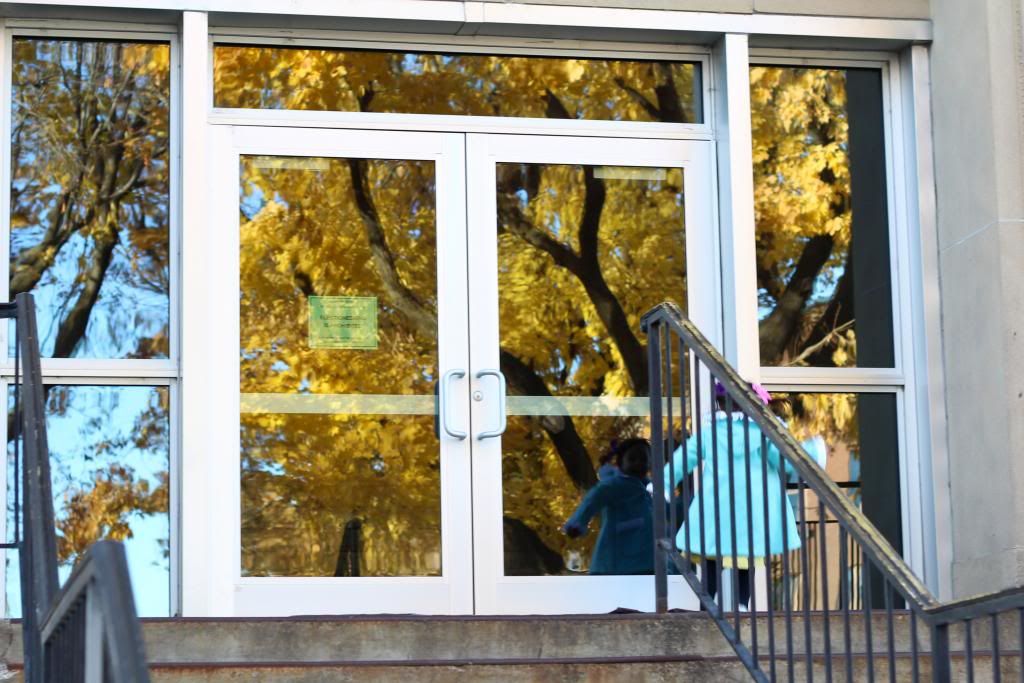
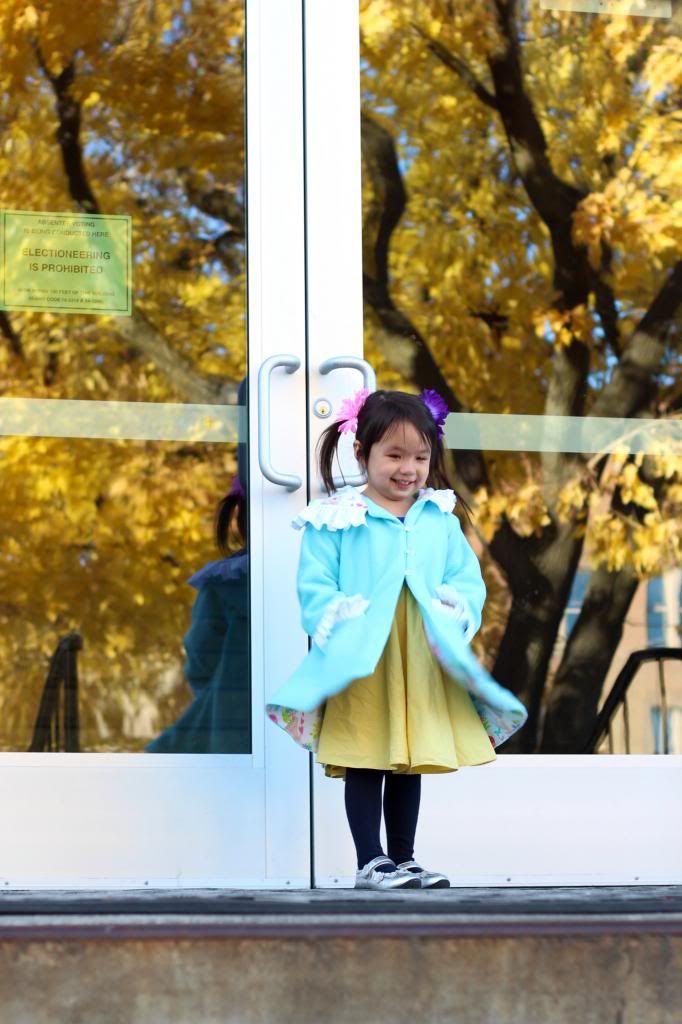
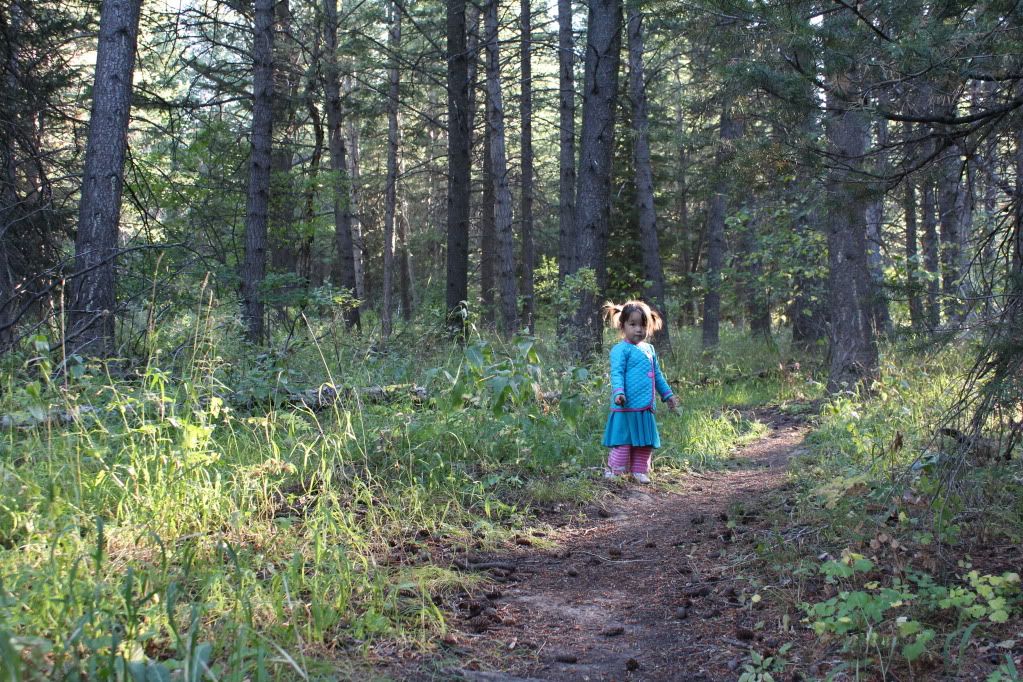
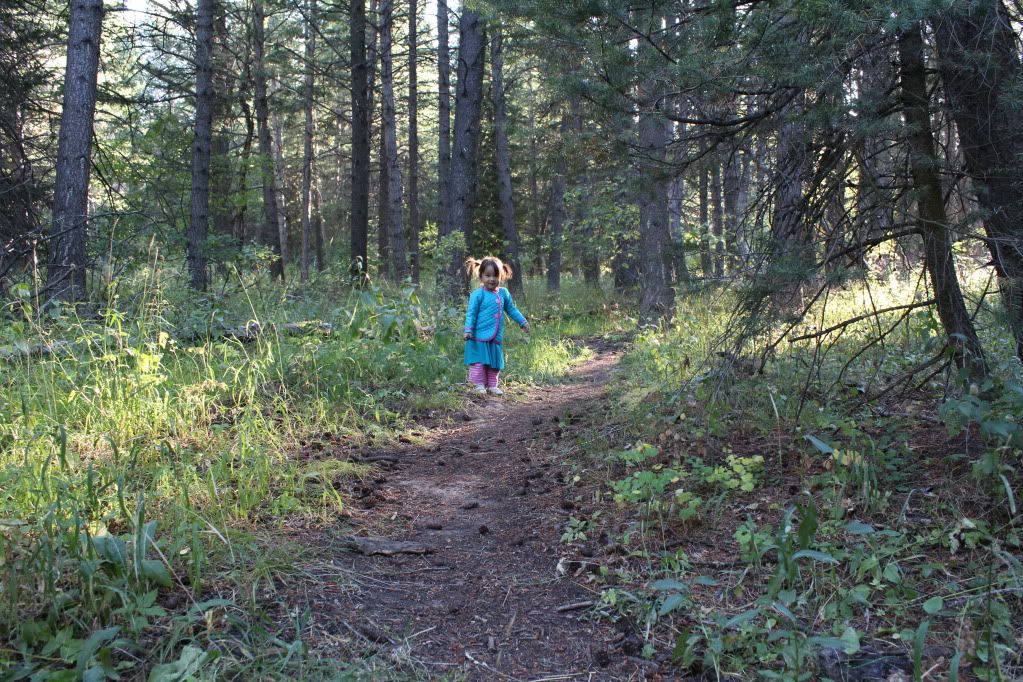
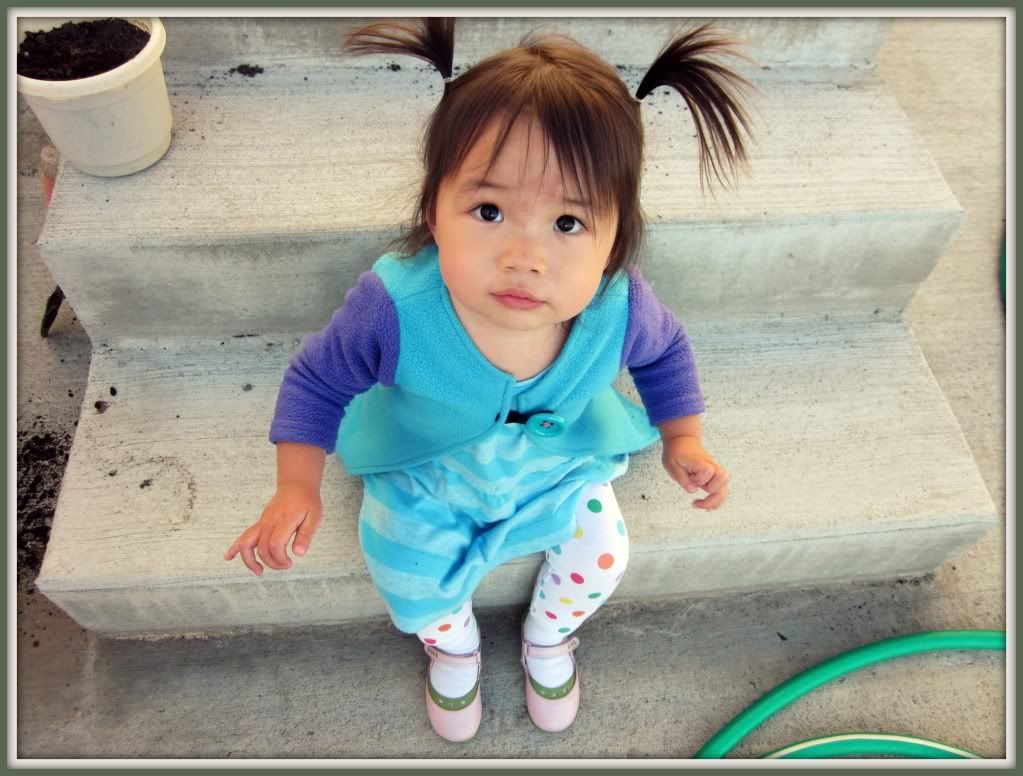
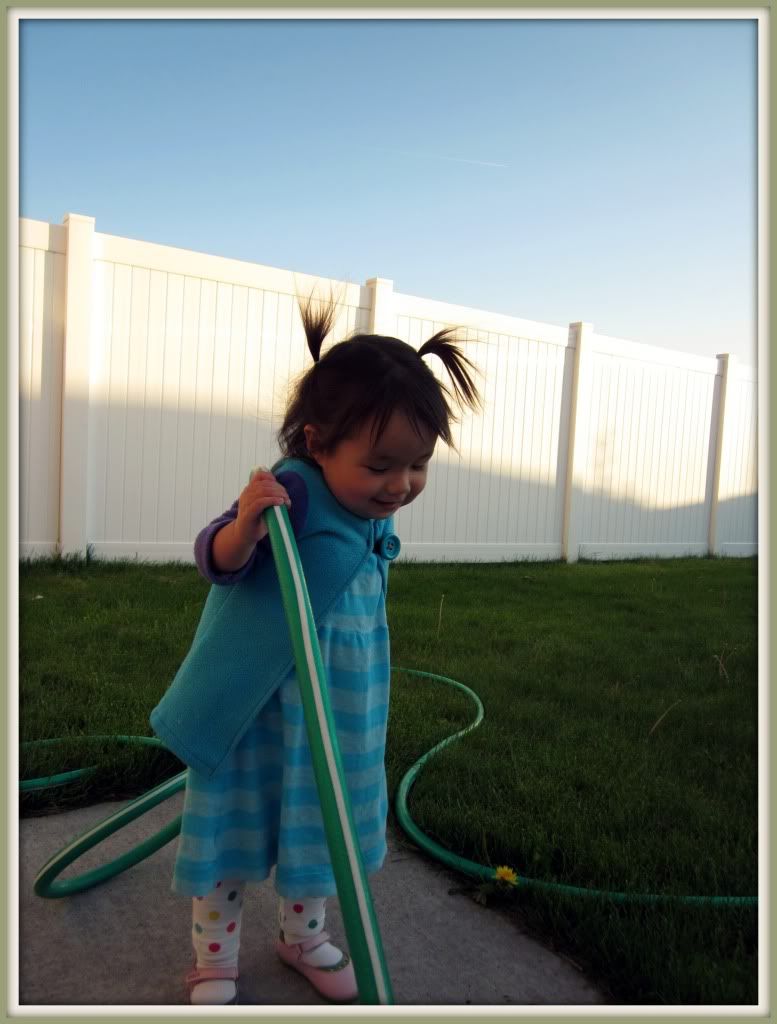
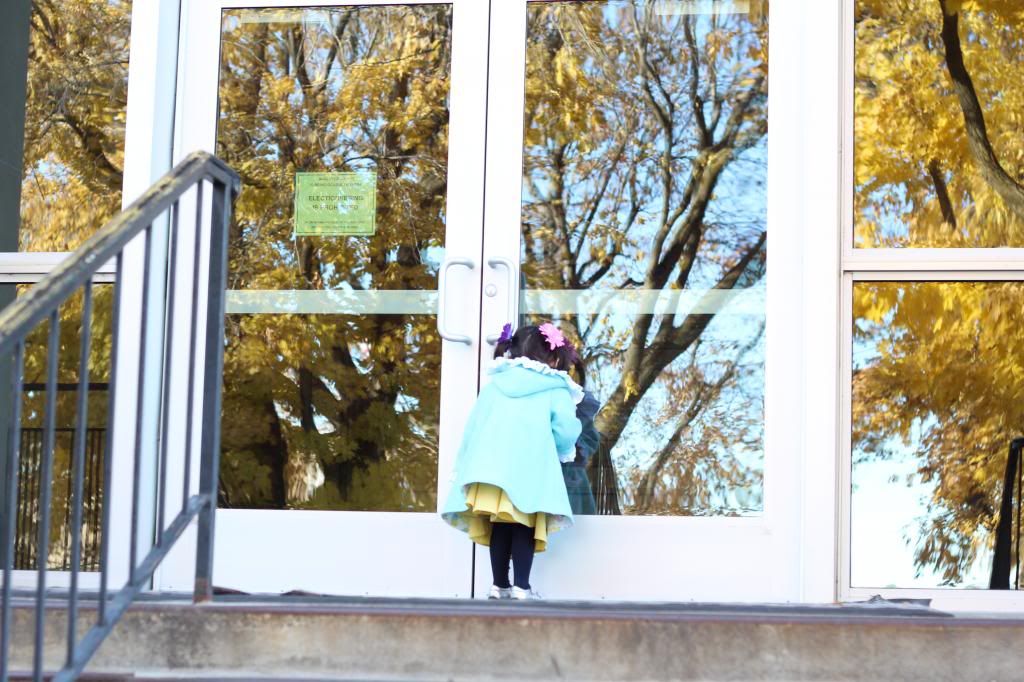
(Ansley's wearing her Snow White dress and really wanted both giant flowers in her hair and bumped her head on the door handles so that's why she's a little sad in one of the pictures.)
Photobucket

Photobucket

Photobucket

Photobucket

Photobucket

Photobucket

Photobucket

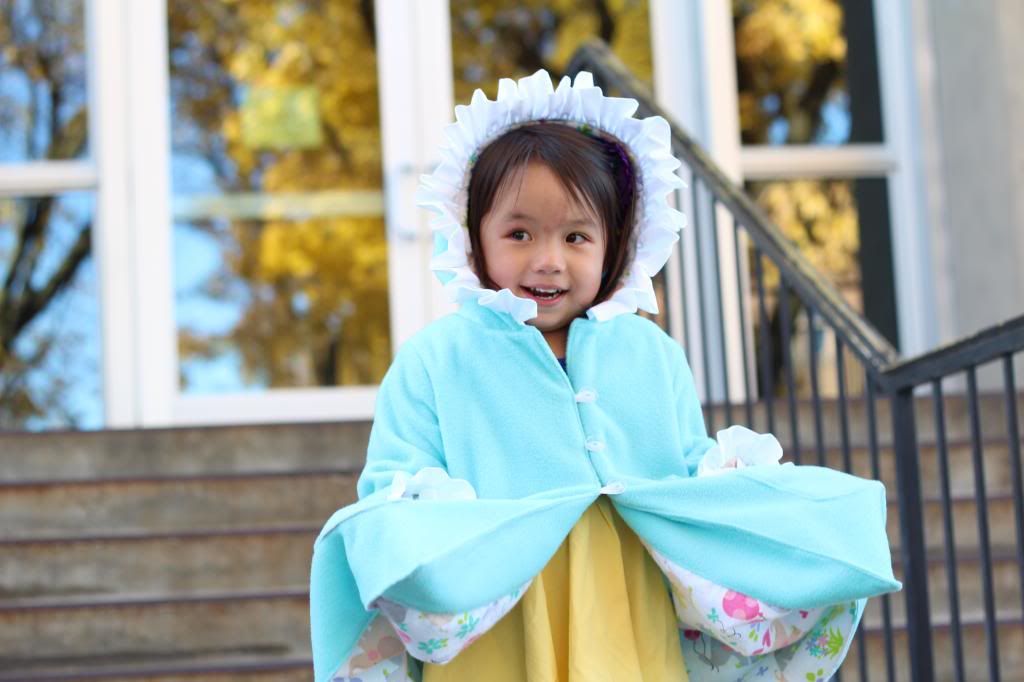
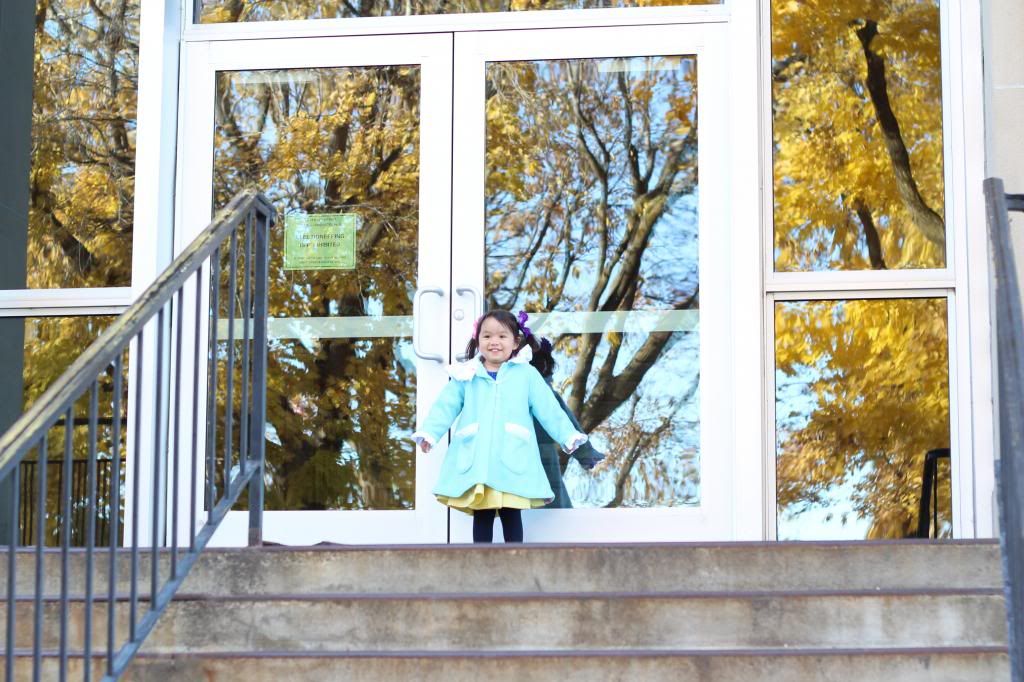
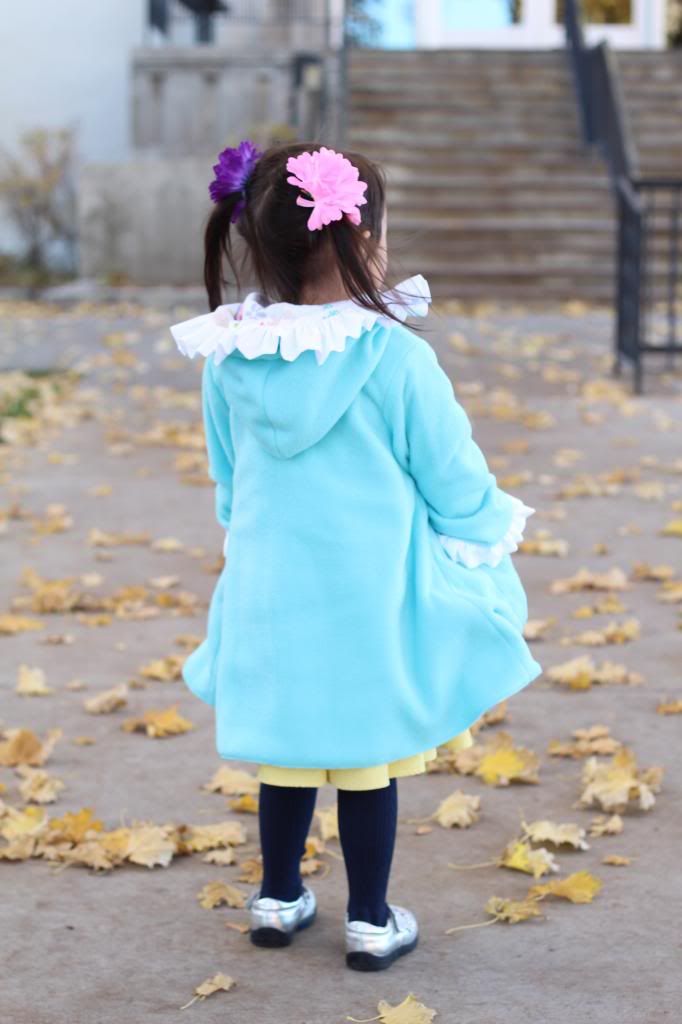
I used Simplicity 2526 again (first used here) and traced the hood from Ansley's Red Riding Hood Coat (which I made by tracing the hoods from one of her other coats). I used fleece for the exterior and a flannel for the lining.

To add the lining, basically you cut out two of most of the pattern pieces. I love this coat pattern b//c it only has four pattern pieces that I used- the back, the front, the facings (that attach to the front) and sleeves (which I lengthened). I cut the hood pieces out of the exterior and interior fabrics, the pocket pieces out of the interior and exterior fabrics (guest posted here), the lengthened sleeve pieces from the exterior and interior fabric, and the back pieces from the exterior and interior fabrics. (ignoring the ruffles here, but check out my guest post if you want more info about them). I then cut the front pieces out of the exterior fabric and the facings for the front from the exterior fabric. I added a 1/4 inch seam allowance on the part of the facing that will attach to the lining. Now I just need to cut the interior fabric to match the front pattern piece minus the facing plus a 1/4 seam allowance.

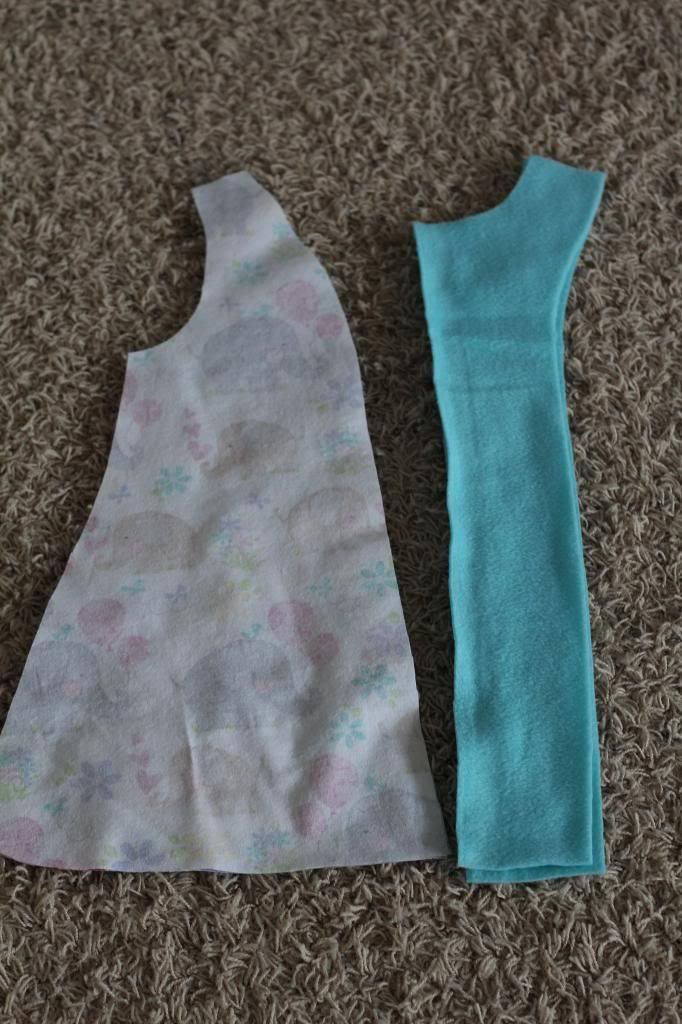
Here's a picture of the facings and the interior front piece minus the facings (both pieces have a 1/4 inch seam allowance added where they will be sewn together). (I didn't use any fancy tools, just eyeballed that extra distance).
Photobucket

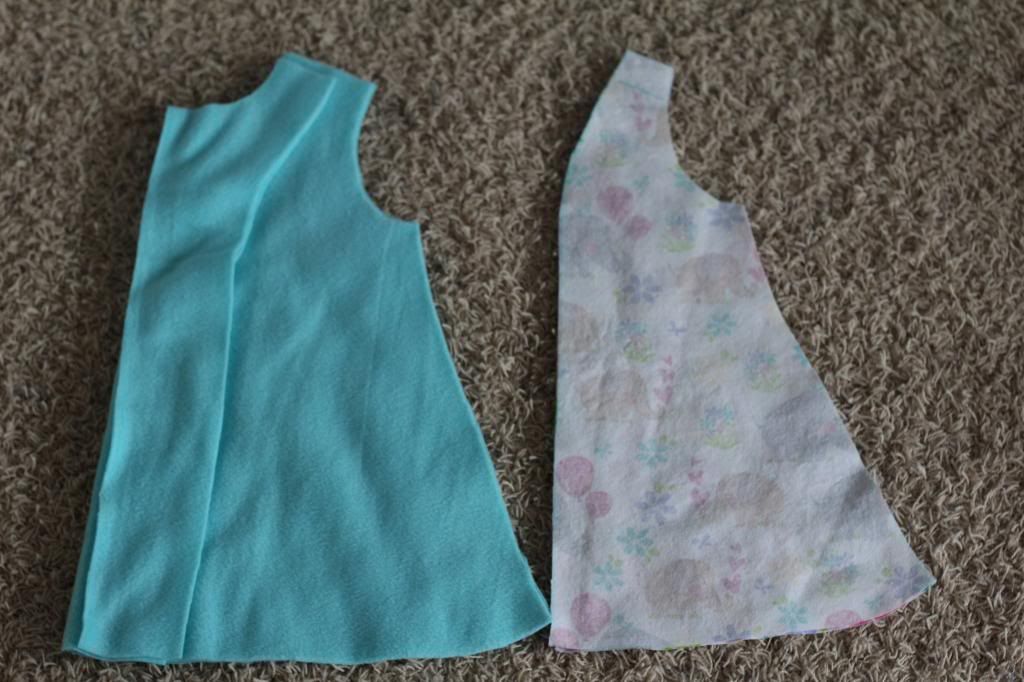
And another picture showing my interior piece looks almost exactly like the piece "missing" from the exterior front and facing pieces (stacked to show how they're sewn together).
Photobucket

Clear as mud, huh?

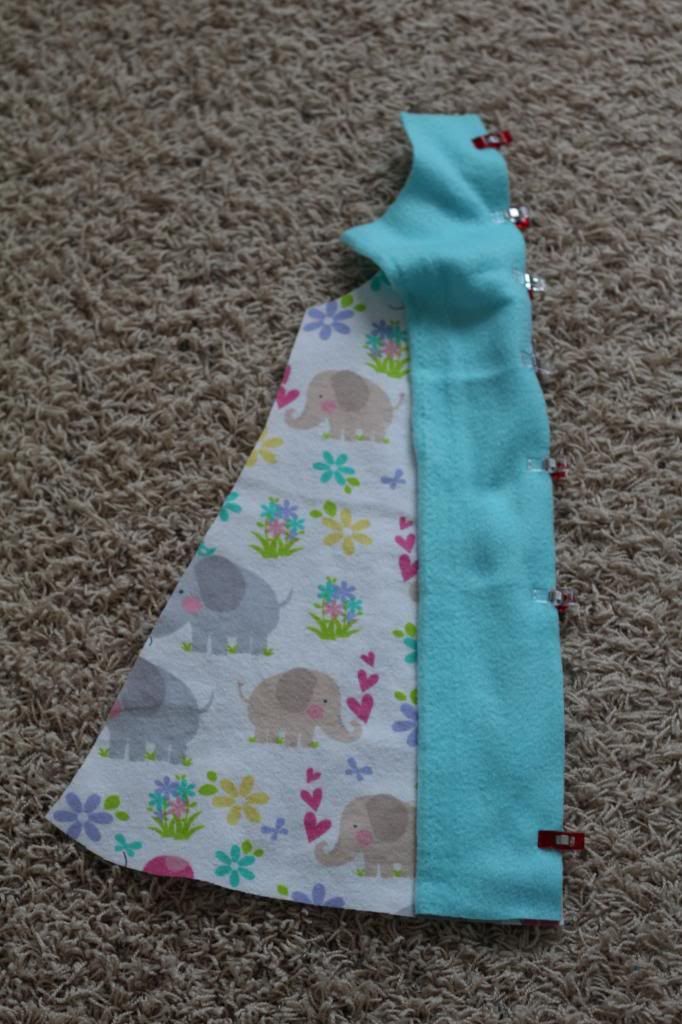
Right sides together I sewed the front facing and the interior lining front piece. Repeat for the opposite side.
Photobucket

Trim seam allowance, clip curve, press really well (um I'm a little embarrassed to admit this is the first time I've ironed fleece. I totally thought it would melt or not last. I used a cooler setting and lots of steam). I topstitched along the exterior fabric to reinforce the seam. Plus it looked prettier.
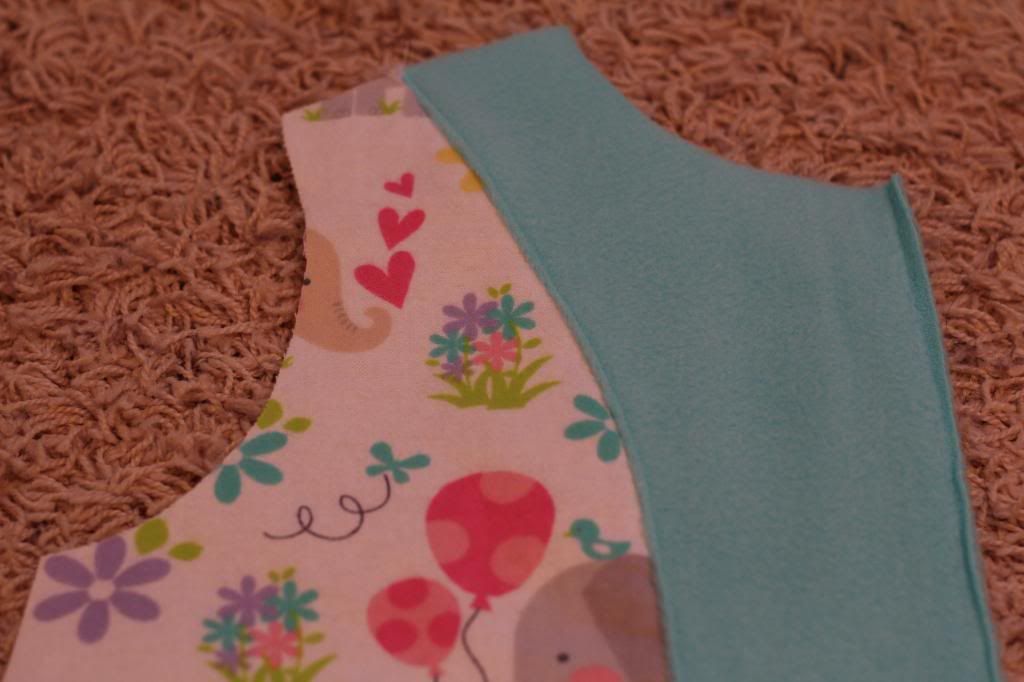
Photobucket

Sew coat together as instructed in the pattern. Repeat for the lining (treat the facing as part of the lining for now)

Added some little elastic loops for buttons to the exterior. I also forgot to account for the seam attaching the front and lining and had intended to use larger buttons but once sewn together the elastic wouldn't fit over them. I actually like the glittery smaller buttons I ended up using.
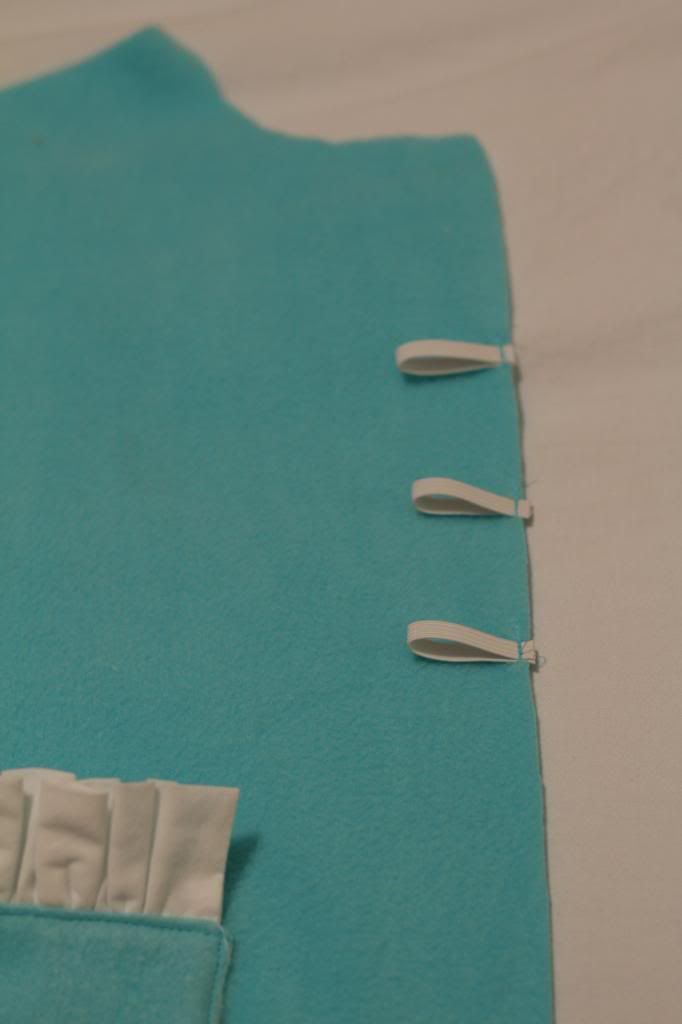
Photobucket

I sewed the hood together (see guest post above) and basted the bottom raw edges together (I think). I basted the hood to the exterior fabric, exterior right sides facing. I also added a little ribbon loop to hang the coat.No picture. Boo.

Right sides together, wonder clip or pin around the front opening, neckline (tuck the hood inside) and bottom of the coat. The sleeves will be tucked inside too.
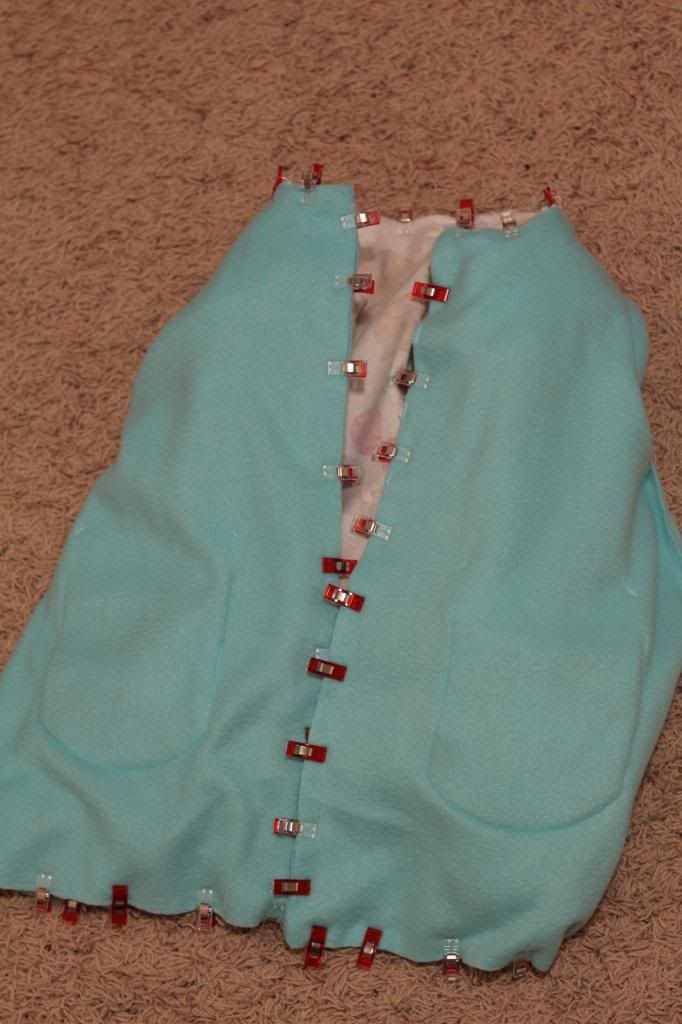
Photobucket

Leave an opening in the bottom of the coat (about six inches or so). Sew around the front, neckline, and the bottom except the opening. Trim corners, clip curves, trim seam allowance as necessary. I used about a 1/4 inch seam allowance but trimmed it to about 1/8 inch in most places. I did not increase the pattern size by 1/4 inch where I ended up sewing the exterior and interior together b/c the coat is still a bit large on Ansley (it's a size 4 kind of cheated bigger by using 3/8 inch seam allowances instead of the 5/8 inch seam allowances the pattern calls for) but to by more technical, you might want to. Turn coat right side out (through the nice opening you left in the bottom)

Alright- here's the coolest thing I've learned lately. I must've read these instructions (from this coat) twenty times and had NO IDEA what the pattern was talking about. HA. Okay so your coat is right side out. (optional but recommended) Push the lining sleeves into the exterior sleeves. Pin the sleeve seams together, close to the armpit sleeve.

Now reach through the bottom of the coat opening and pull both sleeve parts (interior and exterior) through the bottom of the coat. (we will be doing this one sleeve at a time). Don't poke yourself with the pin. Like so:
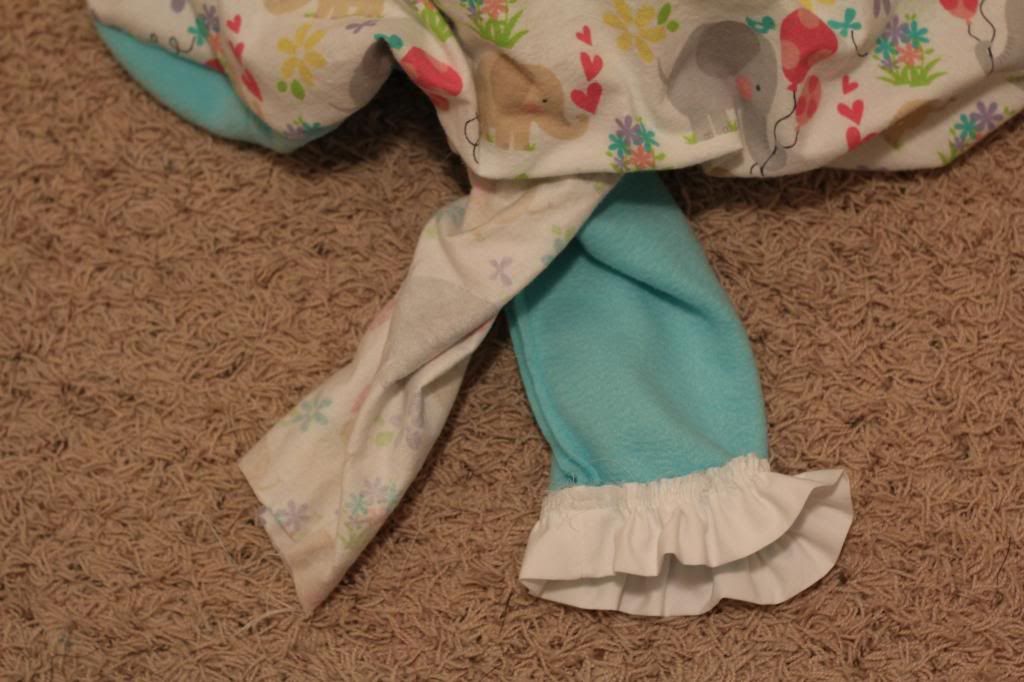
Photobucket

(the ruffle should be facing up not down)

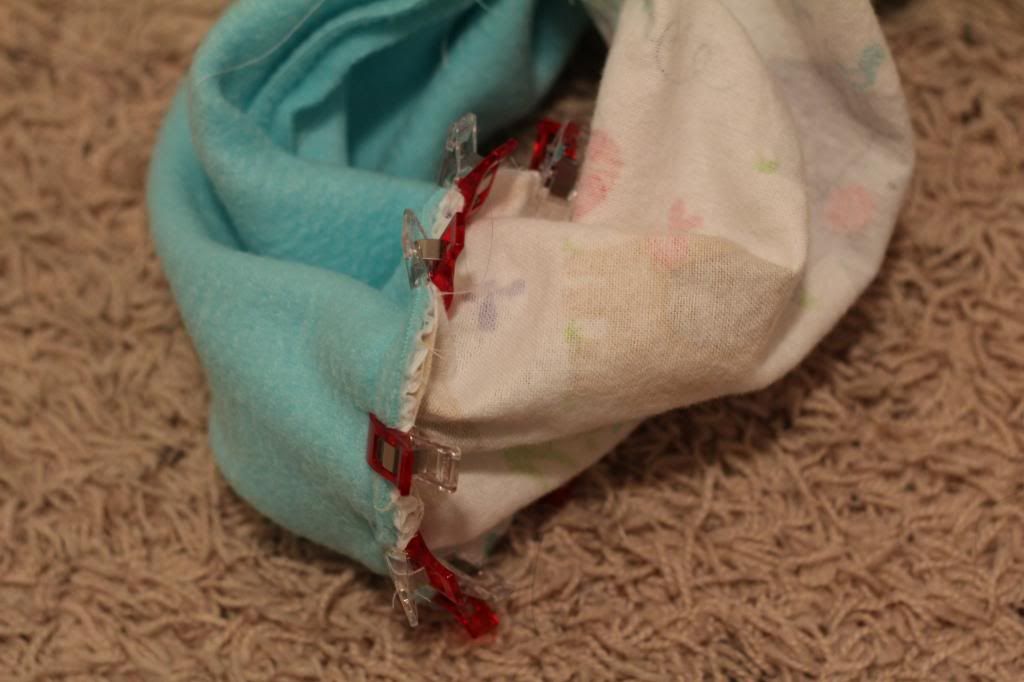
Pin or wonder clip the sleeve ends right sides together, sandwiching in the ruffle, lining up the sleeve seam as best as possible. Quite difficult to take pictures of:
Photobucket

Photobucket

Kinda weird, right? The interior and exterior sleeves are separated from each other, inside out as you look at them. Baste the sleeve bottom seam together. Go very slow. If it looks good, go ahead and sew it with your regular stitch. (I like to sew my sleeves with the body of the sleeve around the arm of my sewing machine but cannot sew these sleeves together my usual way).

Push the finished sleeve back through the opening at the bottom of the coat. Repeat for the other sleeve. Press the coat well. Close the opening at the bottom of the coat and topstitch the bottom (my topstitching enclosed the opening at the bottom of my coat), fronts, and along the neckline/hood seam (which also helped my little ribbon loop face down towards the bottom of the coat rather than up towards the hood). Add buttons.
Photobucket

Wednesday, February 29, 2012

Turtleneck Refashion

I looked everywhere for a better picture of me wearing my favorite 25 cent refashioned turtleneck but this was the best I could find. I won't tell you what I don't like about the picture b/c then you'll go looking for it. haha. And yes, that's another circle skirt. I actually covered the elastic band and like it but will stretch the knit band more next time so it's not a bit lumpy.

Photobucket

Made using this tutorial, originally posted on Tricia's blog, Made by Me Shared with You, as part of Toptober Fest.

I got each of these turtlenecks for about a dollar. They were a few sizes too large for me, which is great for refashioning. Now they're some of my favorites.


I used a shirt that fit well (with a similar amount of stretch as the turtleneck) and traced the body of the shirt, adding my seam allowance. (I kept the bottom hem of the shirt in tact). If you want the neckline to be more scooped in the front, open up the shirt and line up the side seams (so you're only cutting one layer of the shirt instead of two). I left my necklines symmetrical.


I kept the original hem of the sleeve bottom as the bottom of my new sleeve. My grey shirt had three quarter length sleeves and I wanted half sleeves so I didn't trace the full length of the grey shirt sleeves. (make sure the fold of your shirts line up). I was able to keep the sleeve seam the same too (only cutting the top curve for the shoulder).


I sewed the body of the shirt, right sides together. I sewed the sleeves in (shirt inside out, sleeves right side out). (not pictured)

Using the scraps from the side of the shirt, I cut some strips to bind the neckline. (both the shirt and the strips are doubled in this picture). Since the fabric isn't stretchy in this direction, I should've cut more. (more like 90% of the neckline, rather than 80%). I'll show you what to do if that happens to you too.


Even out your strips if necessary and sew short ends together to form a loop.


On the right side of your shirt, sew the binding while gently stretching the binding loop. Start in the back of your shirt.


Open up your loop and add another scrap if you need to. Since you started in the back, it won't be as obvious. Reclose the binding loop.


Fold the binding up and over the neckline (so the raw edge is now on the inside of the shirt) and sew with a decorative stitch.


Go model your shirt. Skirt refashioned and blogged here. (They matched great when I got dressed in the dark).

Wednesday, September 28, 2011

Quilted Coat

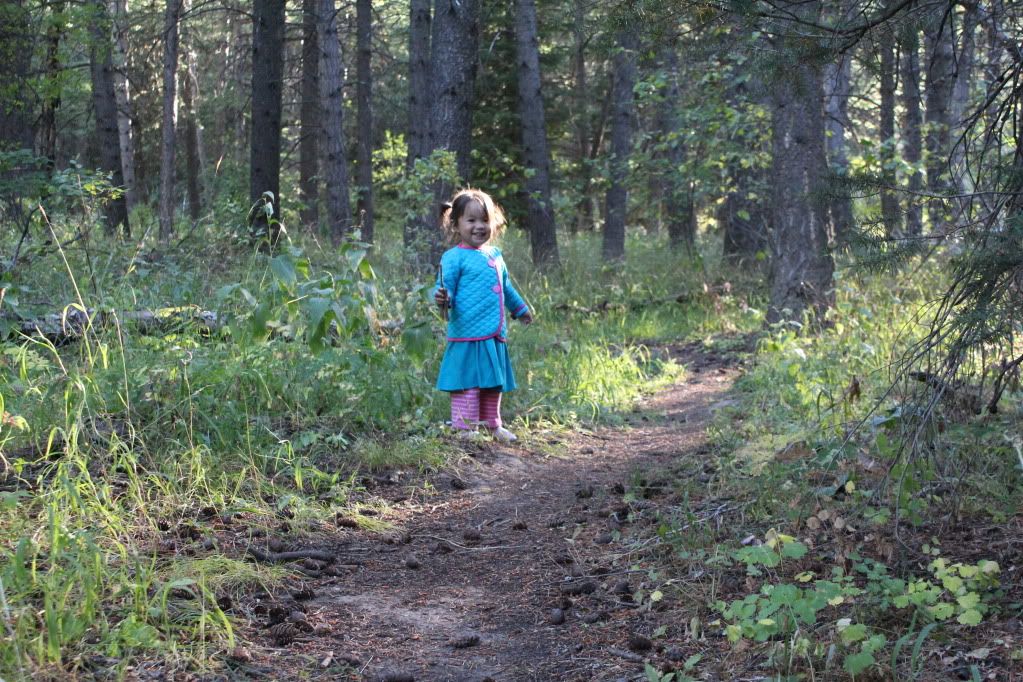
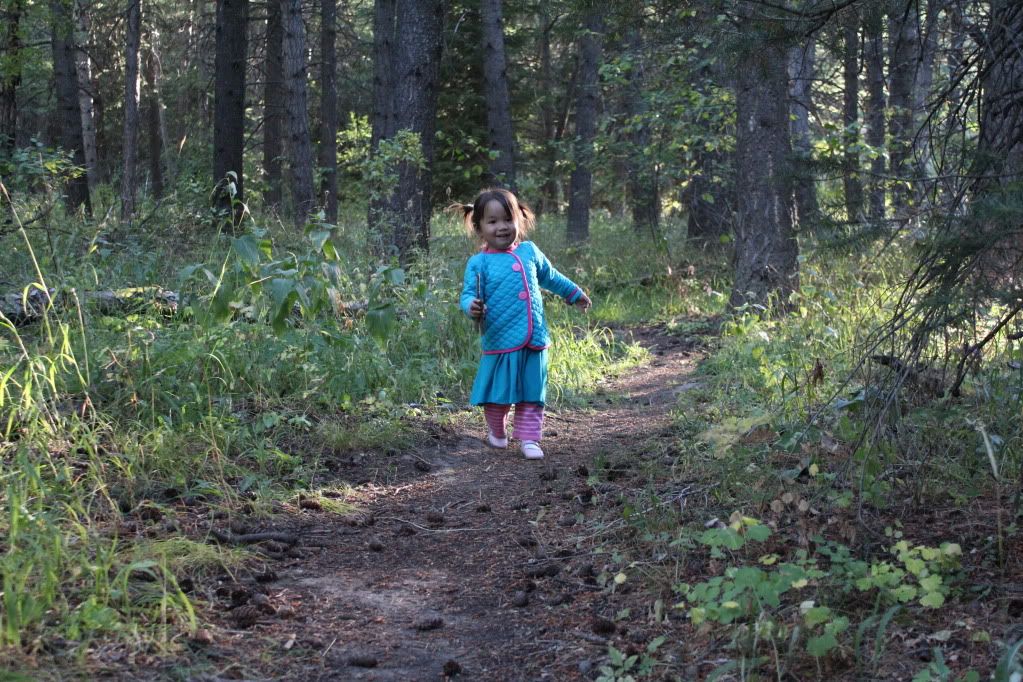
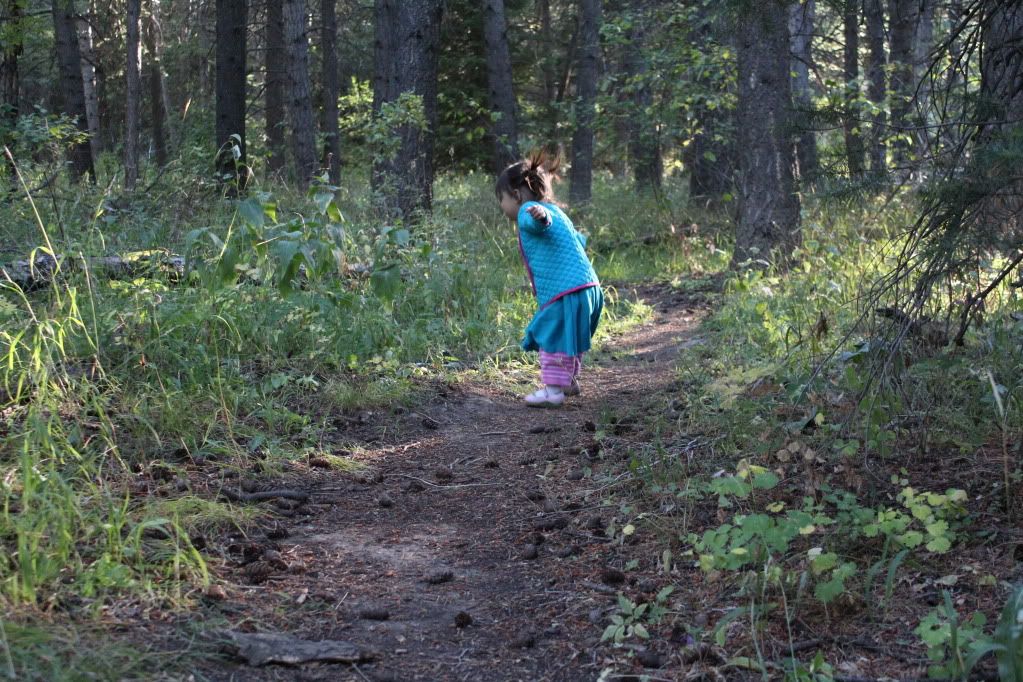
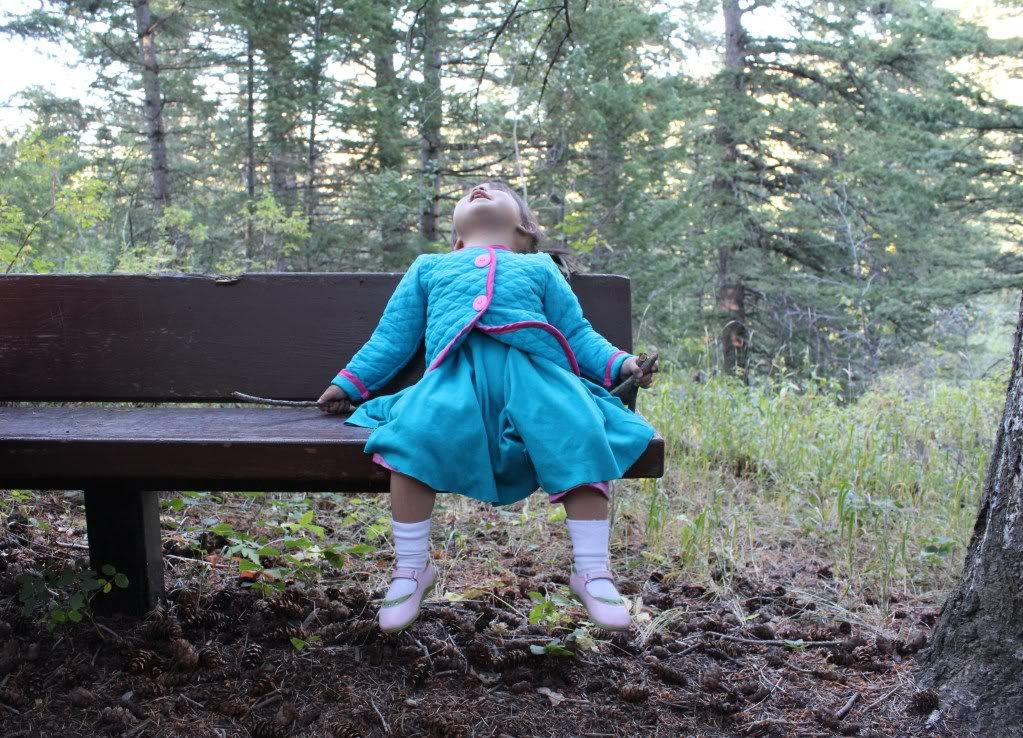
Jessica at Me So Crazy made the cutest quilted coat for her daughter. I haven't been able to stop thinking about it since she posted it! I found this prequilted fabric at Joann's and thought it would be great as a practice run before committing to quilting. Ansley picked out the fabric, biased tape, and buttons.
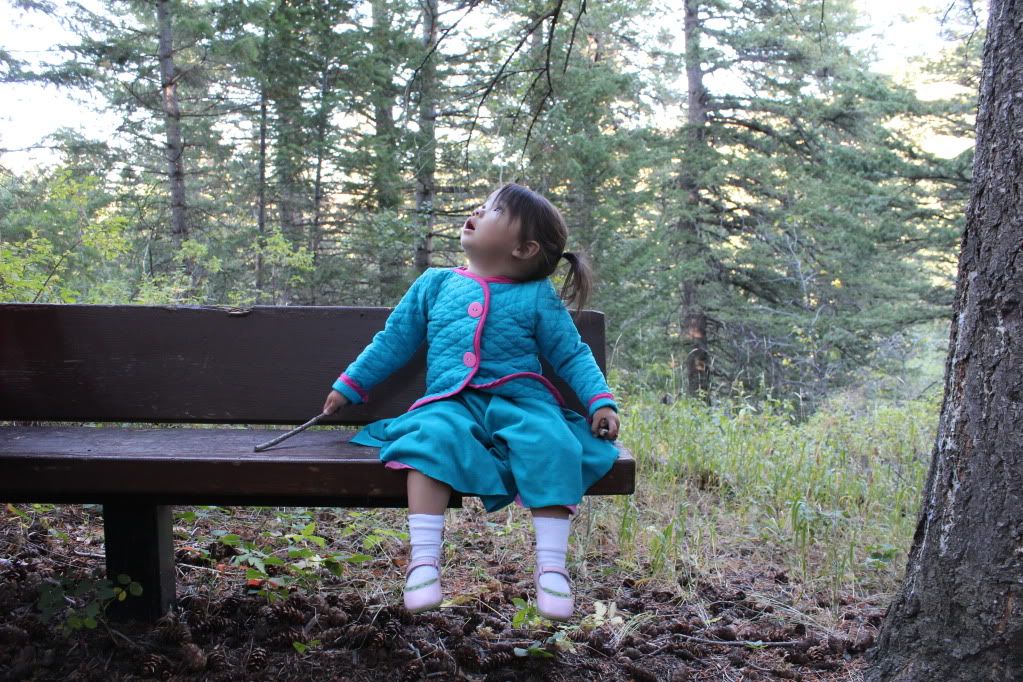
(Yes, we took these pictures at the same time)
Photobucket

Photobucket

Photobucket

Photobucket

Photobucket

Here's how I made mine. (note the fabric was stiffer than I thought. I didn't prewash it b/c of the batting that was sticking out. Next time, I'll leave more of a seam allowance and just a little bit more wiggle room). (second note- this is how I made the body and sleeves of that sweet sweatshirt)

what you need:

prequilted fabric (or quilt your own)- I used about 2/3rds of a yard for my almost 2 1/2 year old.
double fold bias tape (buy it or make it yourself)- I needed more than 3 yards (one package- should've bought two)
sew on snaps
buttons
usual sewing stuff

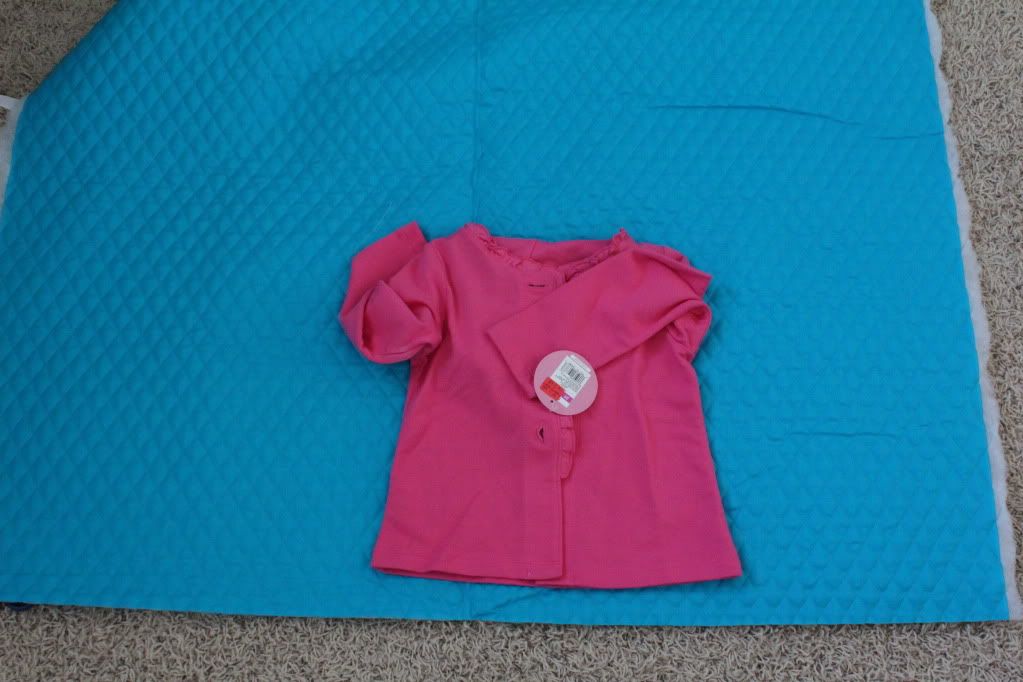
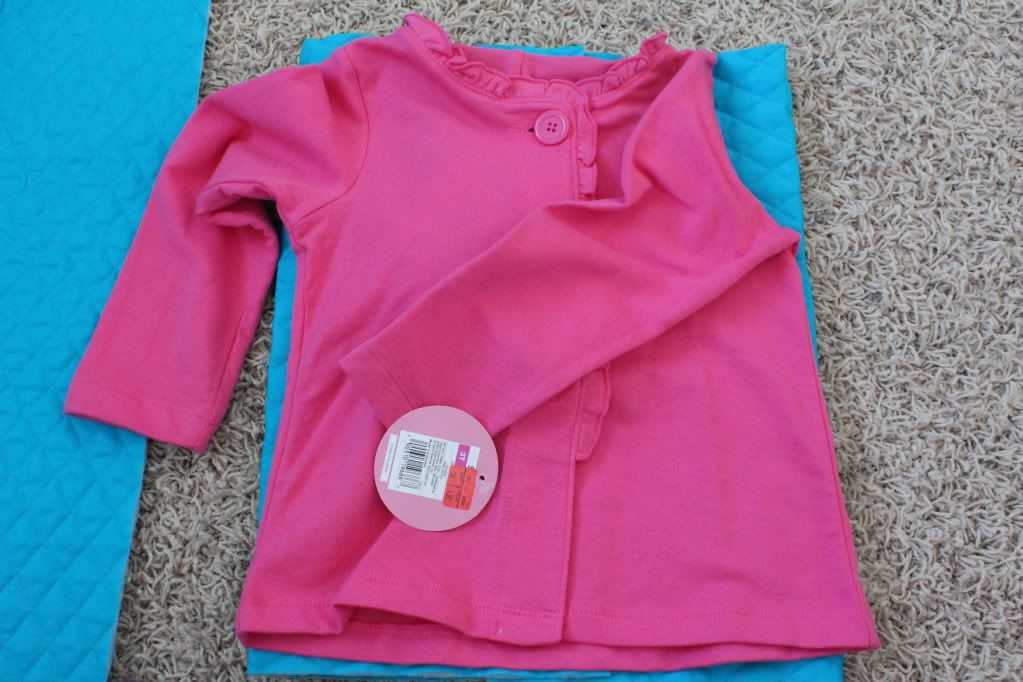
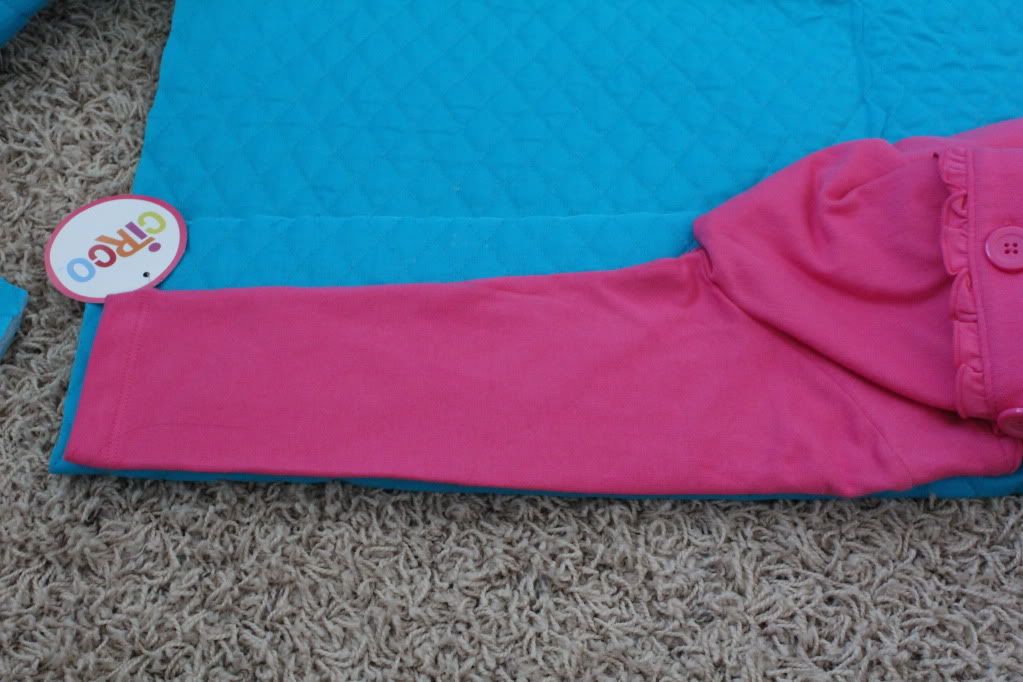
Find a jacket or cardigan or long sleeved shirt to use as a pattern. This darling pink cardigan is knit and is a size too large for Ansley. (it also has a hood but I pretended that it didn't). I thought the knit didn't stretch at all when I tried the cardigan on Ansley but it must've/I should've made the pattern pieces a bit larger. And my sleeves are a little bit long and are folded over in the pictures. Live and learn.

Photobucket

I wanted to avoid any seams that I didn't have to sew (since I finished them all with bias tape) so I cut a rectangle a bit wider than twice the bottom of the cardigan. Ignore the slight a-line/flare of the cardigan when folding. I left about two inches of overlap in the middle, making sure the armpits lined up close to the edge of the fabric.

Photobucket

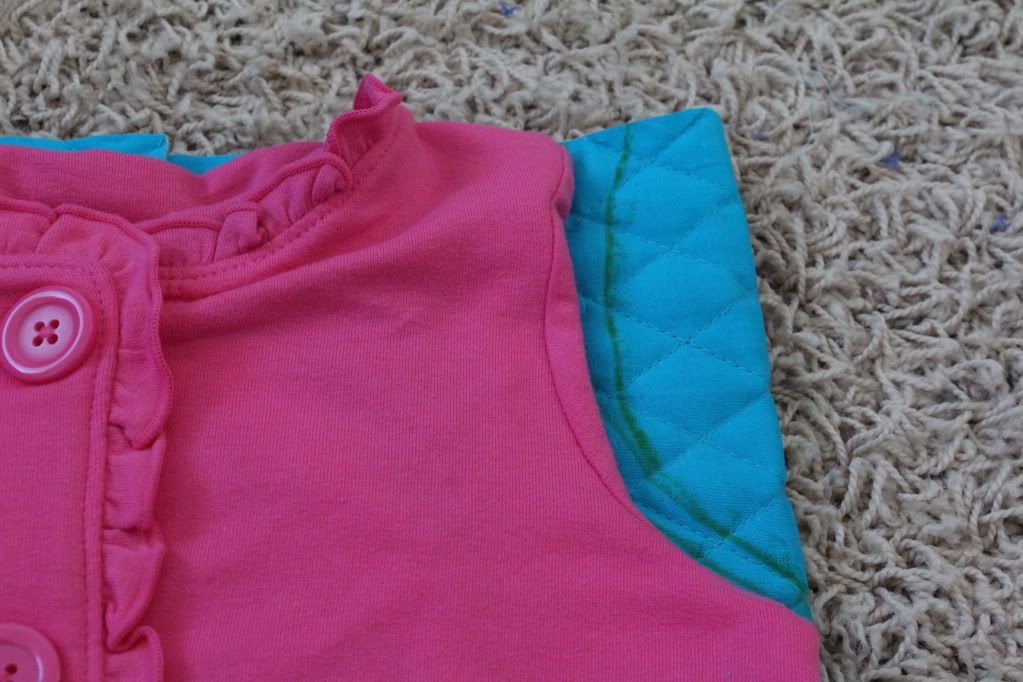
I folded the sleeves under and traced the arm curve, leaving a seam allowance. Cut out the arm holes.

Photobucket

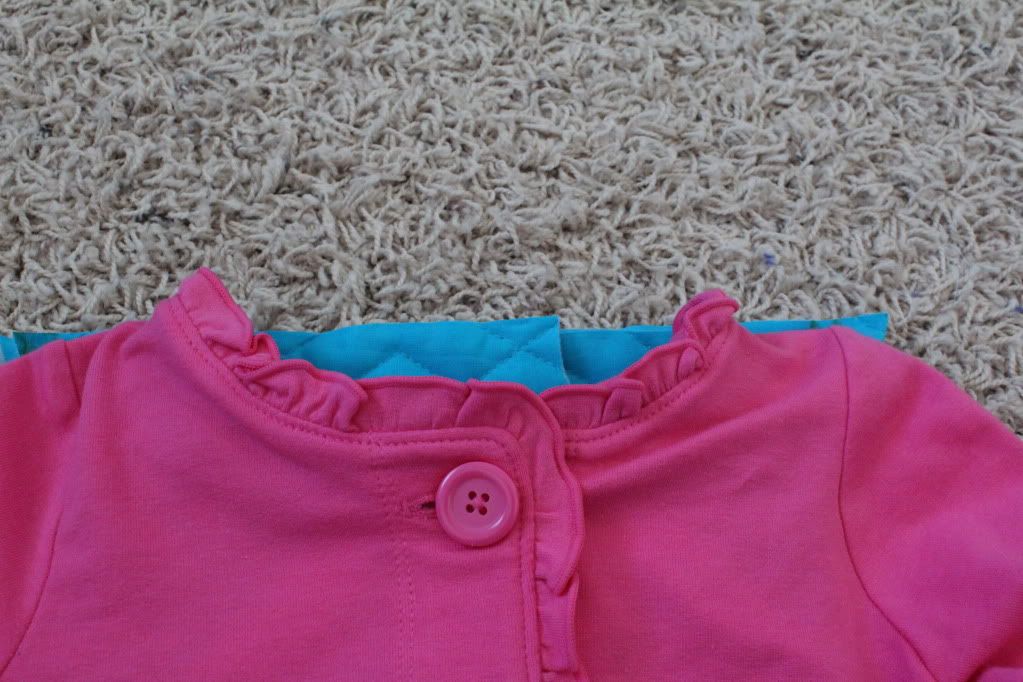
I traced the top neckline and cut it out (front layers only). In hindsight, I would've made this a little bit lower.

Photobucket

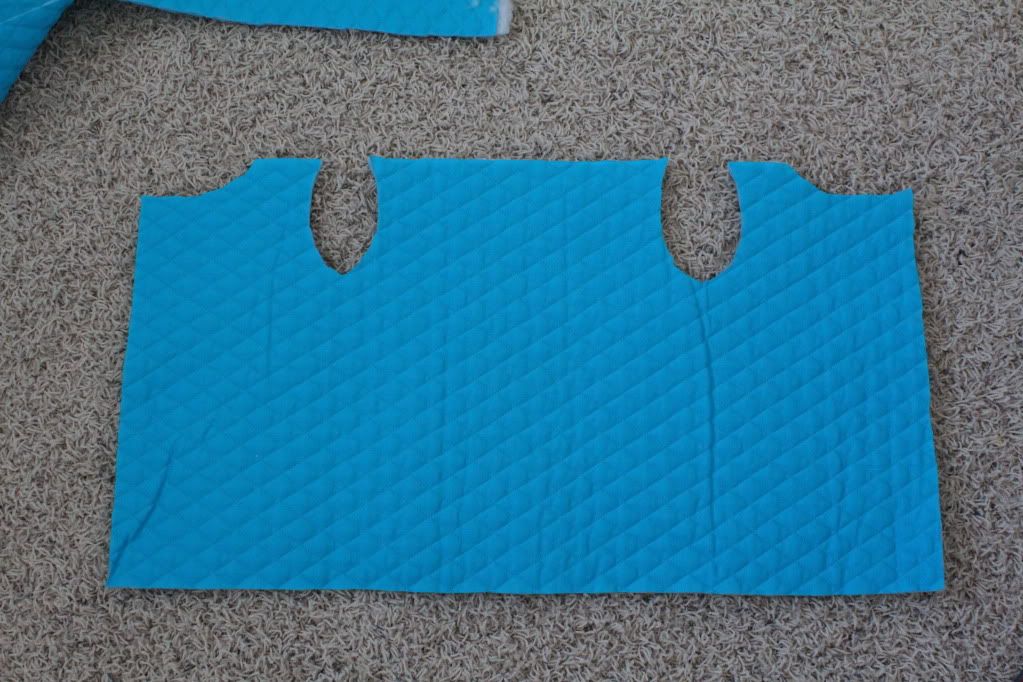
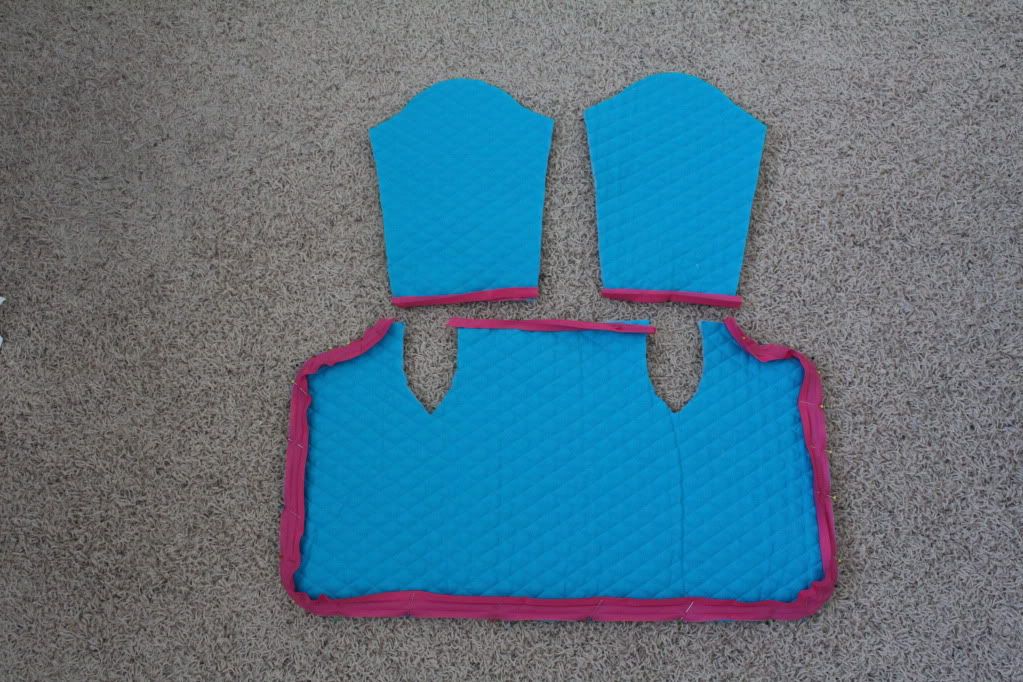
So this is what it looks like opened up and laying flat.

Photobucket

Trace your sleeves, making sure the fold of the fabric is lined up with the top of the sleeve. Leave yourself more room than I did.

Photobucket

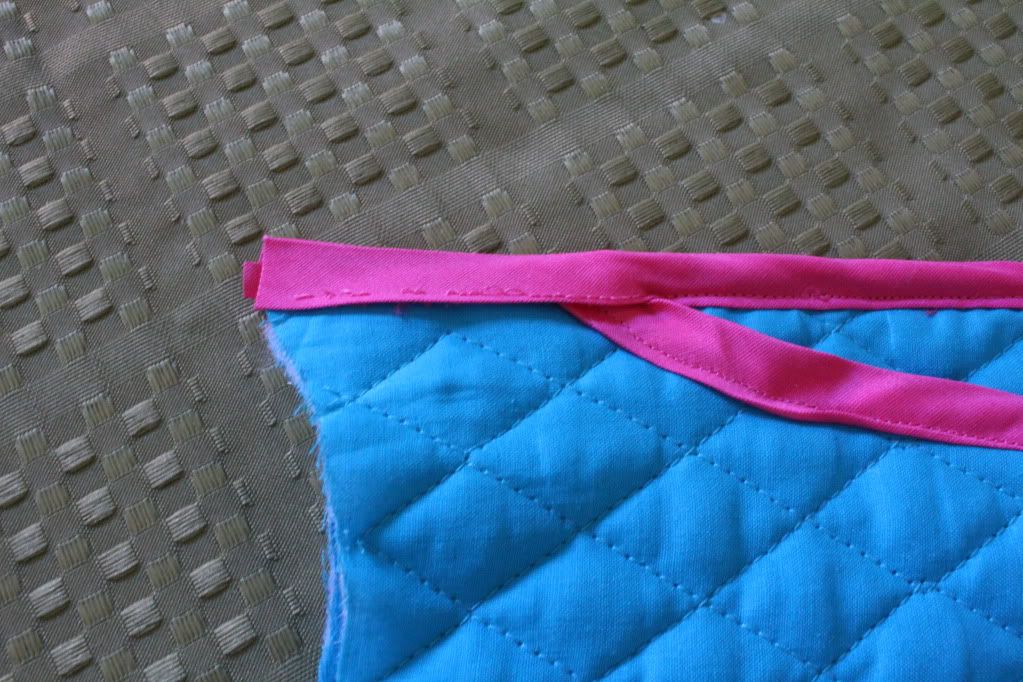
Pin your bias tape around the neckline, opening of the jacket, bottom of the jacket, back up the opening of the jacket, and the neckline. This was my first time using premade biased tape and I did it wrong- the side that's a little bit smaller should end up on the top. You can sandwich yours on or you can open it up, align the raw edges, sew it on the wrong side of the fabric, then fold it over and sew it down. I highly recommend reading Dana's tutorial on how to sew on bias tape (and recommend rereading it to myself).

After pinning all the way around the jacket, I pinned the back neckline too. I'm not crazy about the way it turned out, but this was a great way to find out. I'm totally open to suggestions from you! Sew the bias tape on but leave the width of your shoulder seam on both sides. Or don't and unpick it like me.

Photobucket

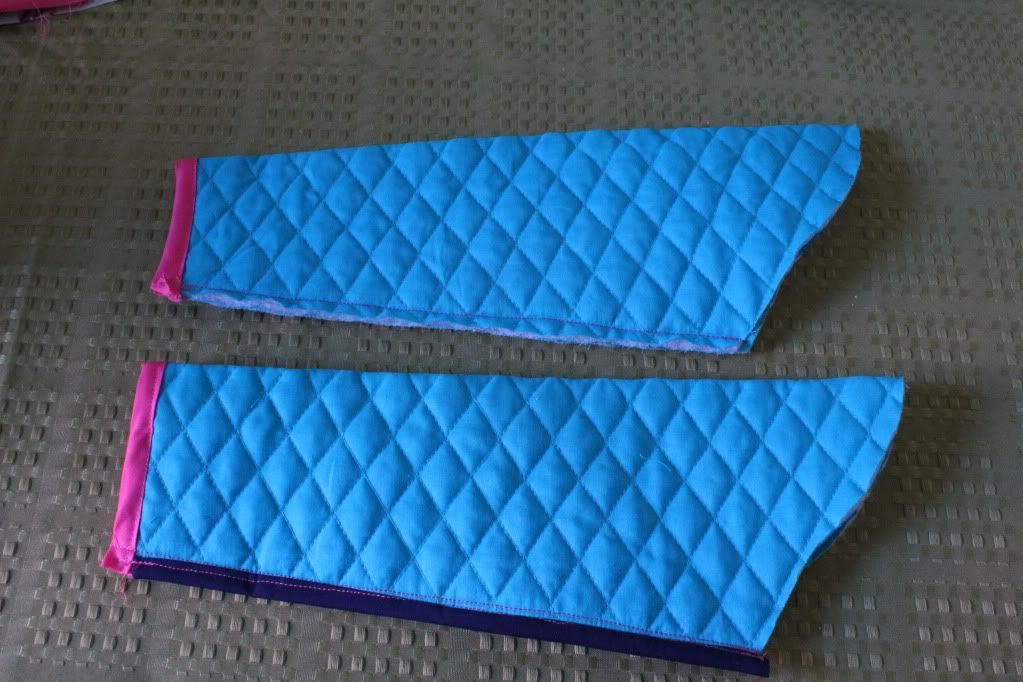
Pin bias tape to the end of the sleeves too. Sew it on. Sew the sleeves together, right sides together. Now we're left with the batting/raw edge. I covered mine with leftover quilt binding (ran out of bias tape).

Photobucket

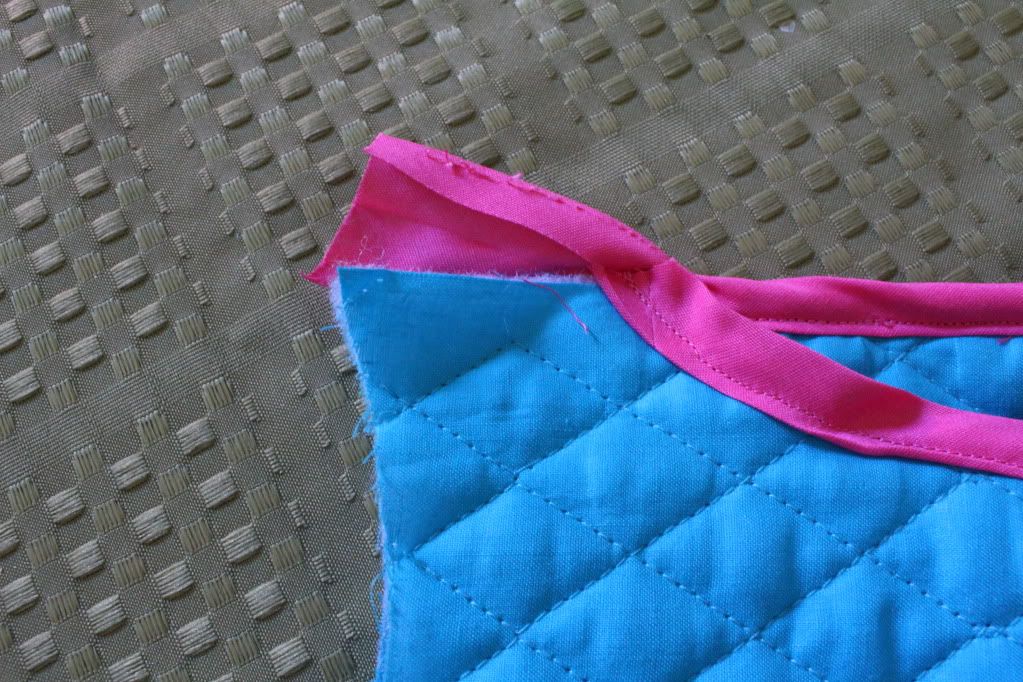
Now to sew the shoulder together (right sides together!). Unpick any of the bias tape that is in your way.

Photobucket

Fold the bias tape back over (here I just went with the sandwich method b/c it's such a short distance). I actually sewed through the bias tape and sewed the shoulder seam together at the same time, though you could sew the shoulder seam, then sew the bias tape back down.

Photobucket

Once you have the jacket turned right side out, you can tack the binding/back collar together if you want so it doesn't try to turn in. I didn't b/c the neckline turned out smaller than I thought and didn't want Ansley to feel claustrophobic.

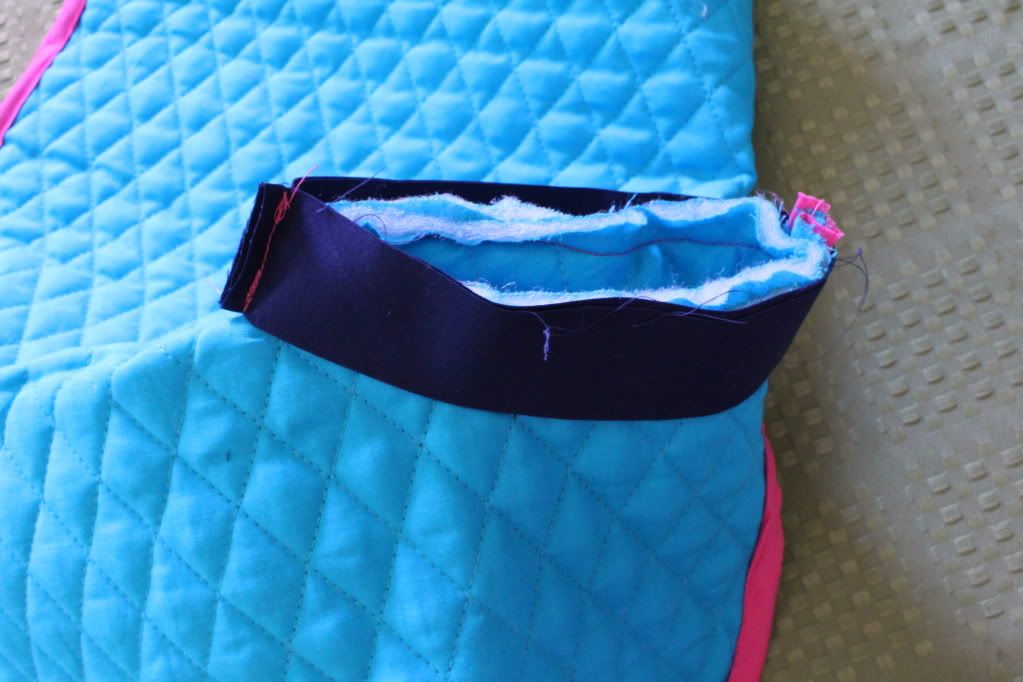
Now sew your sleeves in (you'll be sewing on the inside of the jacket (ie wrong side) and your sleeves will be right side out. Cover the edges with bias tape or quilt binding or something. I made a loop the size of the arm hole opening (the inside side, not the outside side like the picture and like the first sleeve that I did) from my extra quilt binding. Line up the raw edges and sew. Then fold the binding up and over the raw quilt batting/fabric and sew down again, completely encasing any raw edges.

Photobucket

Sew the snaps on. I chose snaps b/c
a. I don't love making buttonholes on my machine
b. I didn't know what to do with the raw edges from a buttonhole (you could probably bind the button hole but I wasn't interested in that at the time)
c. they're easier for little fingers
d. I'd never used snaps before

I sewed the buttons on, covering the chicken scratchy snap stitches (I'm horrible at handstitching). I only used two b/c the package only had two that were the same size.

The whole jacket was a little stiff (straight jacket?) but softened up after I washed it. I think it might not be as bad if the jacket was larger? Would it be ridiculous if I made one for myself?

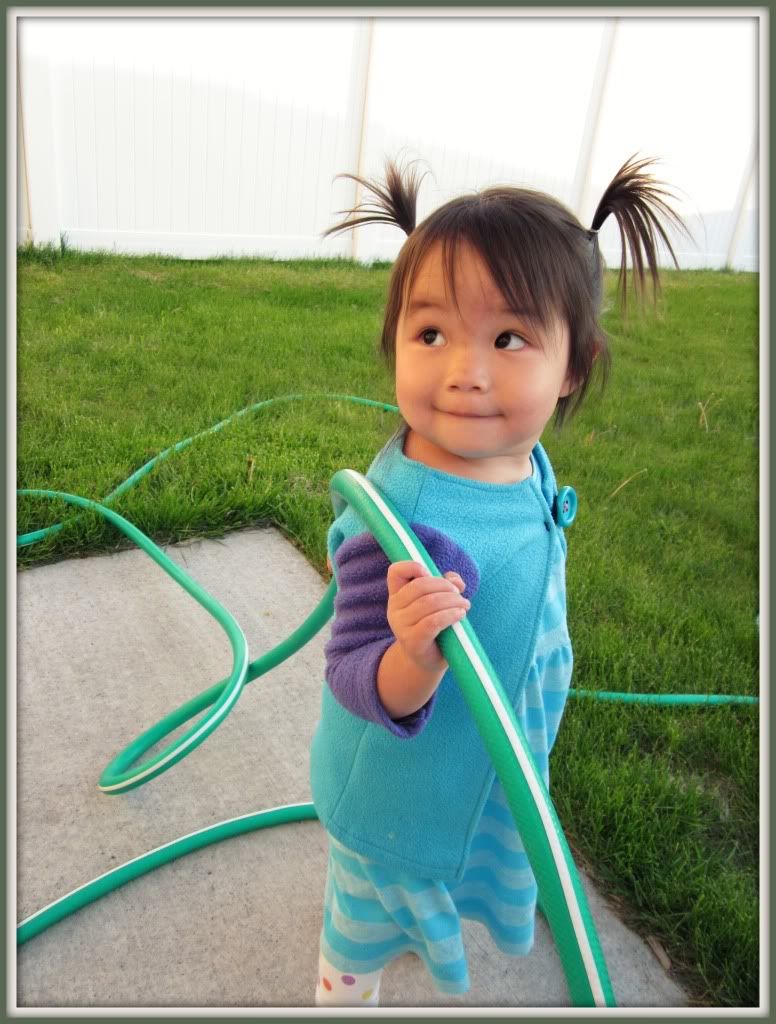
Luckily she loves it b/c it's like wearing a blanket. :) Let me know if you have any questions. I'd love to see yours if you make one!
Photobucket

Photobucket


Linked here:

Friday, June 3, 2011

Those Clothes Look Better on Her

I wanted to make Ansley a dress like my new favorite dress. Unfortunately I don't have a little cap sleeve shirt to trace for her. Fortunately I have a few shirts that aren't super flattering on me and that Tyrone doesn't wear.
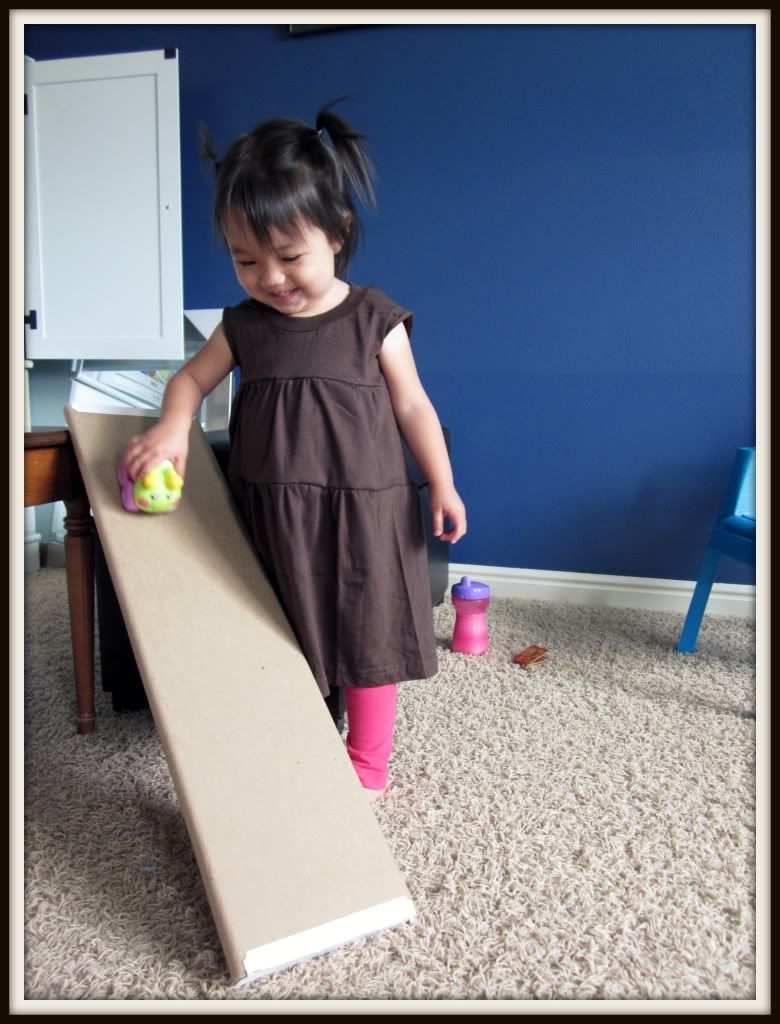
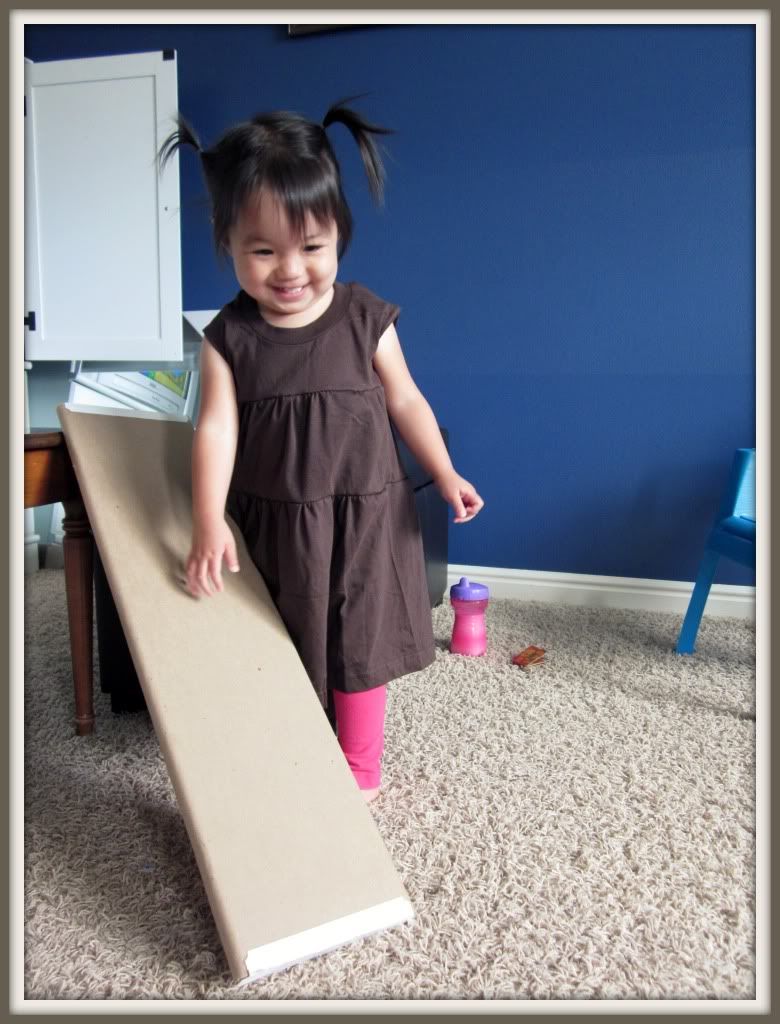
Here's the first version. I traced a shirt with proper sleeves and tried to mimic one of my cap sleeved shirts. The shape was alright but it was a little big.

Photobucket

More pictures of the dress, b/c she's cute.

Photobucket

Photobucket

Photobucket

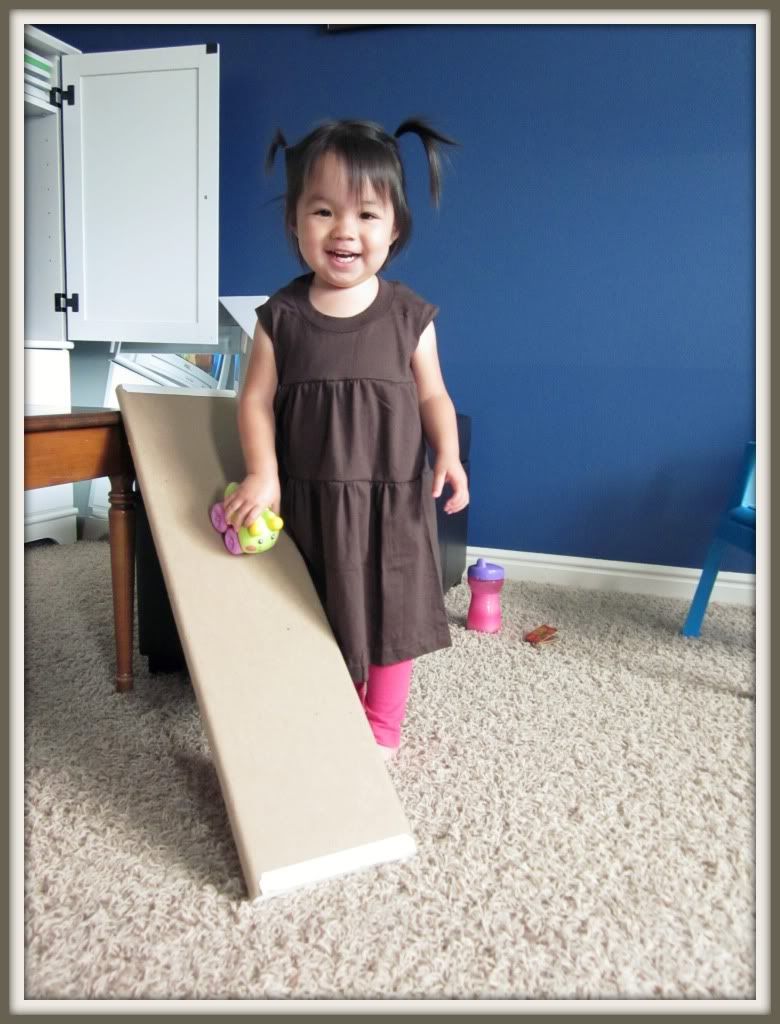
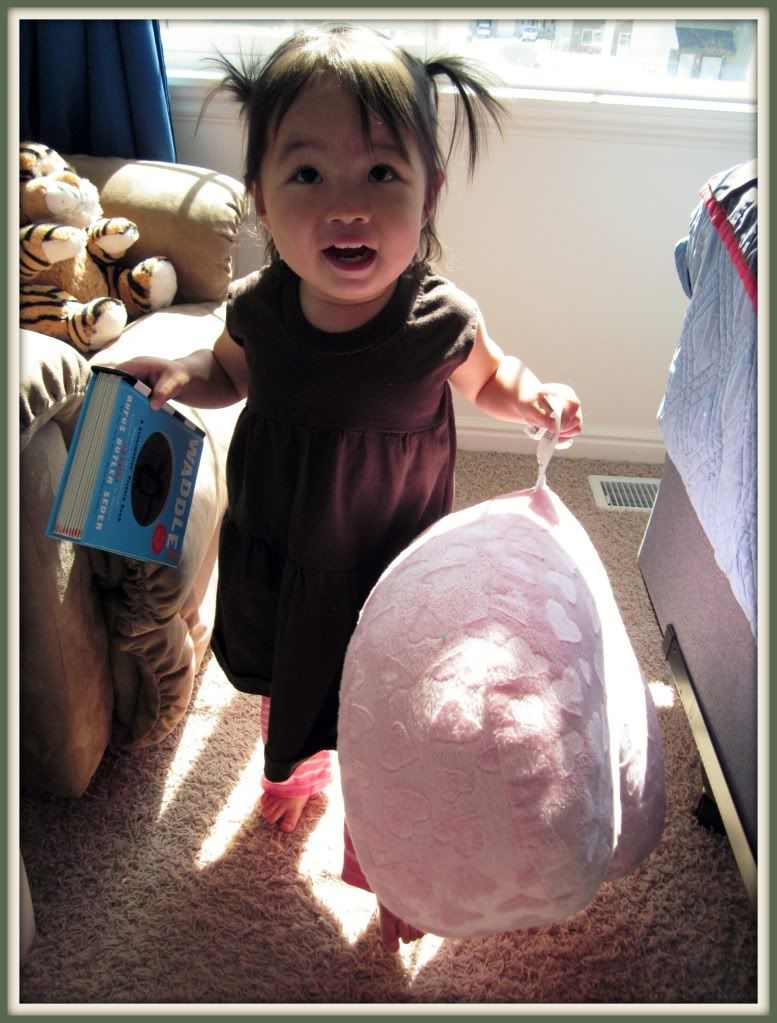
Here's the second version. I used the blue dress as a guide, taking in the sleeves at the armhole and the edge a bit. I like how it looks in some of these pictures but it looks tank toppy in other pictures (which is probably partially due to having never washed the brown shirt). Maybe it's b/c there isn't a defined cuff at the edge and/or the fit is a little off? I don't want to make them too much smaller b/c I don't want the dress to be difficult to get into.

Photobucket

Photobucket

Photobucket

Photobucket

Photobucket

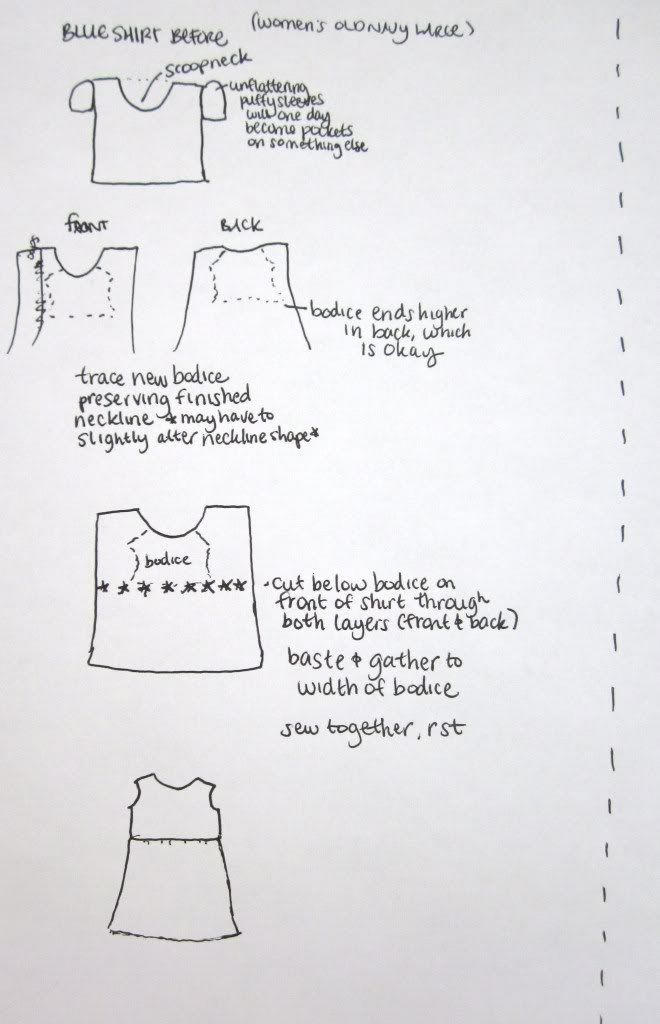
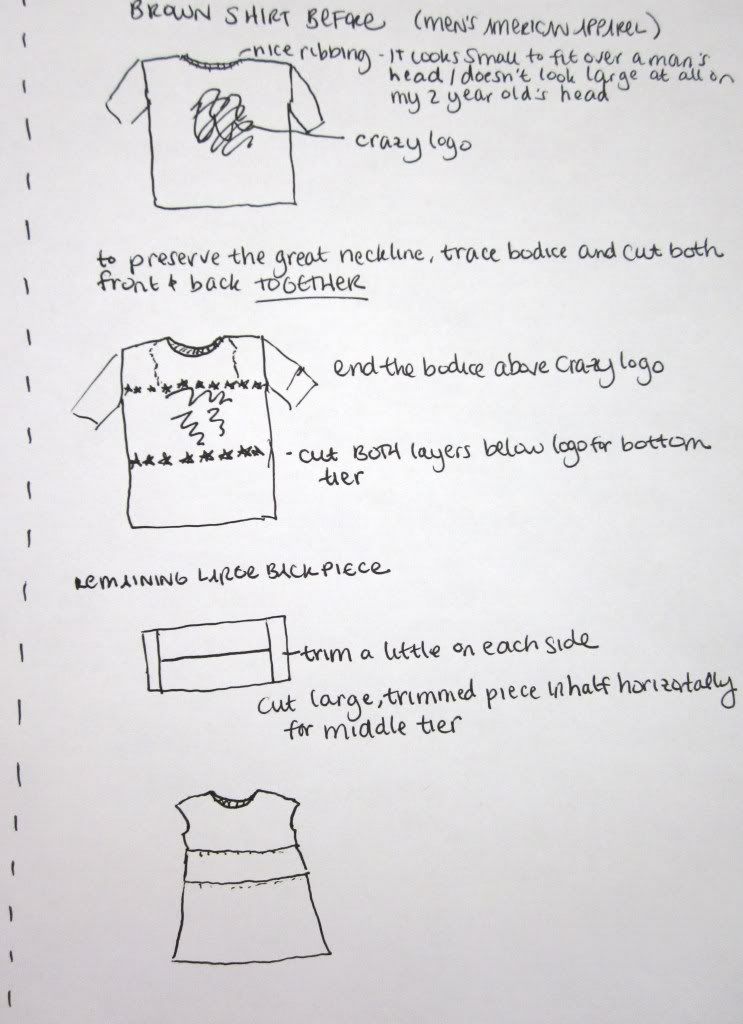
Here are some sketches of how I made these:

Photobucket

Photobucket

Photobucket

Tips:
Prewash your shirts! The sleeves on the brown dress were cuter before I shrank them. I'm not too sad b/c it was a practice run anyway.

Stay stitch around your sleeves, if necessary. I definitely had to one the brown one. I sewed a medium long stitch near the edge of the sleeve. The stitch gave it more stability so I could fold it under twice to finish the edge.

You might have to adjust the neckline a bit if you want to keep the original finished neck edge (like on the blue one).

Try not to cut your knits too soon before you can sew them. Some knits curl in a lot.